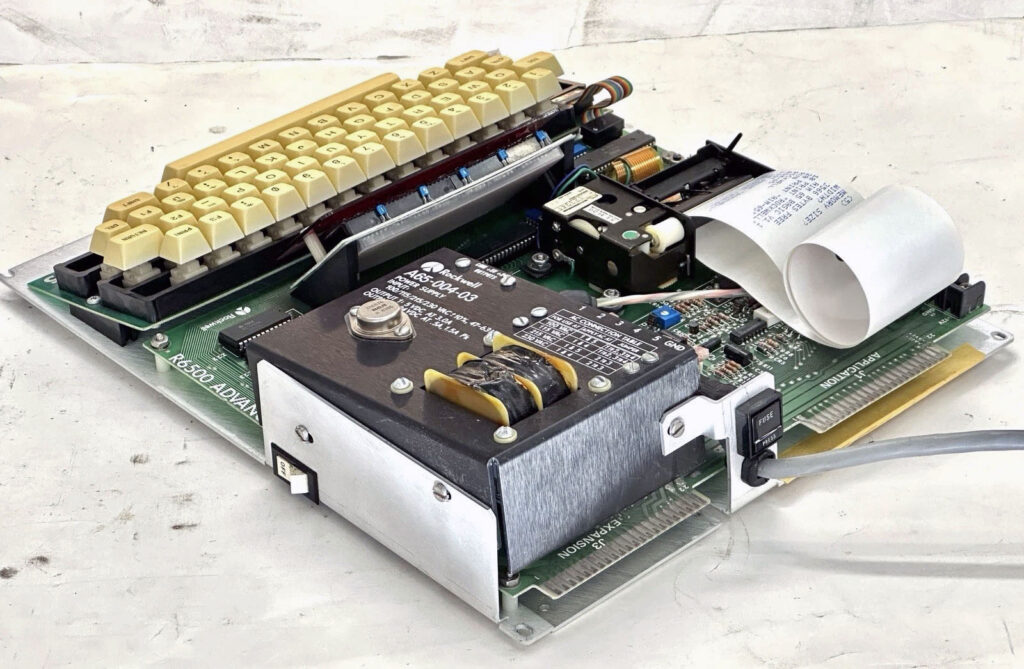
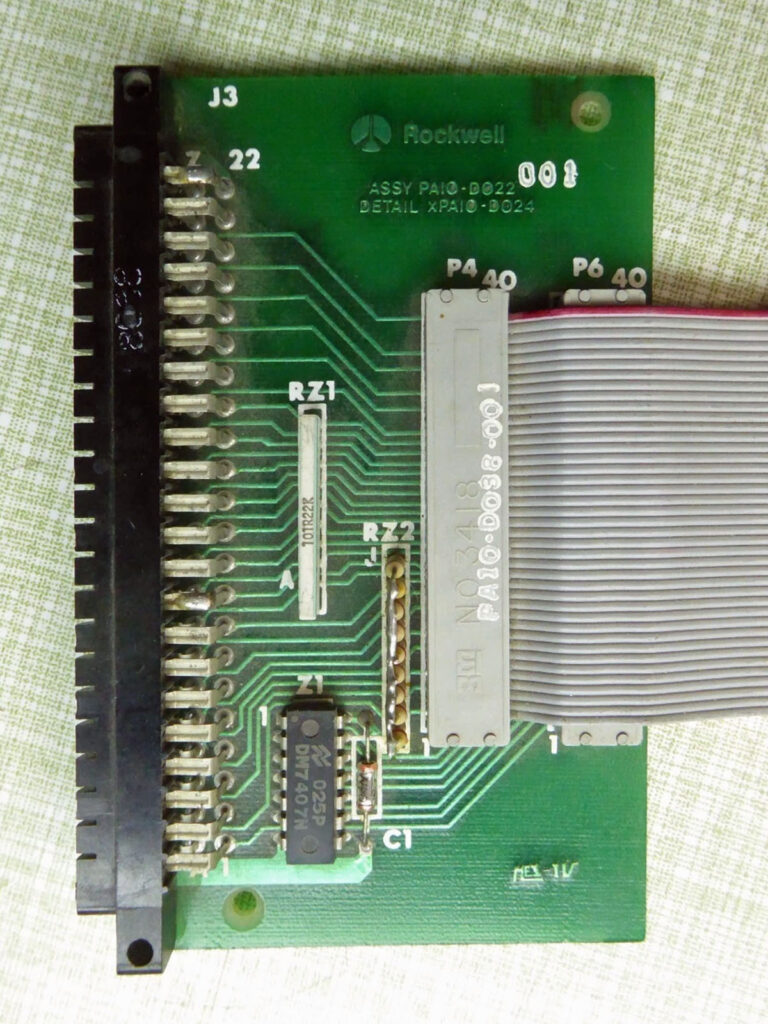
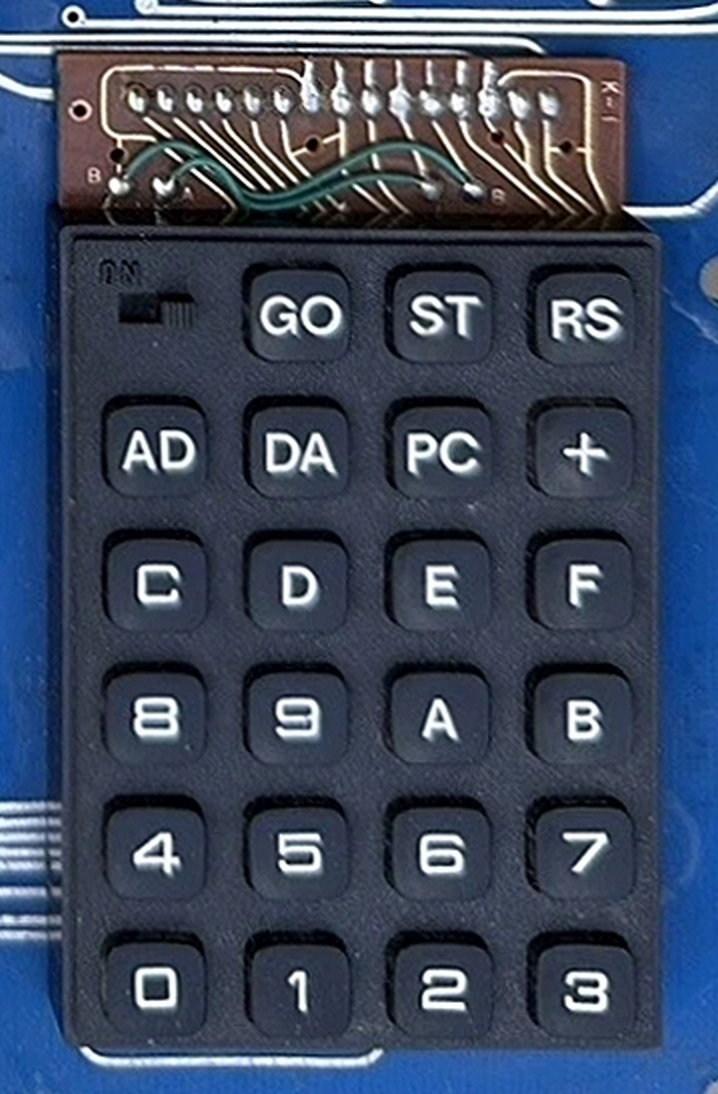
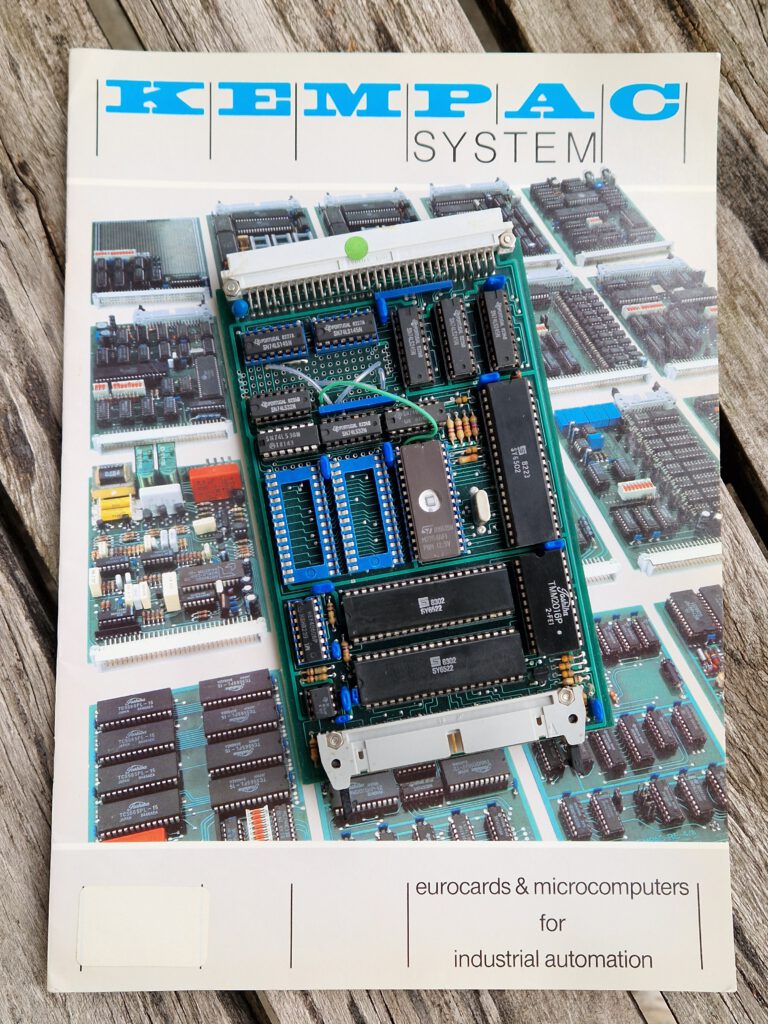
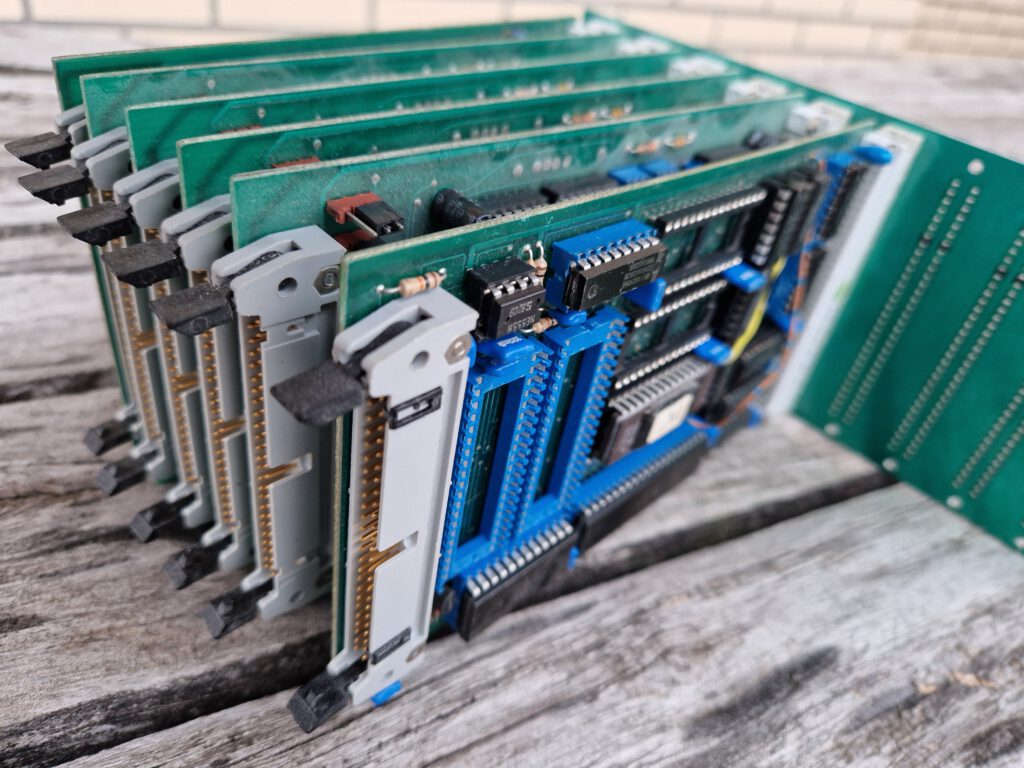
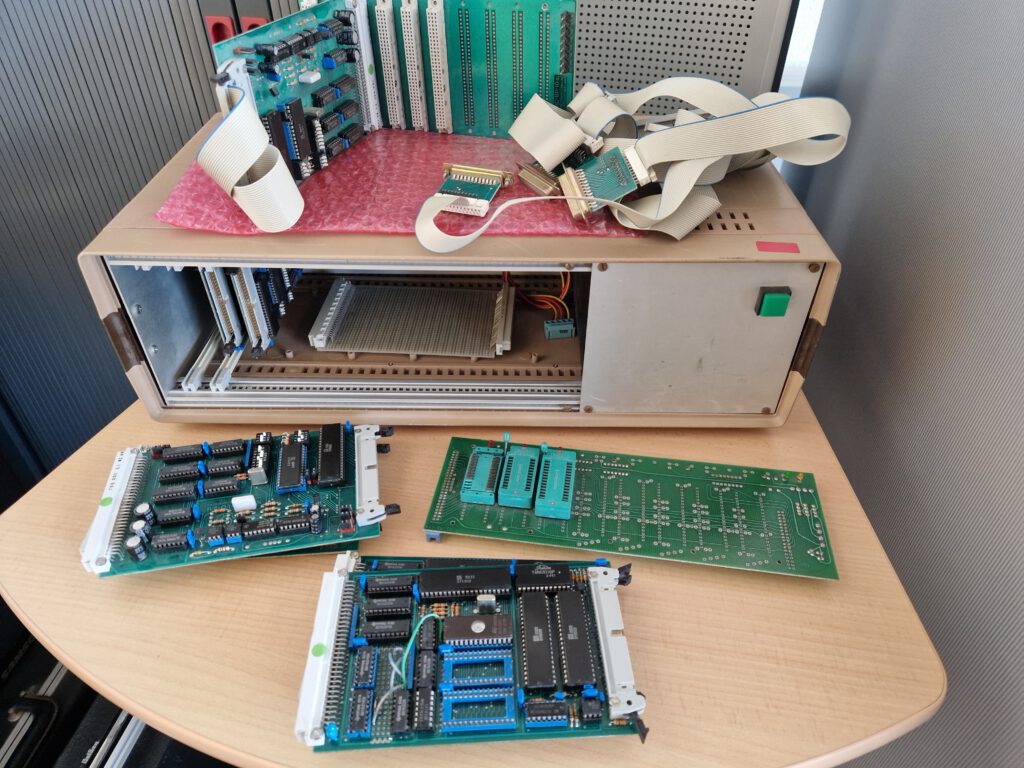
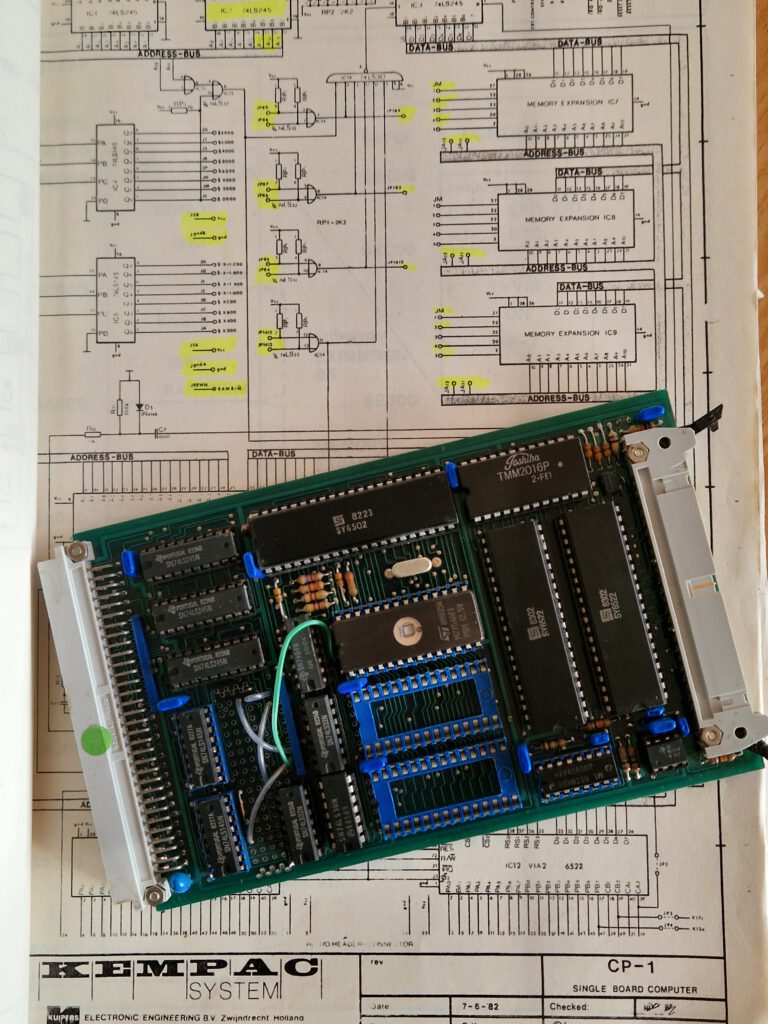
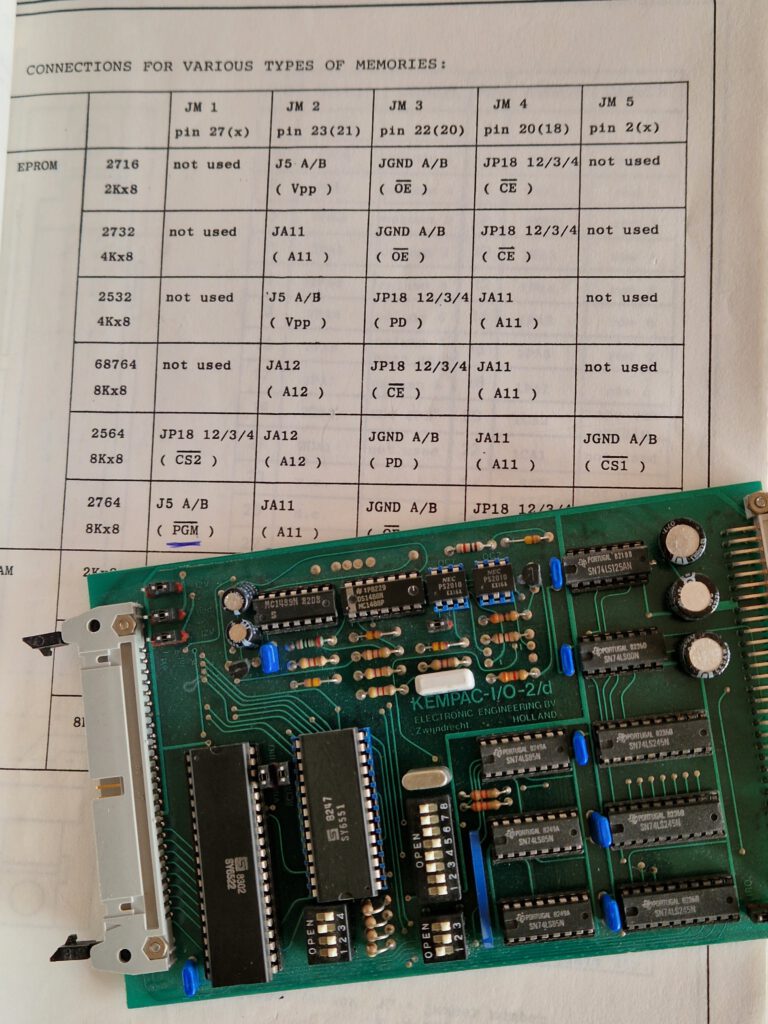
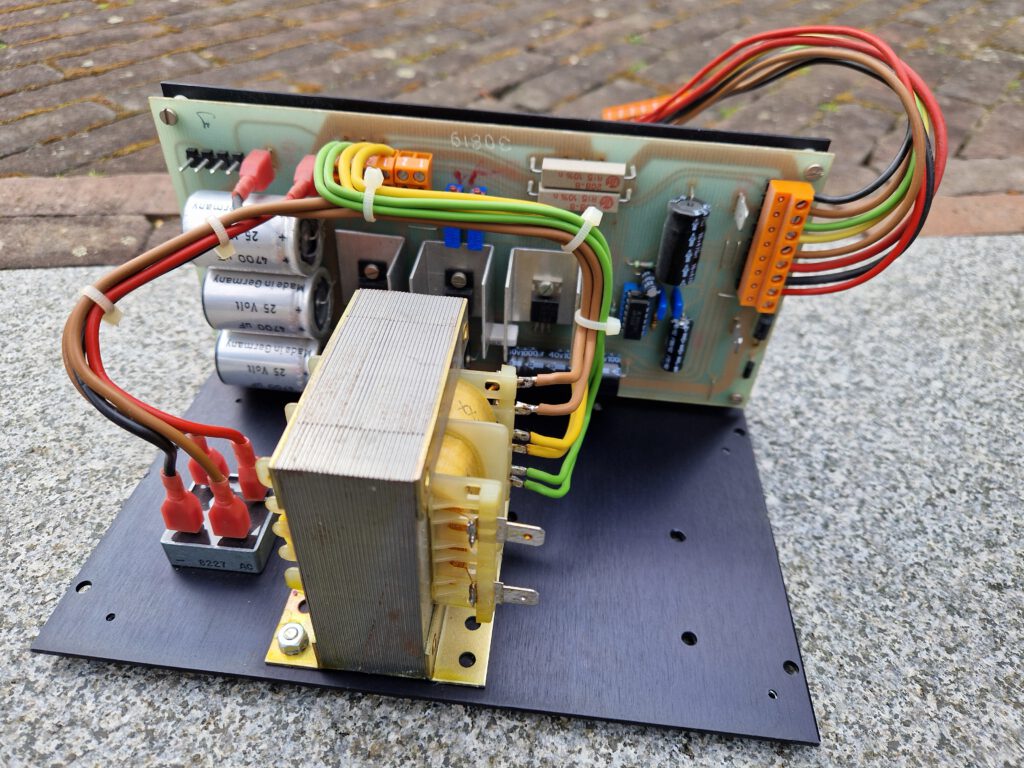
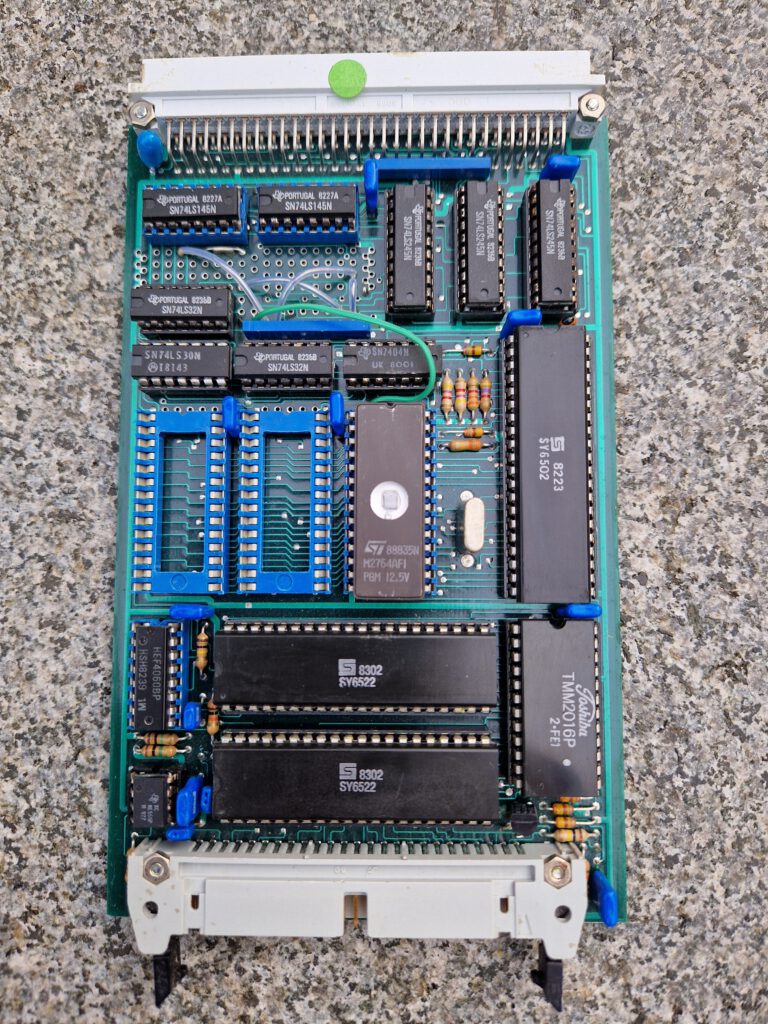
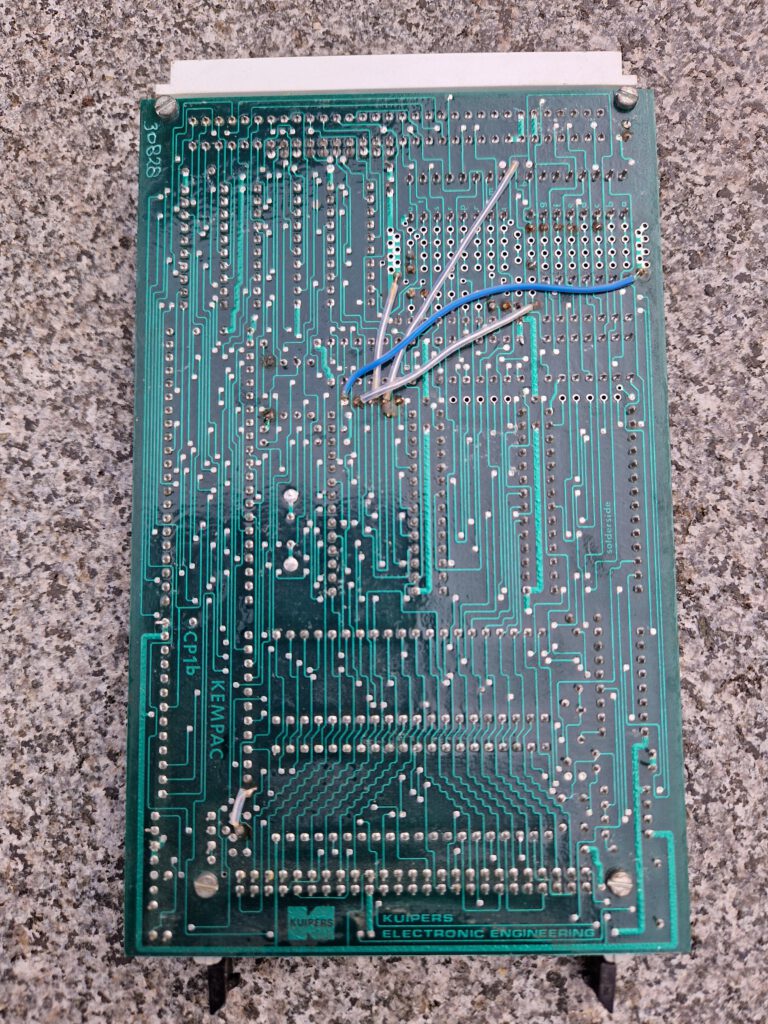
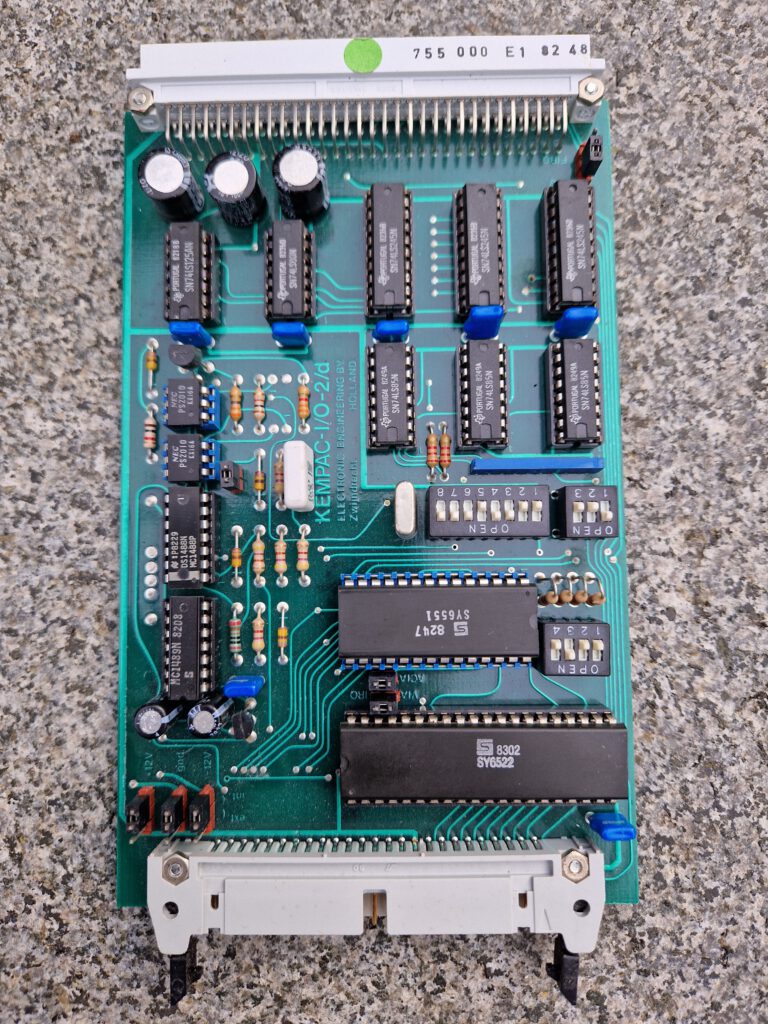
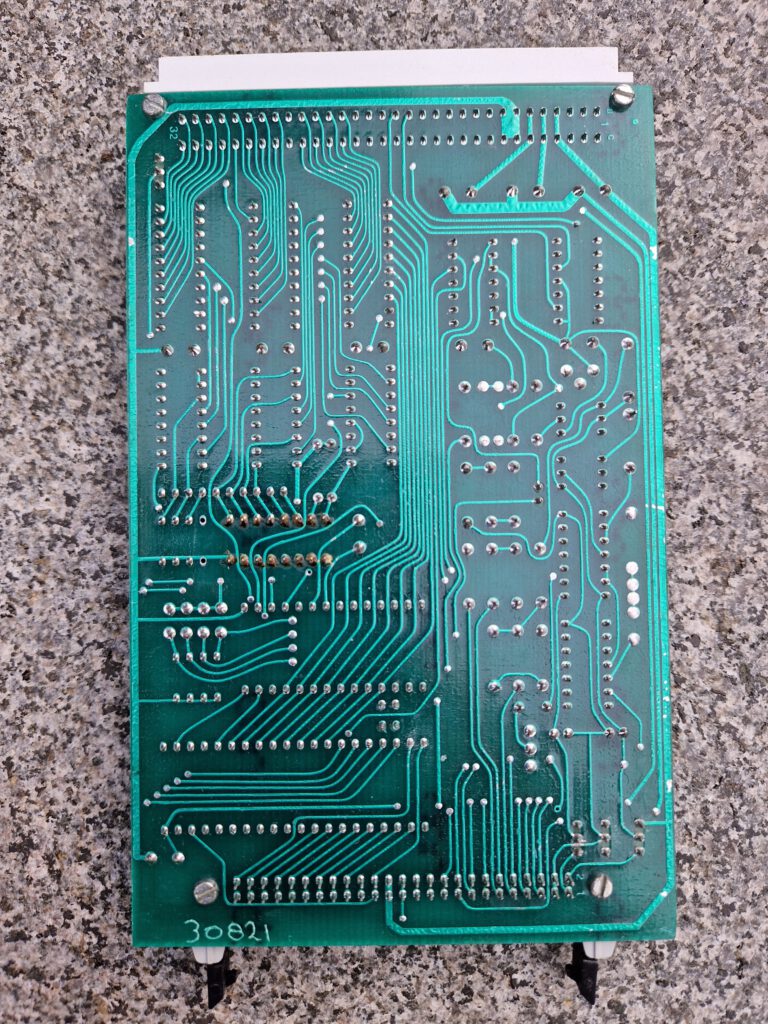
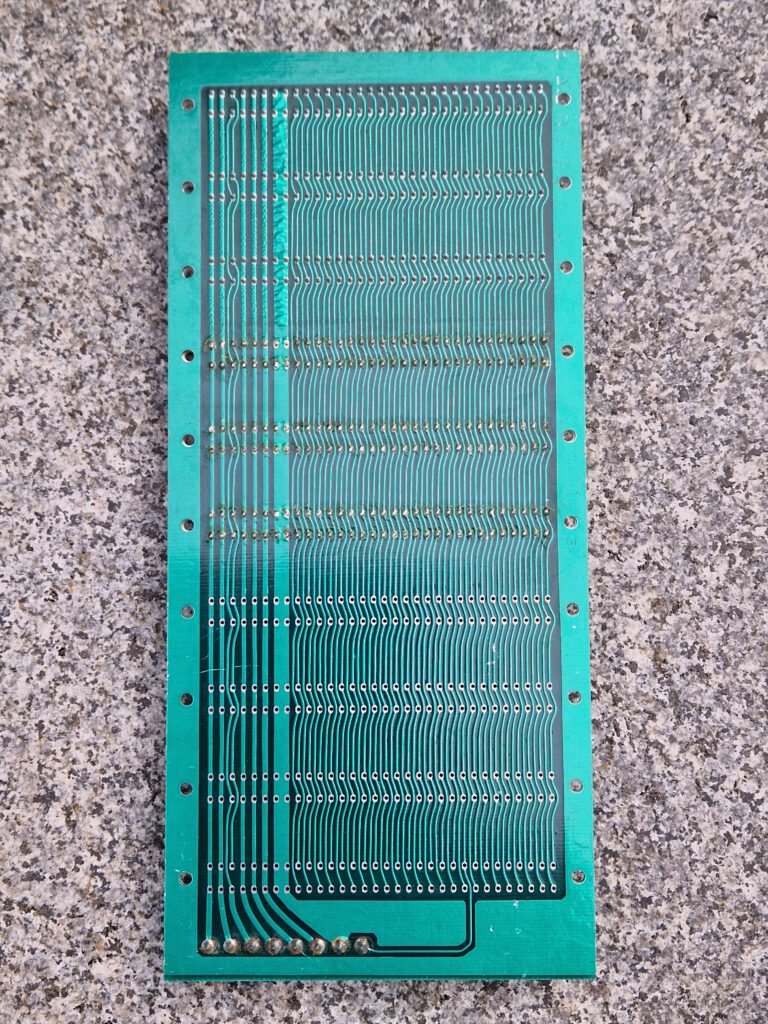
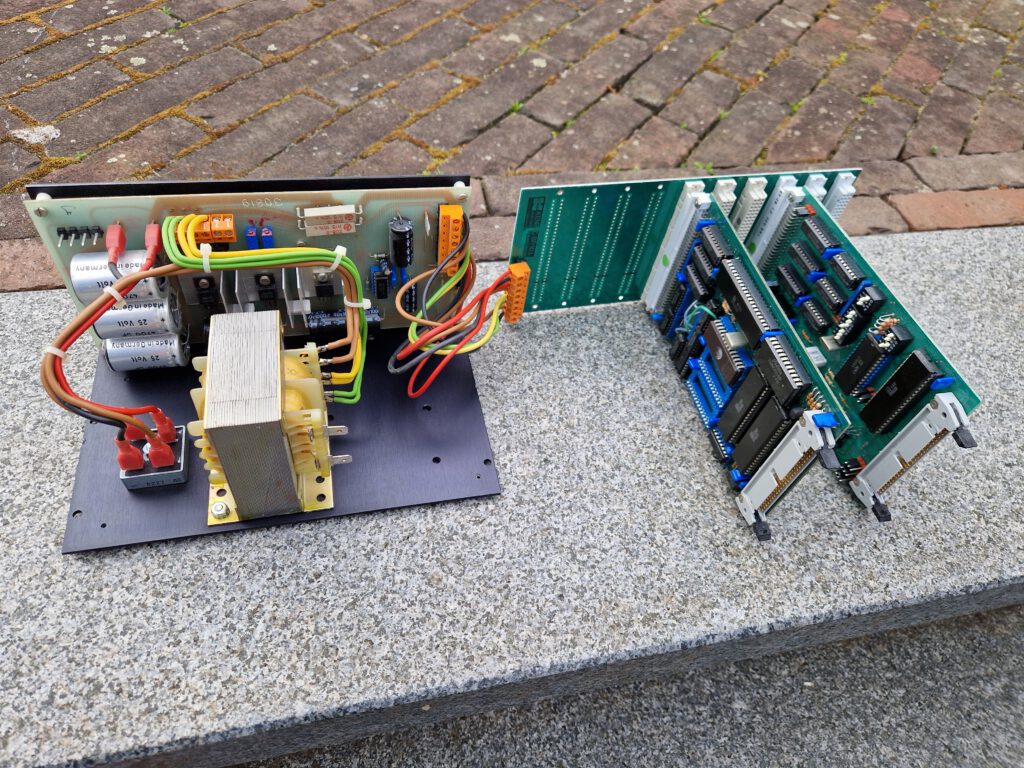
Under the name KEMPAC SYSTEM Eurocards and Microcomputers for Industrial Automation a 19 inch rack system was developed in the 80ties around the 6502 by the (of TMX fame) Kuipers Electronic Engineering B.V., Zwijndrecht
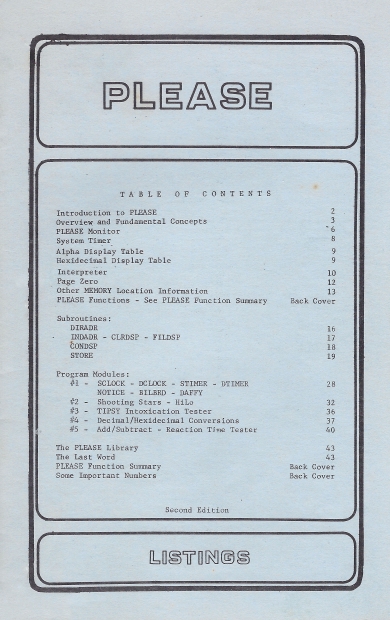
Gerben Voort has acquired such a system and has shared these photos. In the future I hope to scan the documentation.


Kempas was developed by Kuipers Electronic Engineering bv. te Zwijndrecht
From a linkedin link:
Michiel Cornelissen
Afstudeeropdracht bij Kuipers Electronic Engineering bv. te Zwijndrecht: ”Van KEMPAC tot Applicatie; Opzetten van de workshop voor het ontwikkelen van applicaties met behulp van het KEMPAC systeem. Naast de technische ook de didactische aspecten onderzocht.
Directeur Peter-Paul Kuipers van Kuipers Electronic Engineering (TMX) overleed onverwachts op 24 juni 2022. Nu heeft het bedrijf surseance van betaling aangevraagd. © Kuipers Electronic Engineering (TMX)
Directeur Peter-Paul Kuipers van Kuipers Electronic Engineering (TMX) overleed onverwachts op 24 juni 2022. Nu heeft het bedrijf surseance van betaling aangevraagd.
Dubbel drama voor bedrijf: directeur overleden en nu ook financiële problemen
De dertig medewerkers van Kuipers Electronic Engineering (TMX) in Zwijndrecht maken in korte tijd twee drama’s mee.
André Oerlemans
In juni overleed onverwachts hun directeur Peter-Paul Kuipers. Nu heeft zijn broer Robert surseance van betaling moeten aanvragen. Bewindvoerder Jeroen Schras heeft tot november de tijd om het bedrijf te redden. Ondertussen wordt er doorgewerkt.
Het bedrijf aan de Houtkoperstraat bestaat sinds 1976 en levert tele-monitoring voor installaties, waterlopen, bruggen en tunnels.