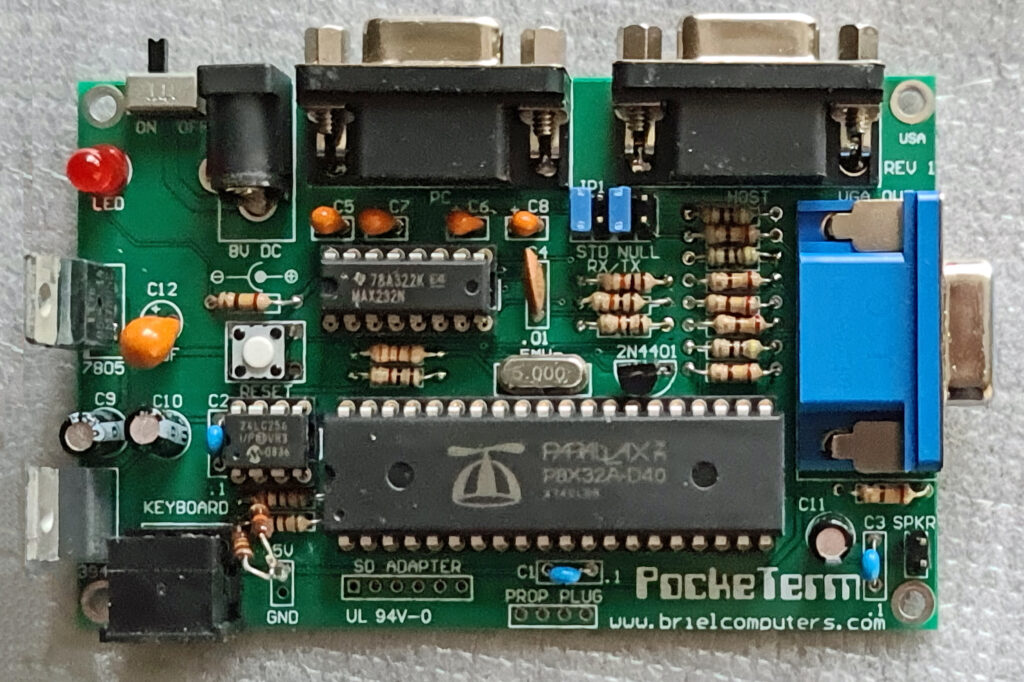
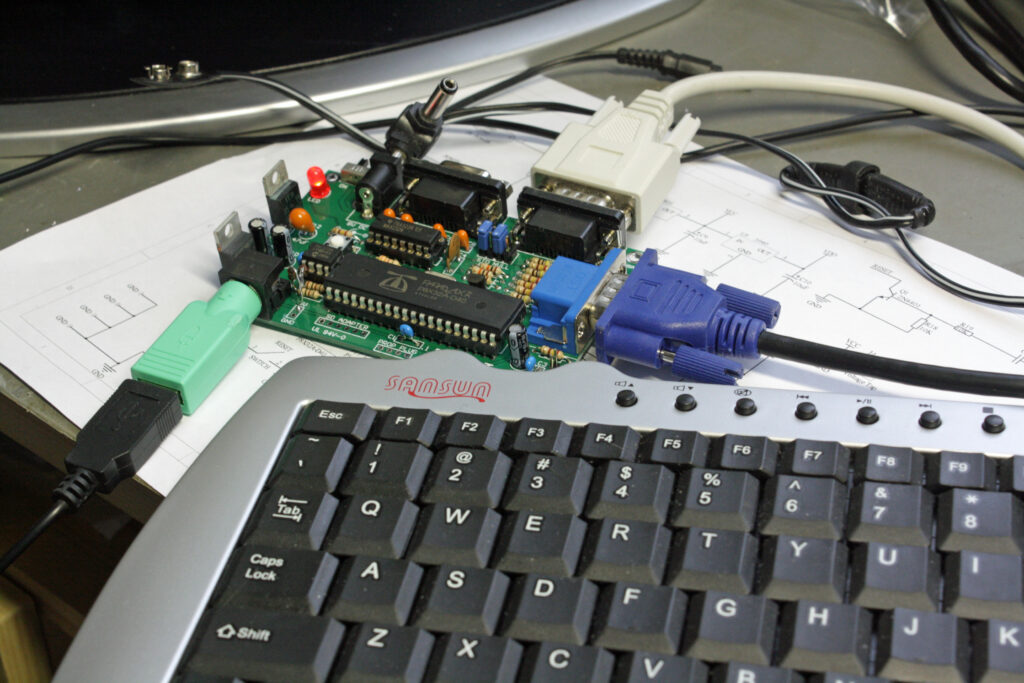
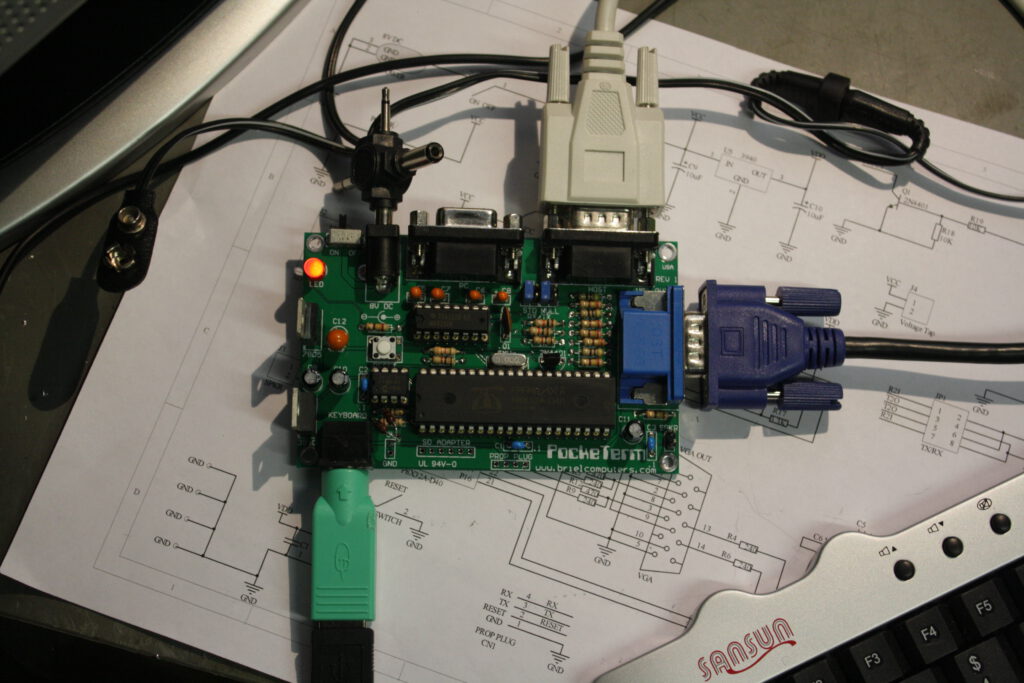
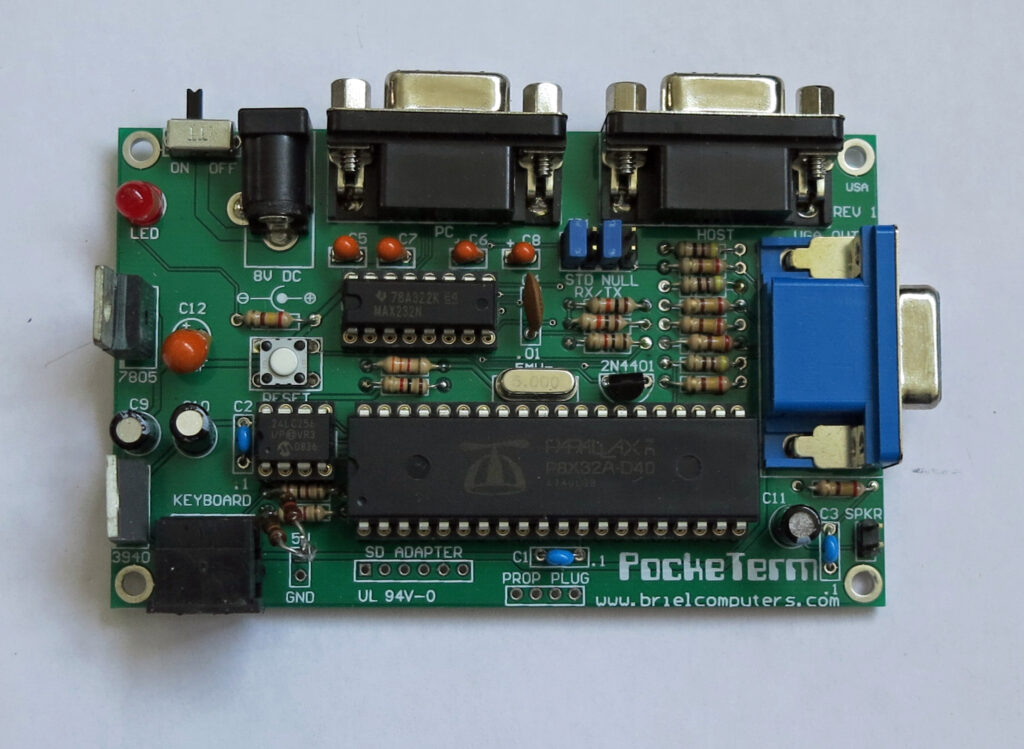
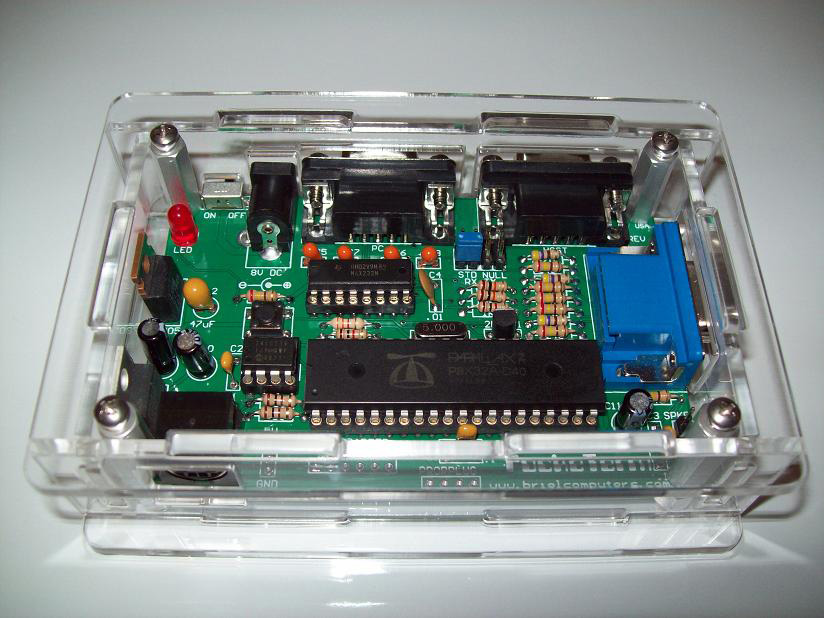
The PockeTerm is a 4″ X 2.5″ single board terminal that uses a VGA monitor and a PS/2 keyboard for its input and output. Dual serial ports gives the user the option of transferring data to/from a PC while still connected to the host device. This terminal was designed to work with vintage computers but is compatible with most systems including Unix and Linux systems. A low cost color choice terminal that has VT-100 compatible commands for controlling cursor and screen functions. Want to program the propeller microcontroller or install an update to the firmware? No problem, just connect the PockeTerm to your PC, run the Propeller Tools software and you can program it from your PC, no expensive Prop Plug required.
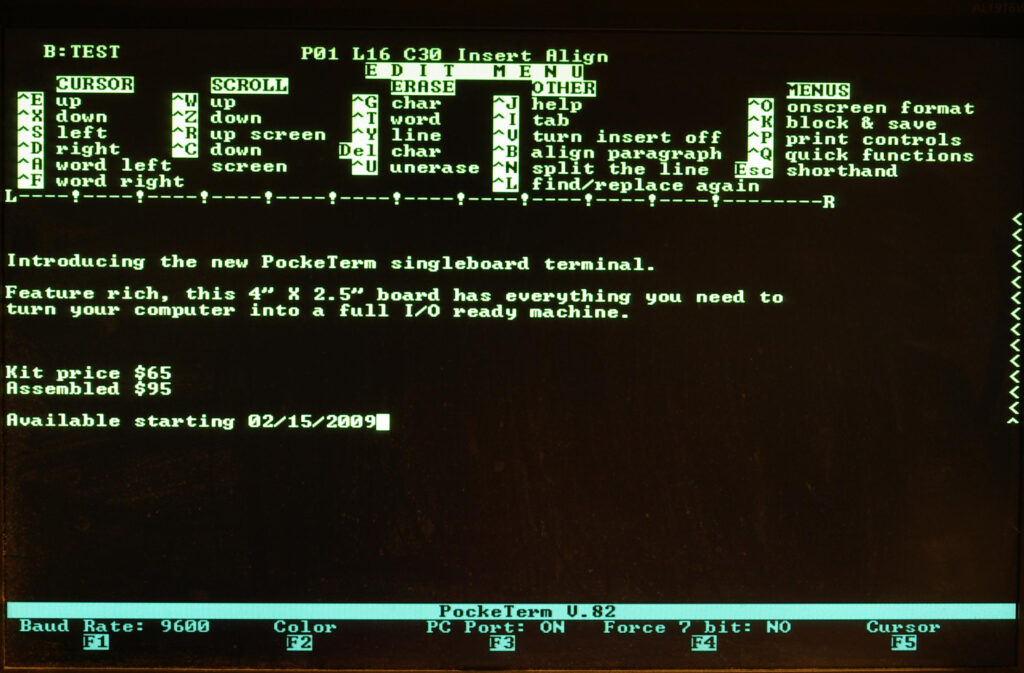
The PockeTerm has a full featured screen with Function key status at the bottom of the screen. Click on the image for a full size photograph of the screenshot.
CTRL-F1 Selects Baud Rate
CTRL-F2 Changes text color of the main display section
CTRL-F3 Turns on/off the 2nd serial port that connects to a PC.
CTRL-F4 Force incoming data to 7 bit ASCII. Strips the 8th bit, required for some systems
CTRL=F5 Change cursor type. Choose from underscore, solid block, or none. Also, choose from blinking or not.
CTRL-F6 Add line-feed to carriage returns
Documents
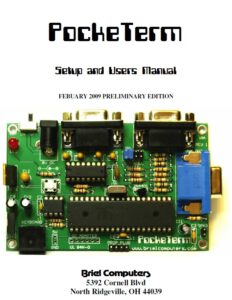 |
Pocketerm Setup and Users Manual 2009 |
 |
Pocketerm Setup and Users Manual V3 2009 |
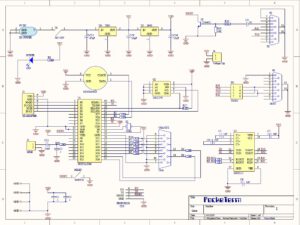 |
Pocketerm Circuit diagram |
| Pocketerm Bill Of Materials | |
| Pocketerm Firmware | |
| Pocketerm CD |
PS/2 keyboards
I have succesfully assembled the kit, the manual guided me just fine through the steps. Took me just over an hour.
The PockeTerm worked right away. Thanks to mfortuna’s tip, put jumpers in 1&2 and 5&6, and testing is independent of cables and computers to connect.
A standard keyboard with PS/2 worked. What did not work was my mini-USB keyboard (standard PC keyboard without numerical pad, and smaller size, like notebook keyboards) connected via an USB to PS/2 converter. The USB keyboard is ok, works with the PC’s and the Apple 1 kits via the USB-PS/2 dongle. I bought it because the smaller size looks better with the small computers and takes less desk space With the scope I found the PS/2 clock/data line (cant remember which one), to be open, as if nothing connected. So something is missing to make the USB device come alive. I googled around and found this: http://www.parallax.com/Portals/0/Downloads/docs/prod/edu/28060-PS2Adapter-v1.0.pdf
In it I saw a schematic how to connect a Parallax mini PS/2 keyboard, and it was different from the PockeTerm PS/2 interface. It has additional 10k pull-ups connected to the PS/2 clock and data. I soldered in the two 10k’s and the mini keyboard came alive!
Program the Propeller Notes by Vince Briel
- Go download propeller tools from parallax here: http://www.parallax.com/Portals/0/Downloads/sw/propeller/Setup-Propeller-Tool-v1.2.7-(R2).exe
- Install propeller tools
- Place the firmware directory from your PockeTerm CD onto your hard drive here:
C:\program files\parallax inc\propeller tool v1.2.7 (r2)\ - Connect your PockeTerm to the RS232 port labled PC and turn on your PockeTerm.
- Under the propeller tools program click on the section File and find the firmware directory you just copied onto your hard drive and select the file
PockeTermV.905.spin - Press F11 on your PC keyboard and the propeller tools will compile and attempt to find a Propeller chip connected to a serial port on your PC. If your
connection is good it will program the RAM first on your Propeller chip then program the EEPROM.
The PockeTerm makes a really good development board for learning how to program the Propeller chip. For more information on programming the Propeller,
please visit the Parallax forums here: http://forums.parallax.com/forums/default.aspx?f=25
The above steps will program the Propeller with the code that is now resident on the EEPROM onboard the PockeTerm. Change step 3 to the location of the program you wish to insert onto the PockeTerm.