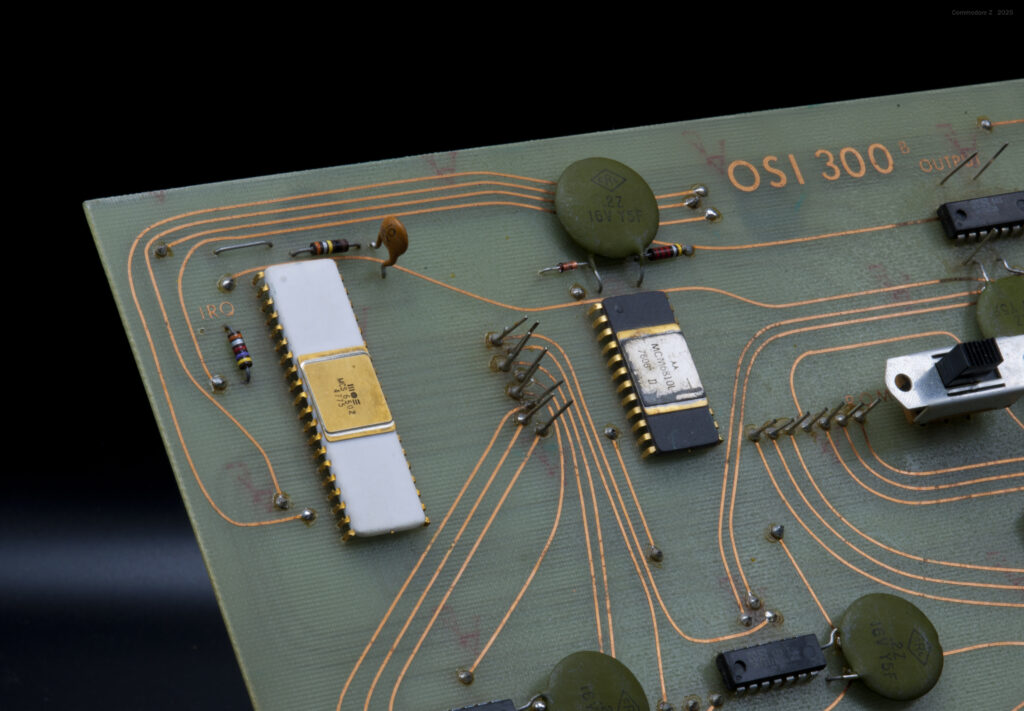
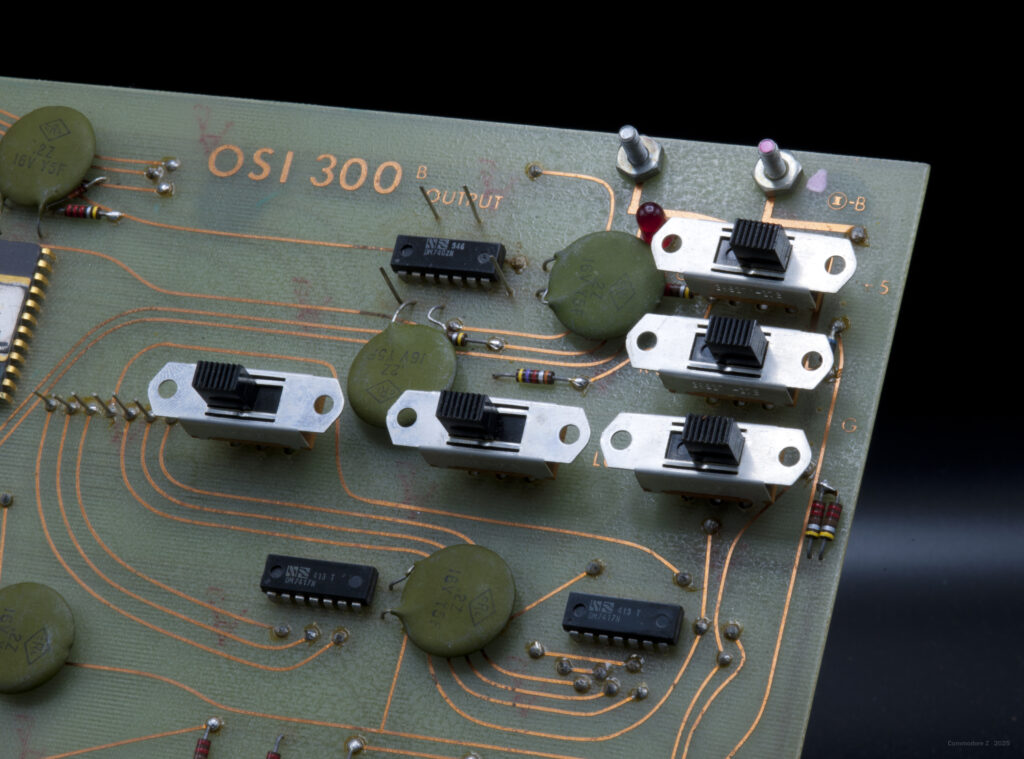
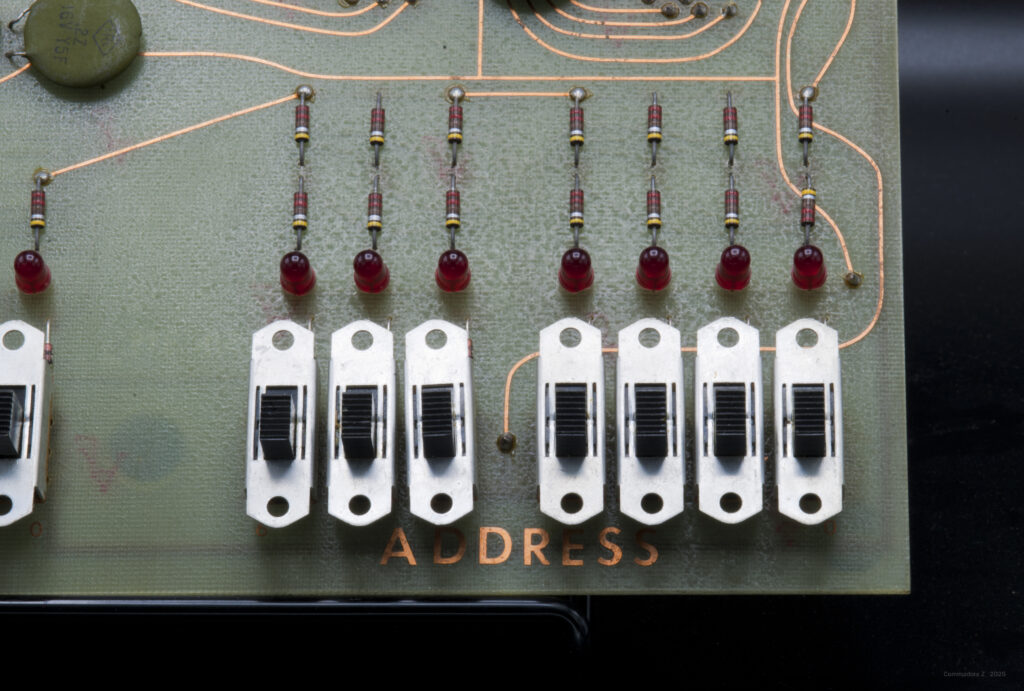
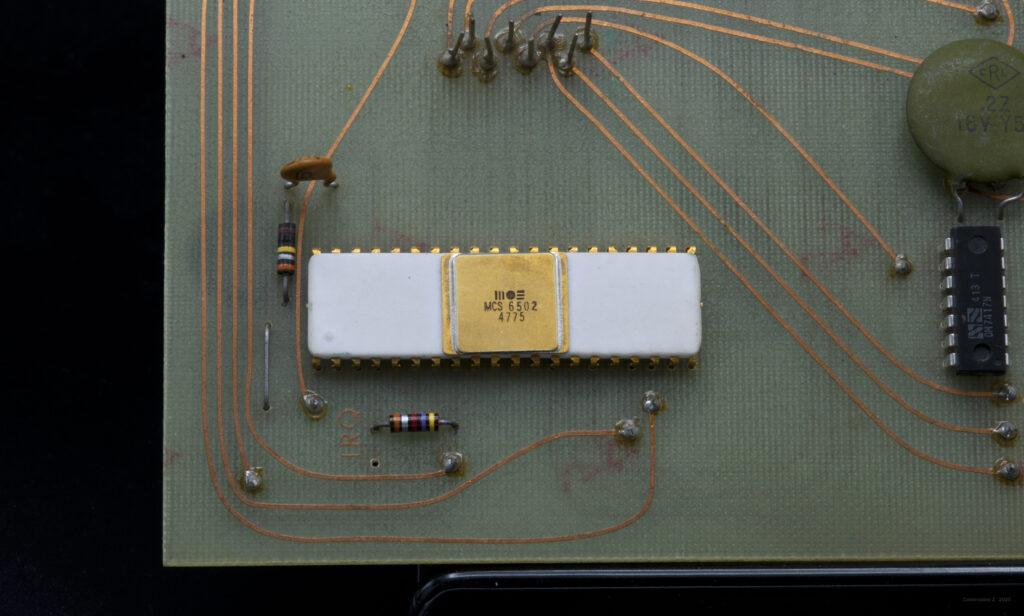
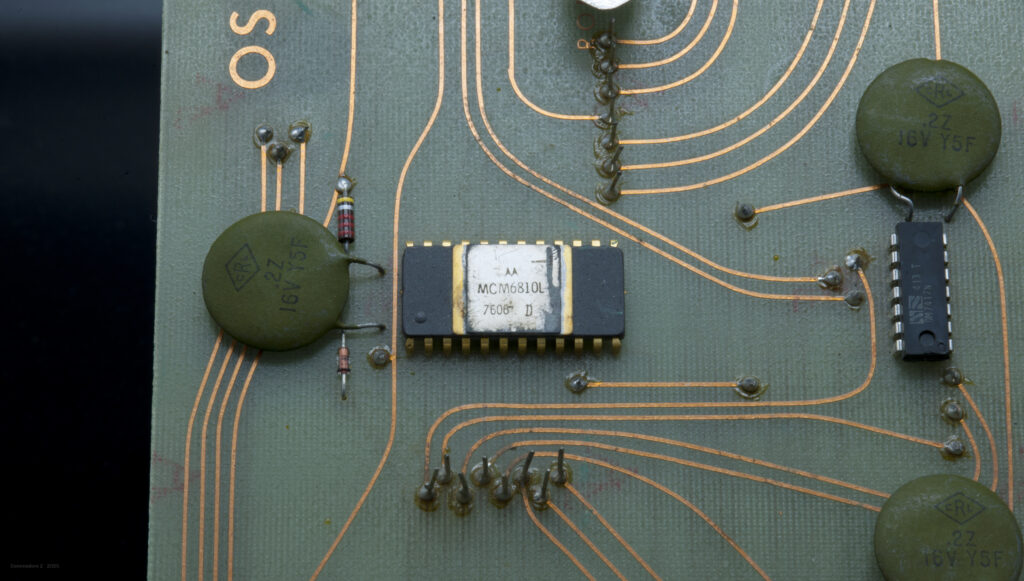
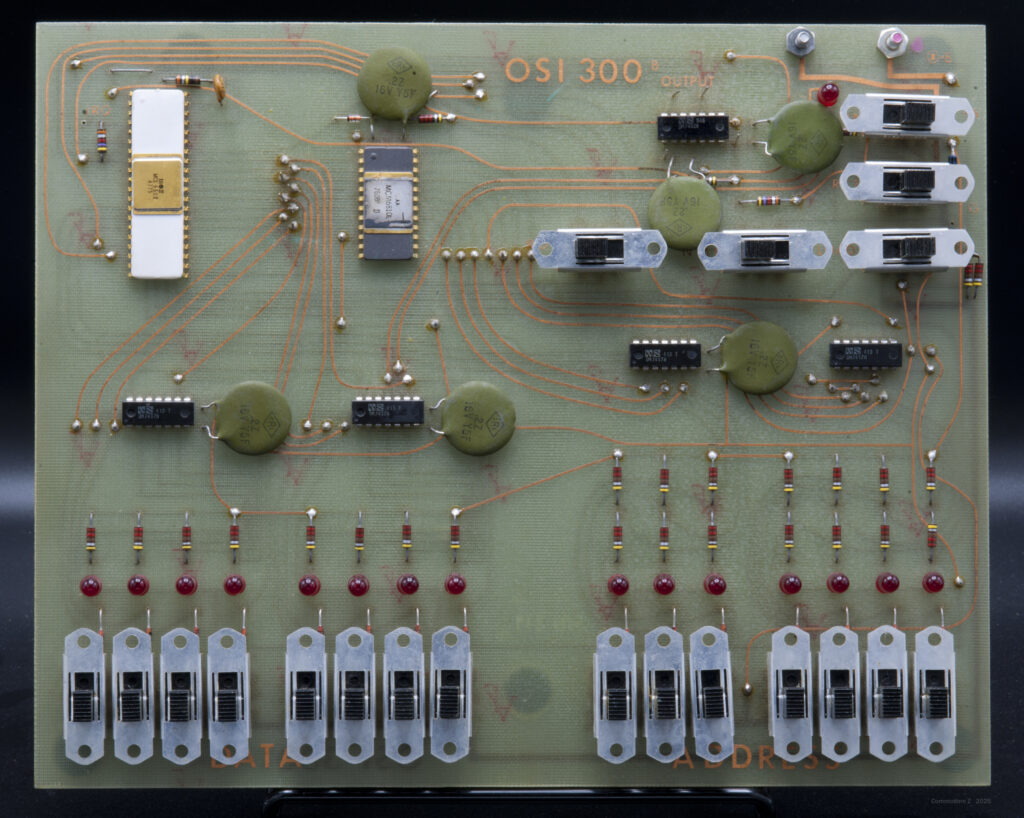
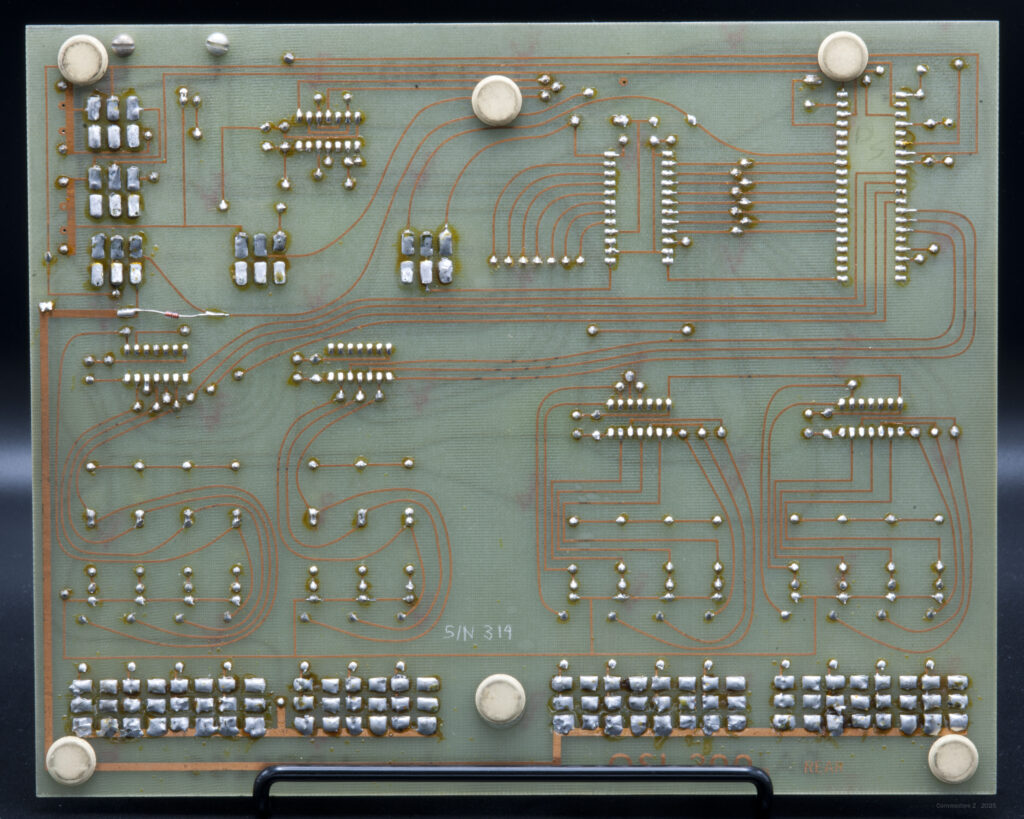
As simple as can be, a complete SBC for the 6502, the OSI 300. A 6502 trainer with 128 bytes of RAM, and binary switch programming, with two input lines and a 1-bit output latch. On a 8 by 10 inch, 2.3 by 25.4 cm PCB. Designed as a learning tool, the manual is essentially a comprehensive introduction to bare-metal 6502 programming
On this page: photos (thanks Early Computers) , photos by Commodore Z, the reconstructed scanned manual(thanks OSIWEB for the scan), and the reconstructed circuit diagram and design notes (thanks Randomvariations)
Downloadable documents
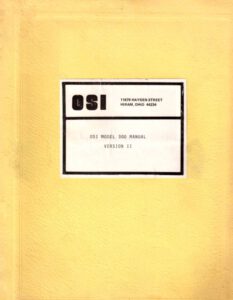 |
OSI Model 300 Manual Version II With V III addition, schematic and layout as Appendix |
 |
OSI brochure |
From the OSI 300 manual: The Model 300 is a completely assembled and tested, ready to use, computer designed to bootstrap the student, hobbyist, and engineer into the micro-computer world. Since the manual assumes no previous knowledge of computers or digital electronics, it is also ideal for self-teaching.

(from Byte January 1977 )
For only $99 you would get the OSI 300 (completely assembled and tested) and a lab manual. You could rig 4 alkaline D batteries together and get up to 20 hours of use.
The Model 300, although extremely simple, did have input and output capability. The lab manual consists primarily of 20 experiments one of which is how to output the letter A to a teletype machine.
It does not have any storage capability so when you turned the power off, you lost everything you had laboriously entered. And the process of entering data iss not easy. You have to enter each two letter operating code and the register in which it was stored, line by line.
From a brochure, early in Ohio Scientific history on OSI 300 and OSI 400:
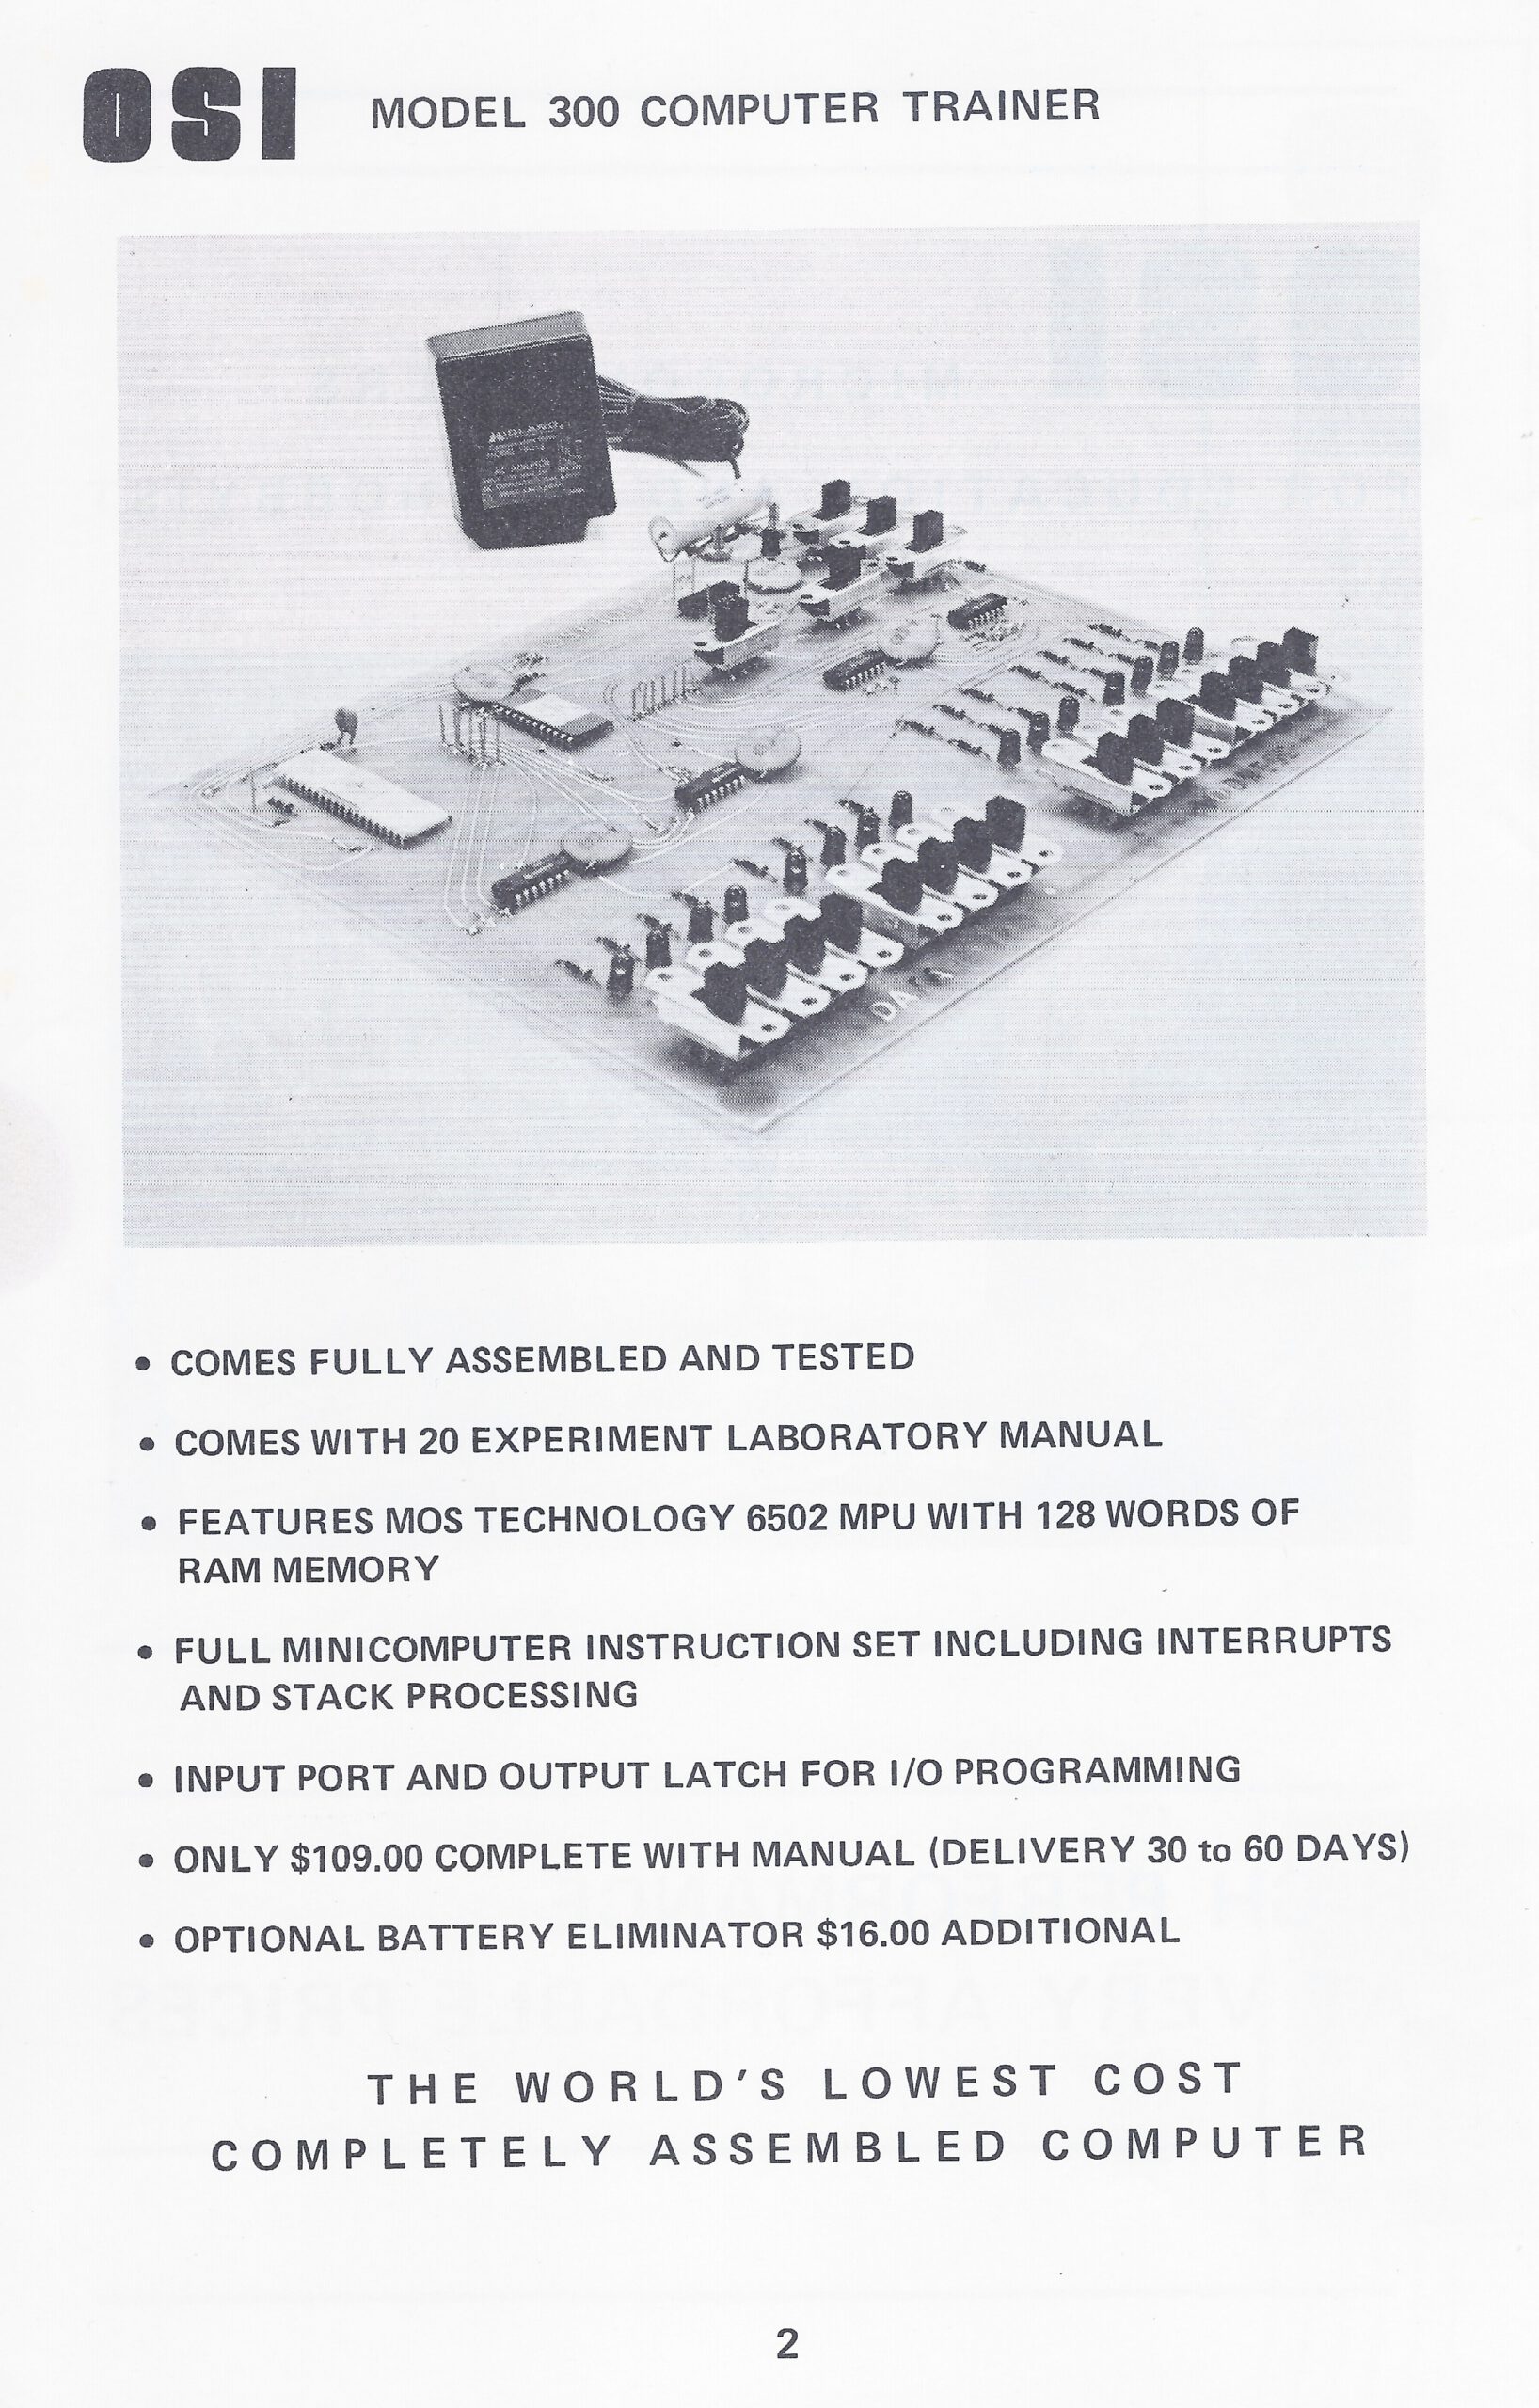
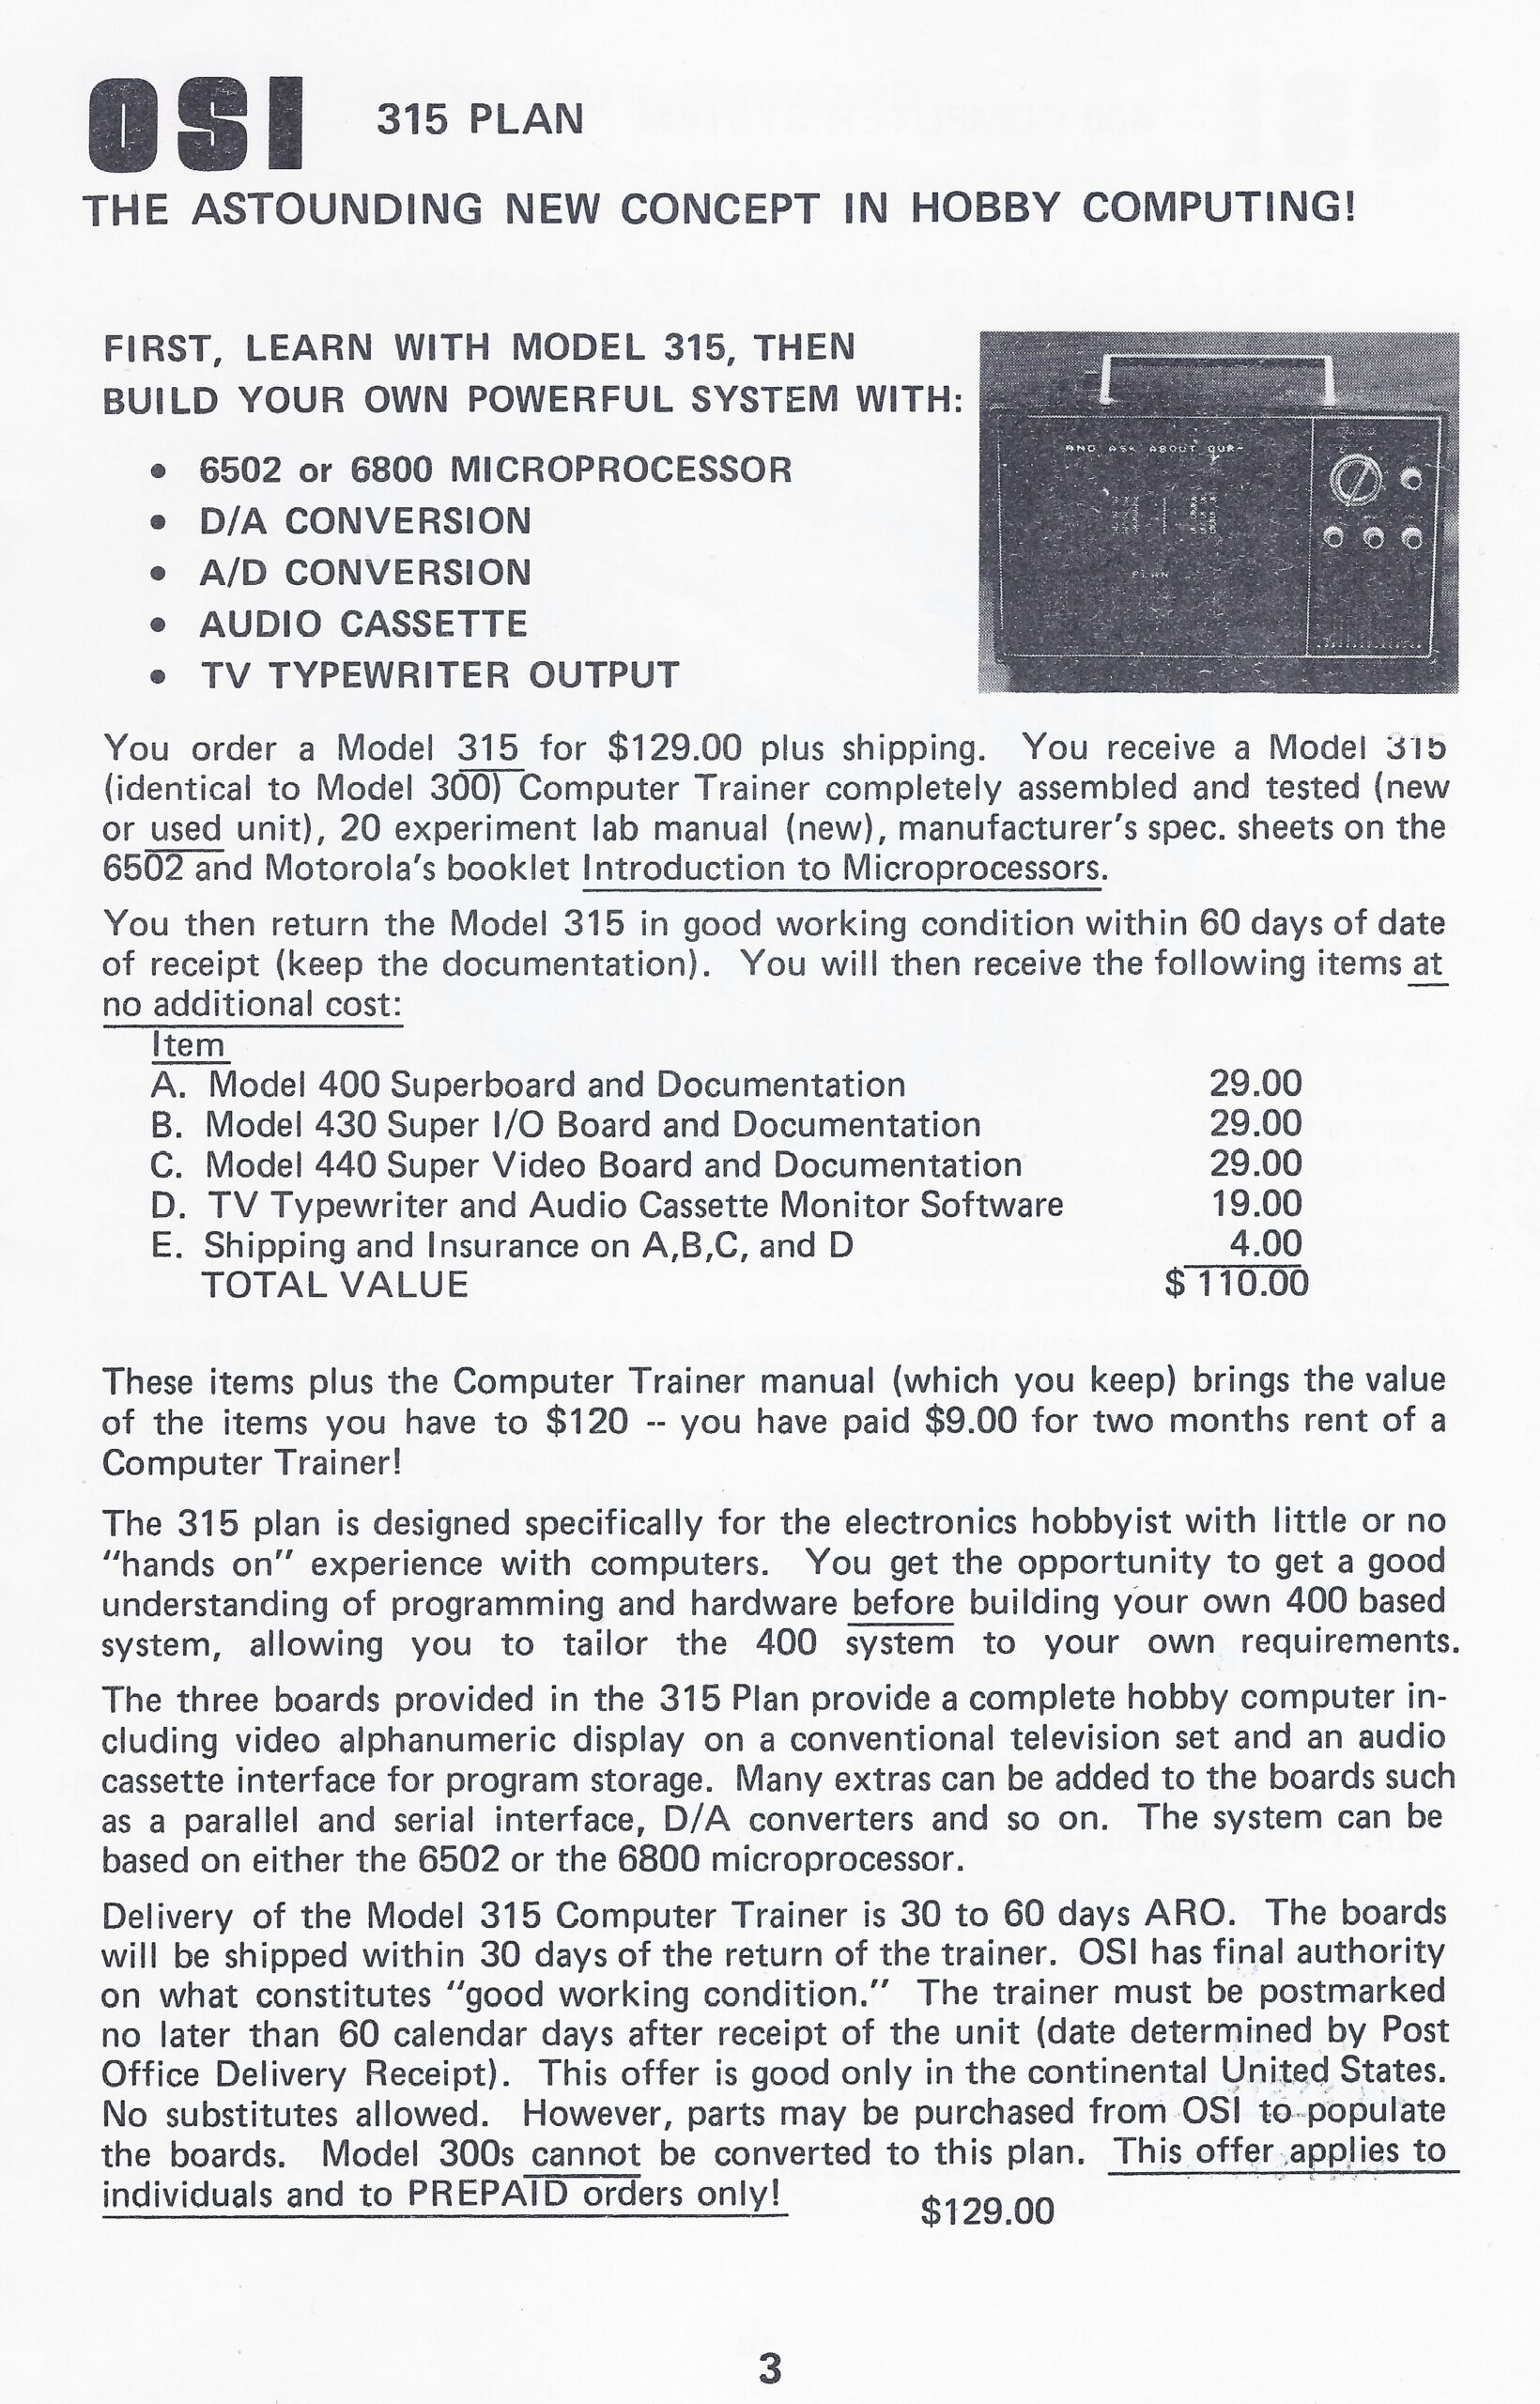


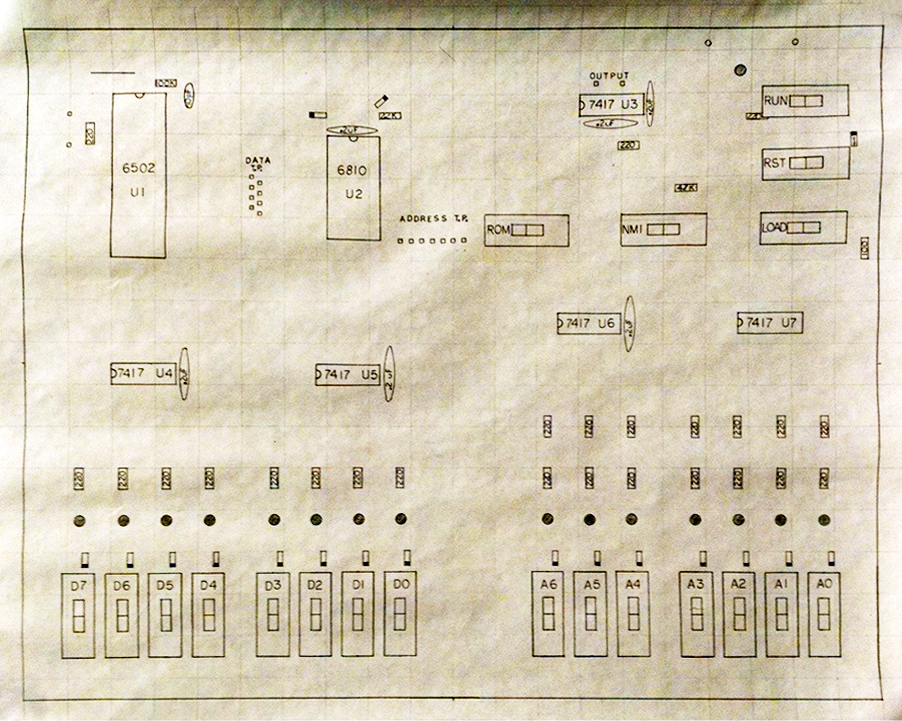
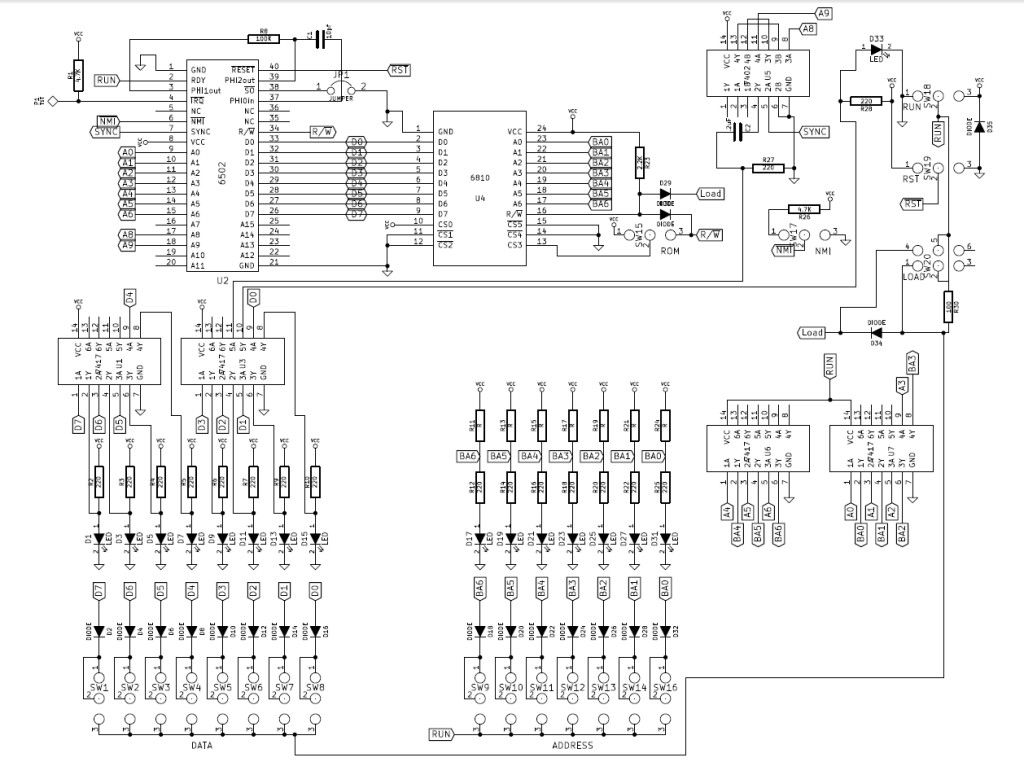
The OSI Model 300 Computer Trainer was advertised by Ohio Scientific Instruments in 1976 as a computer designed to introduce individuals to computers and teach them the basics of programming the MOS 6502 processor. The original trainer consists of a MOS 6502 processor, 6810 128 byte static RAM, one bit output latch, switches for entering data, and LEDs for reading the values of RAM. Here the original reconstructed circuit:
Here the modern reconstruction, reconstructed circuit diagram and design notes (thanks Randomvariations)
See also the unfinished project to replicate the PCB at hackaday.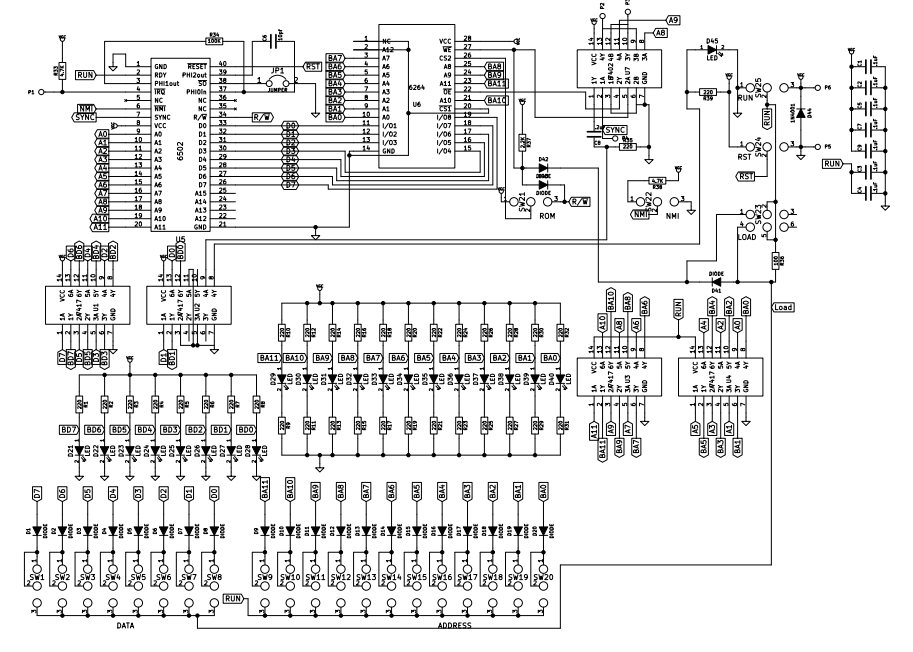
(click on the circuit to see the hires pdf)
There are several interesting design decisions made to keep the parts count and price down. The first is the usage of a resistor and capacitor to act as the clock. This takes advantage of the internal clock generator on the 6502.
The four buffer chips (7407/7417) provide multiple purposes. For the data lines, they act as drivers for the data LEDs and the run LED. For the address lines, they buffer the lines with the outputs driving both the address LEDs and the address lines for the RAM. The power to the address buffers is only turned on when the RUN switch is active. This in effect tri-states the address lines when the RUN switch is disabled, allowing the switches to drive the address lines without interference from the CPU. This is because the 6502 is incapable of releasing the address lines.
The final chip, a 7402 (quad NOR,) inverts the SYNC line, driving an RC network to stretch it, before it is finally buffered to drive the run LED. Two of the gates form a basic SR latch controlled by the address lines for page 1 and page 2.
In the schematic generated, the diodes are likely 1N914 or similar with the exception of D35, which is intended for reverse polarity. It is most likely a 1N4001.
The RUN switch controls several parts of the circuit. When connected to Vcc, the processor will access the RAM, and the 7417 address buffers are enabled. When RUN is connected to ground, it will stop the processor from accessing memory, and isolate it from the buffered address lines by turning off the 7417 address buffers. This is important because the NMOS version won’t tristate the address lines.
Additionally, RUN connects ground to the LOAD switch and each of the address bus switches, which are normally pulled high by the current limiting resistors. Each of the data switches is also connected to the run output through a small 100ohm resistor. Thus, when they are switched down (on) they connect the corresponding address or data line to form a low on the corresponding input.
When the LOAD switch is activated, the ground connection from the RUN switch is connected through a diode-or to the /W input on the RAM. This completes the necessary inputs to write the data to the RAM. When LOAD is released, the resistor in the diode-or pulls the RAM R/W pin up, and the RAM outputs the current value. This value is output by the data 7417 buffers to the corresponding data LED.
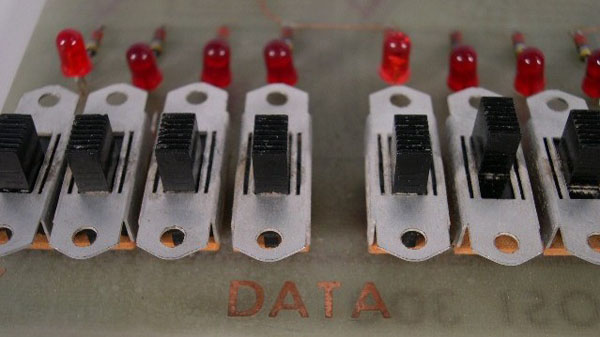
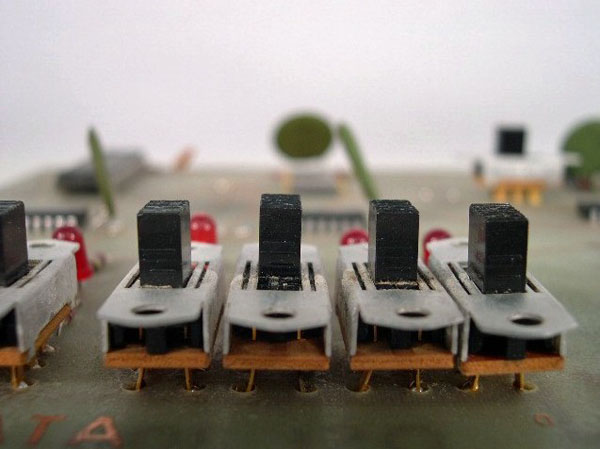
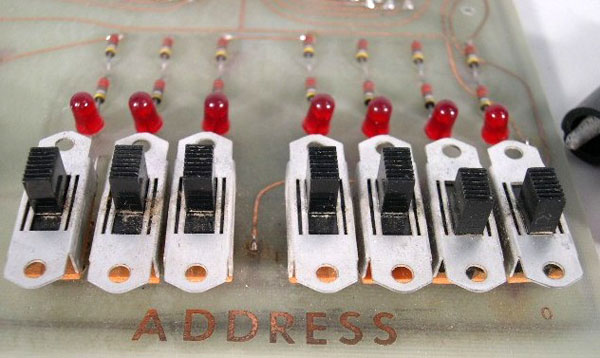


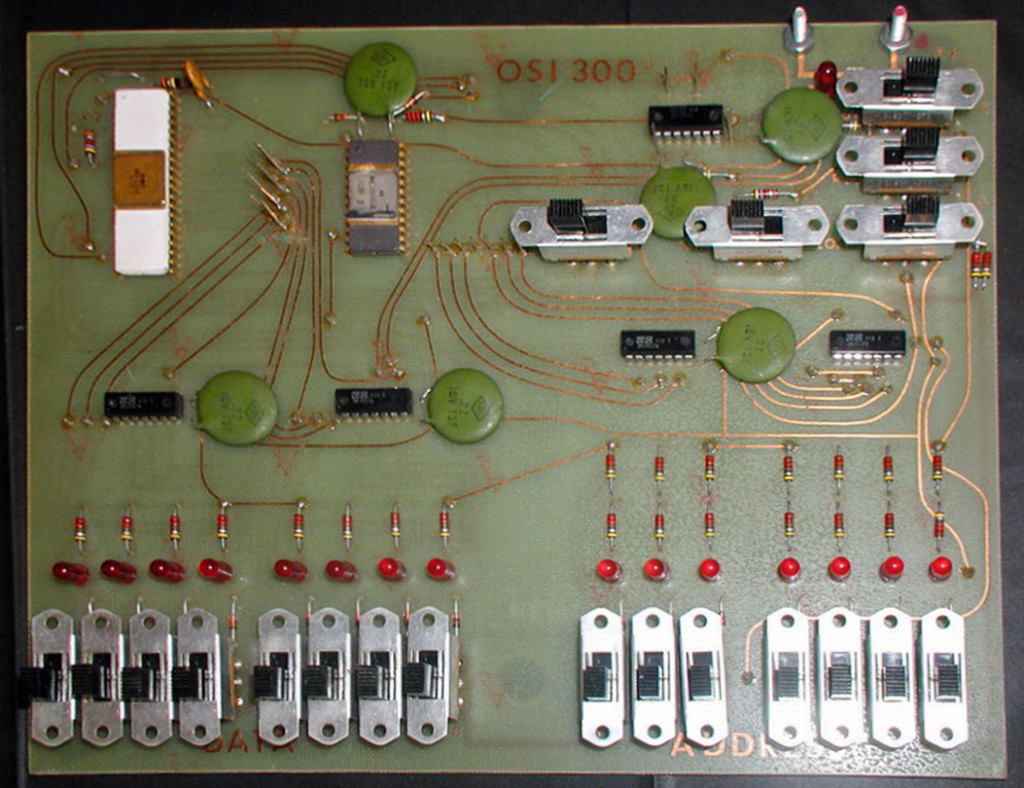

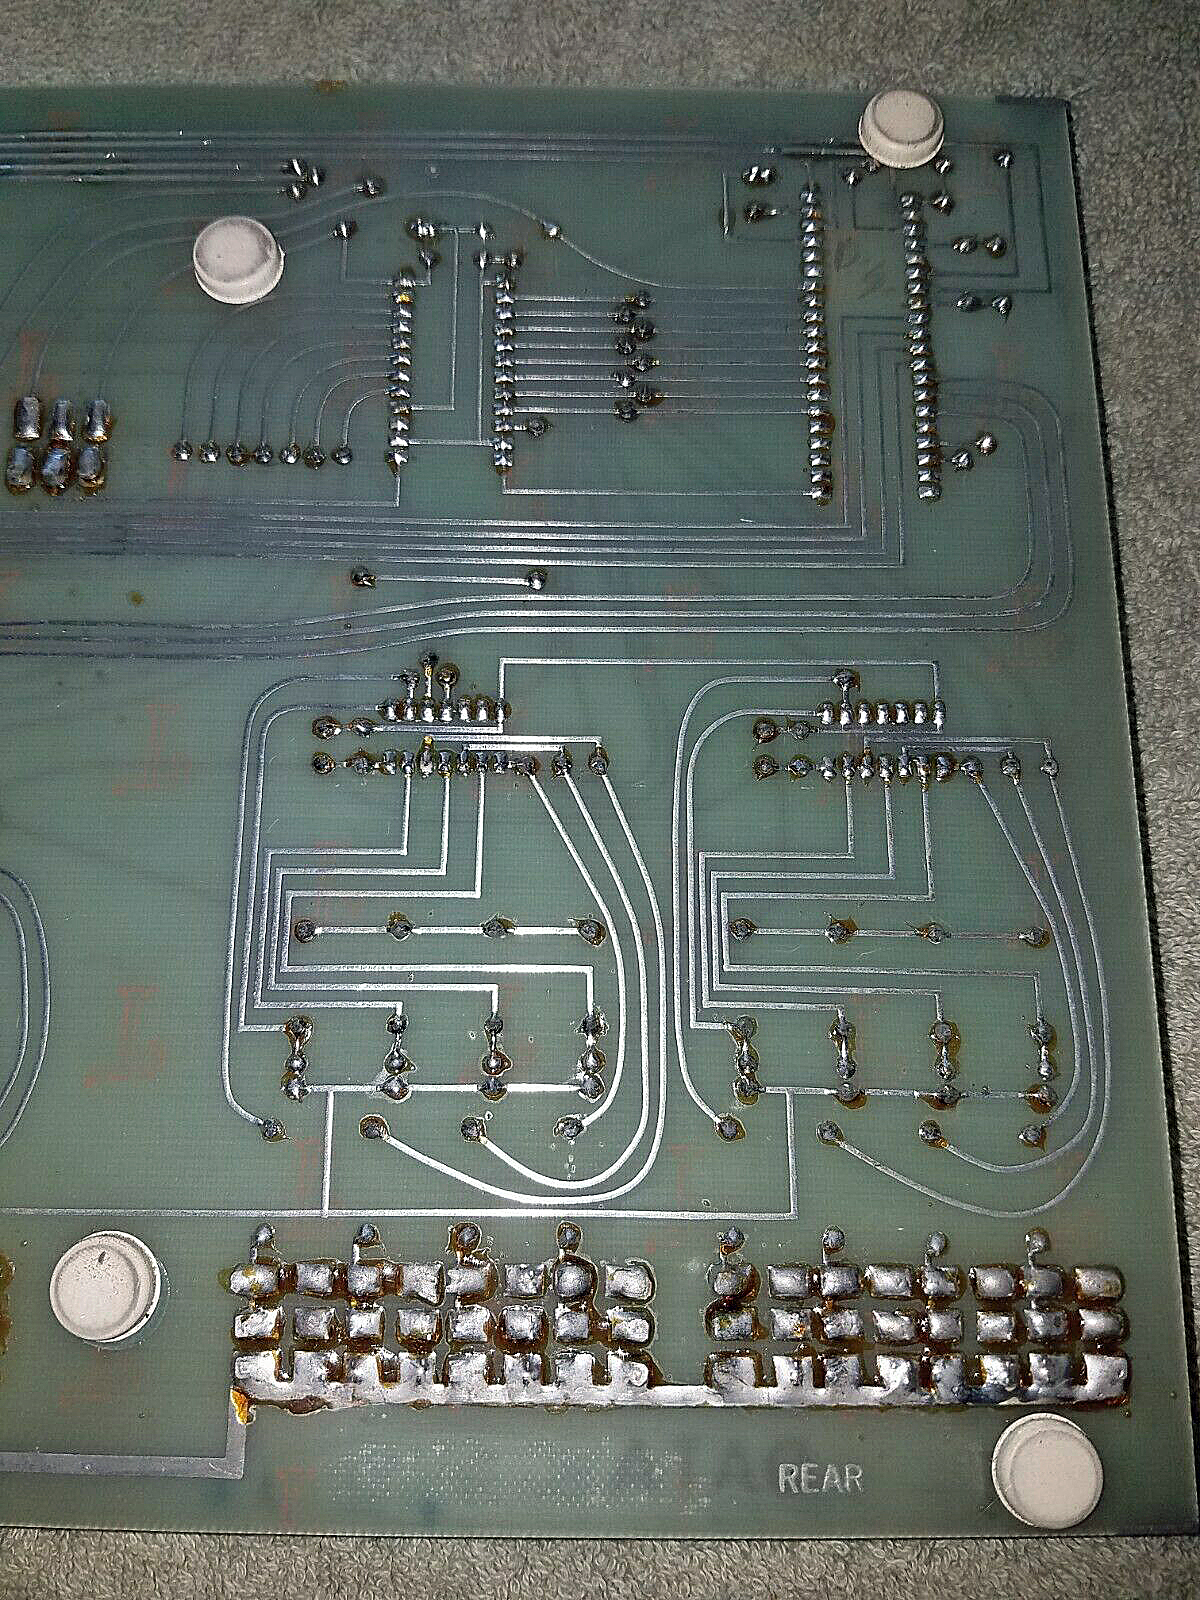
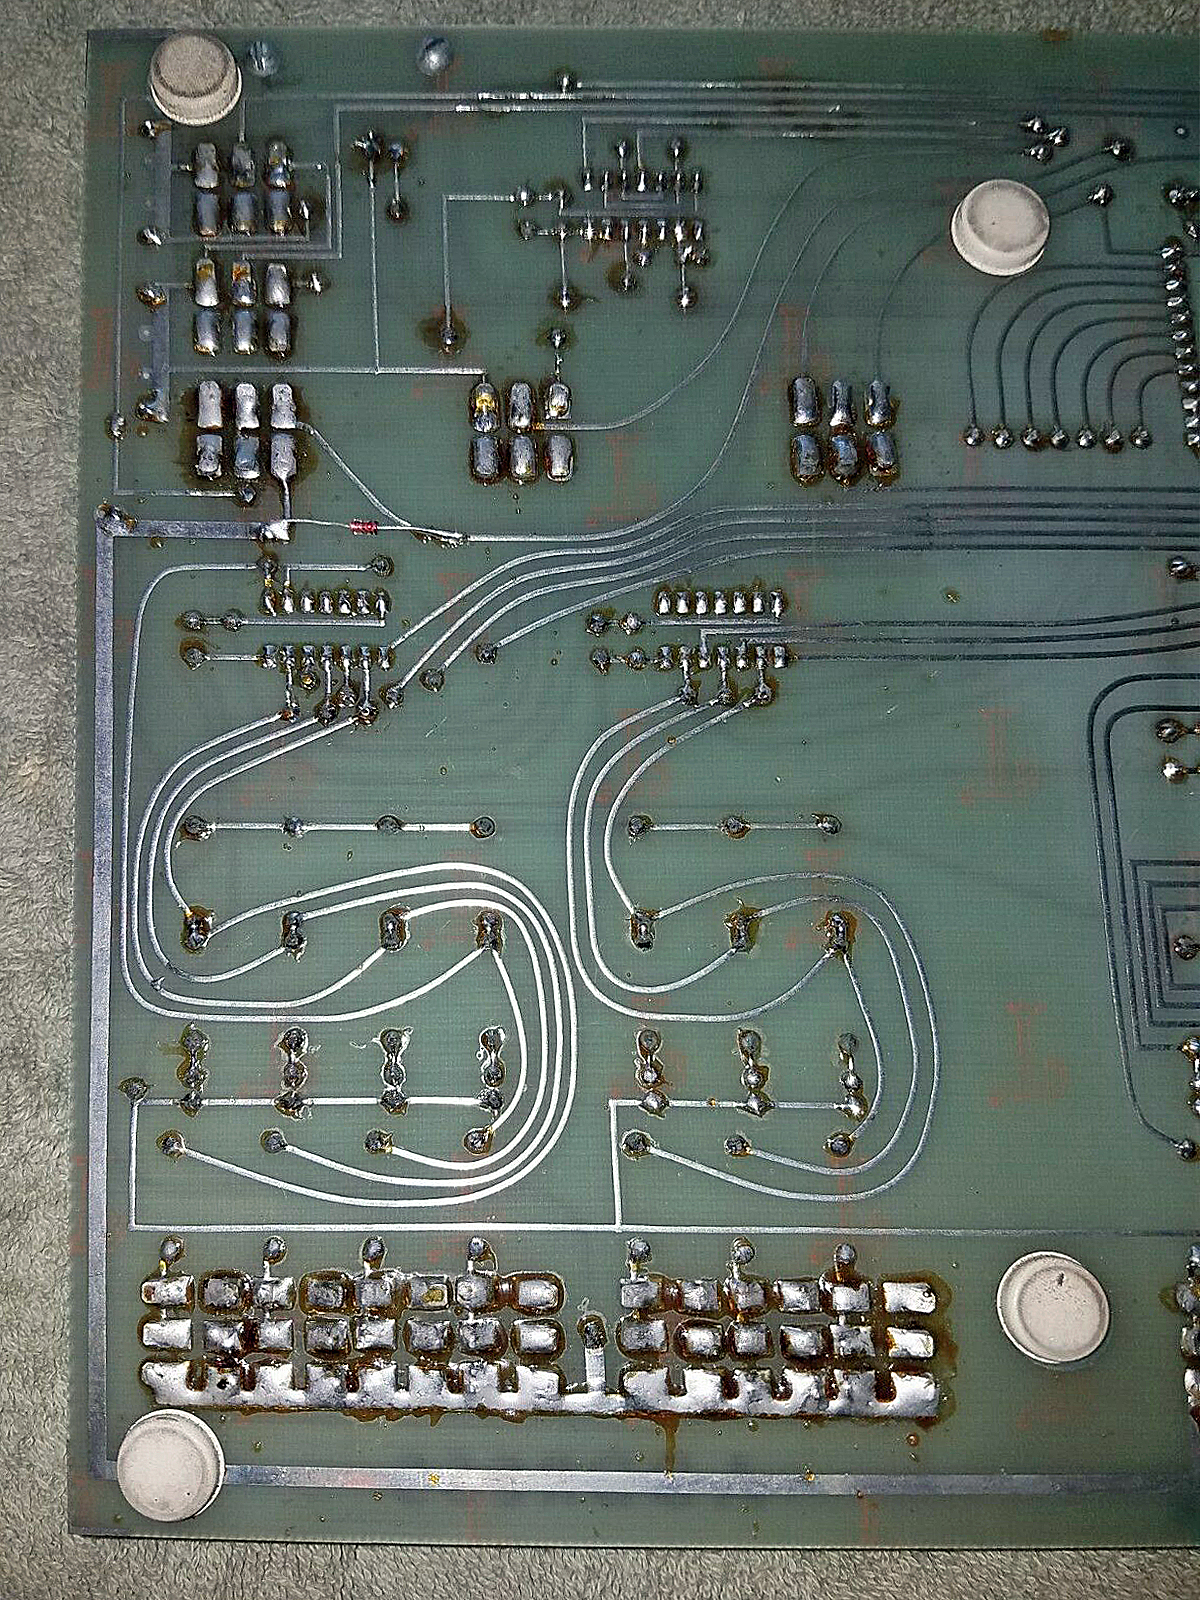
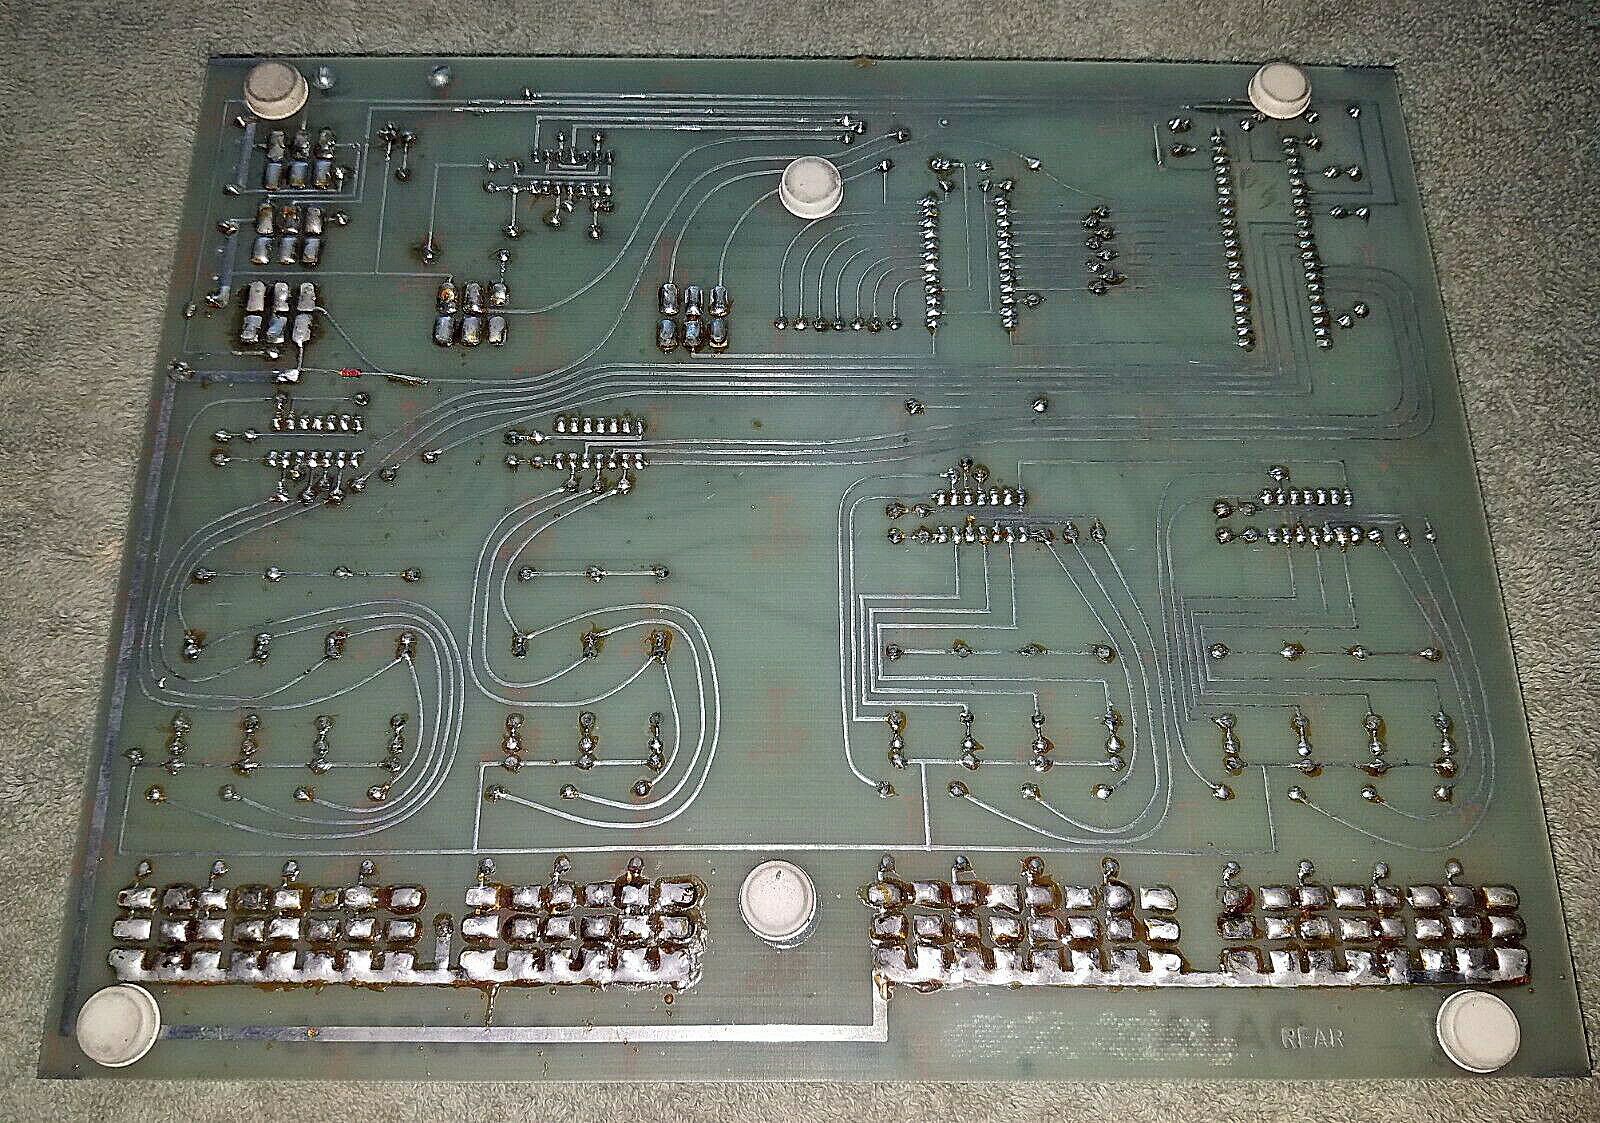
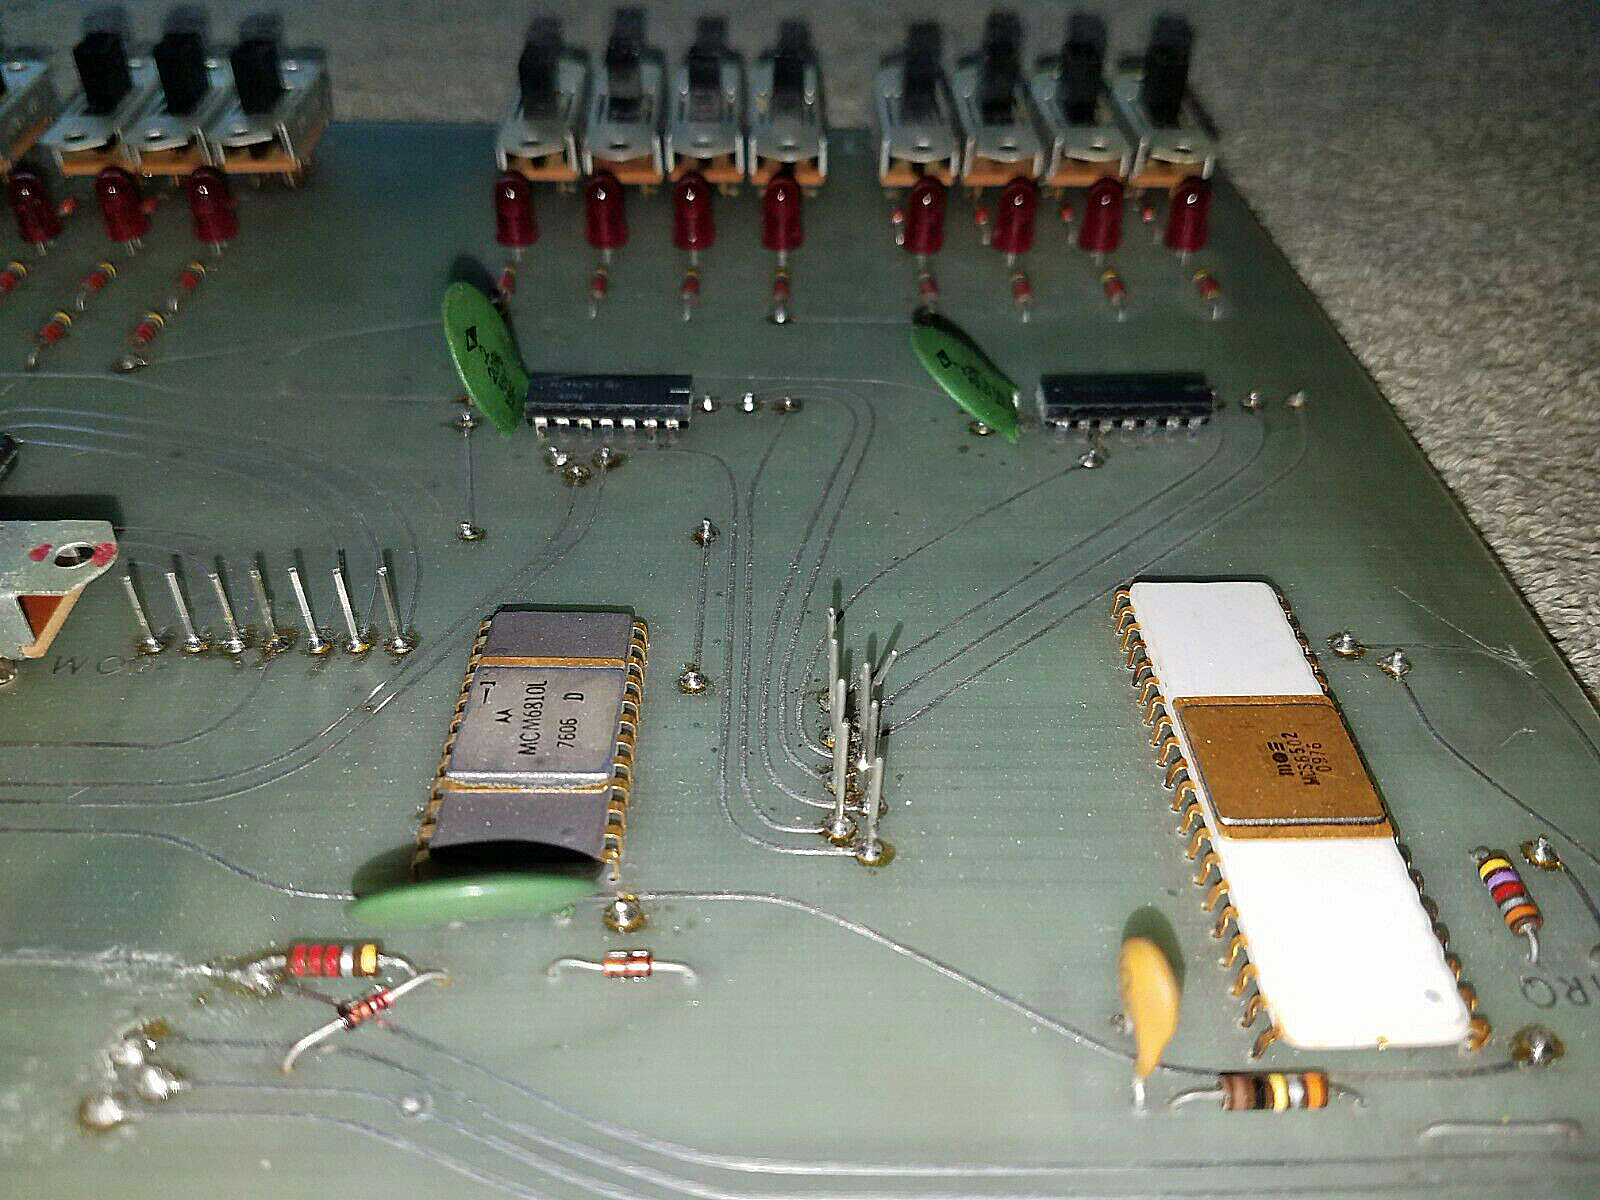
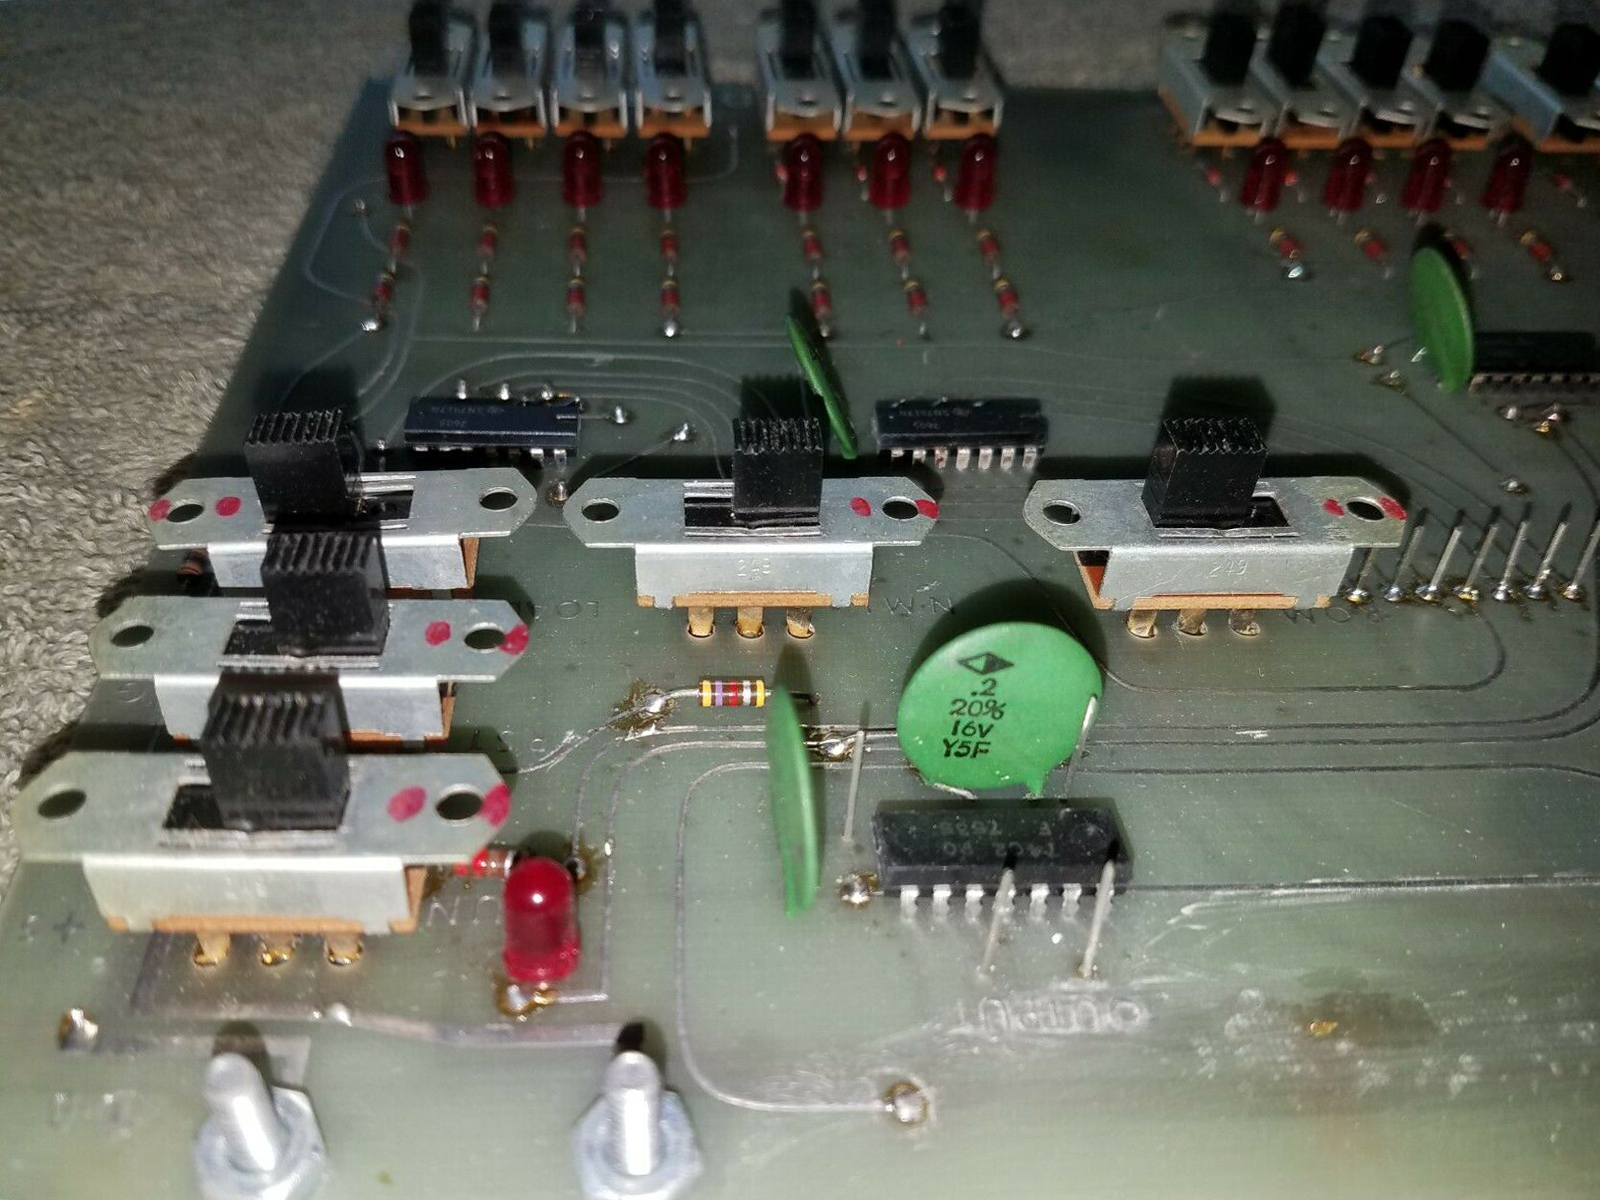

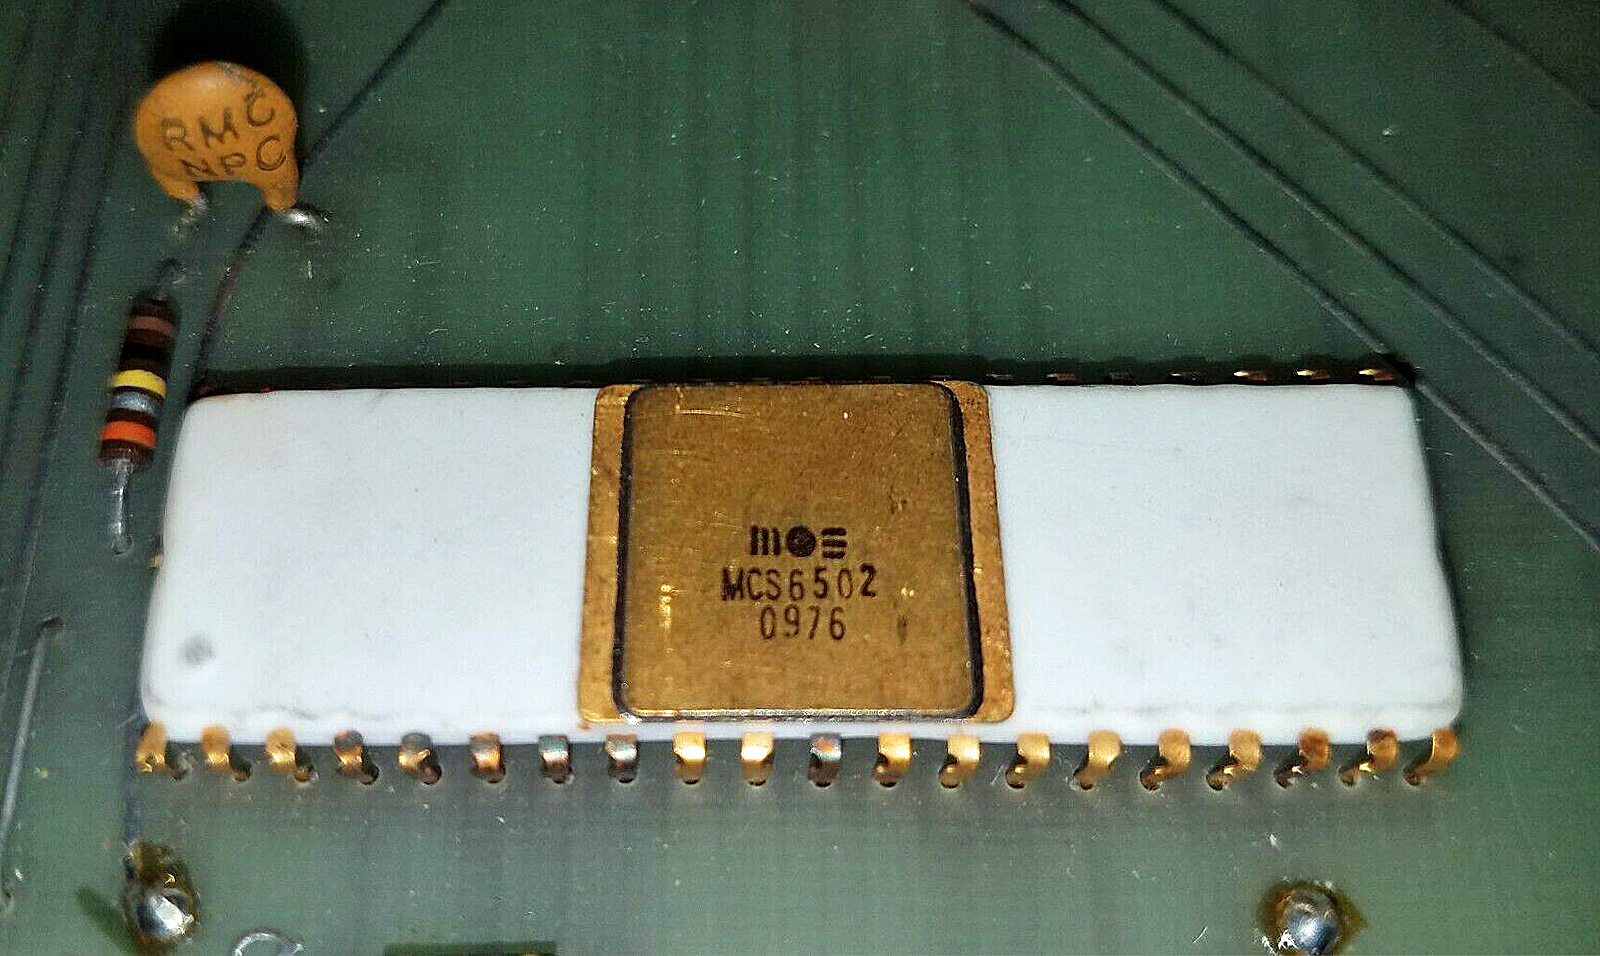

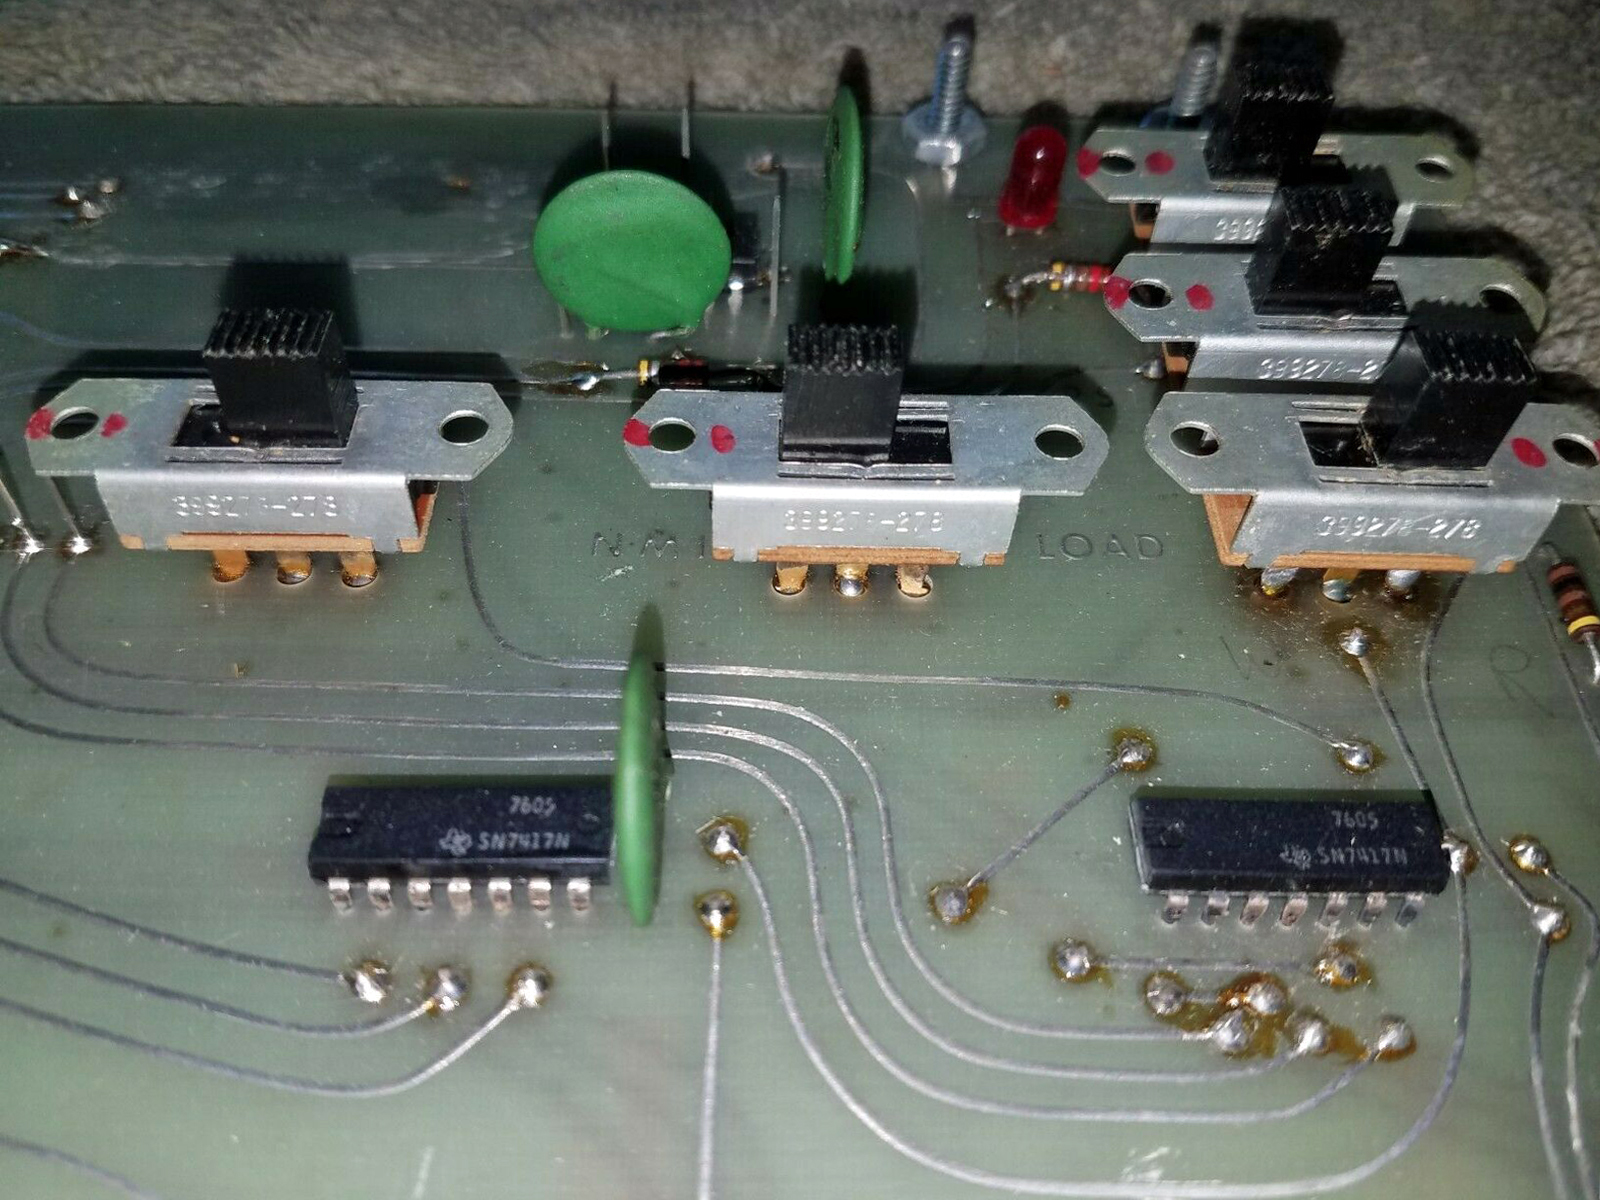
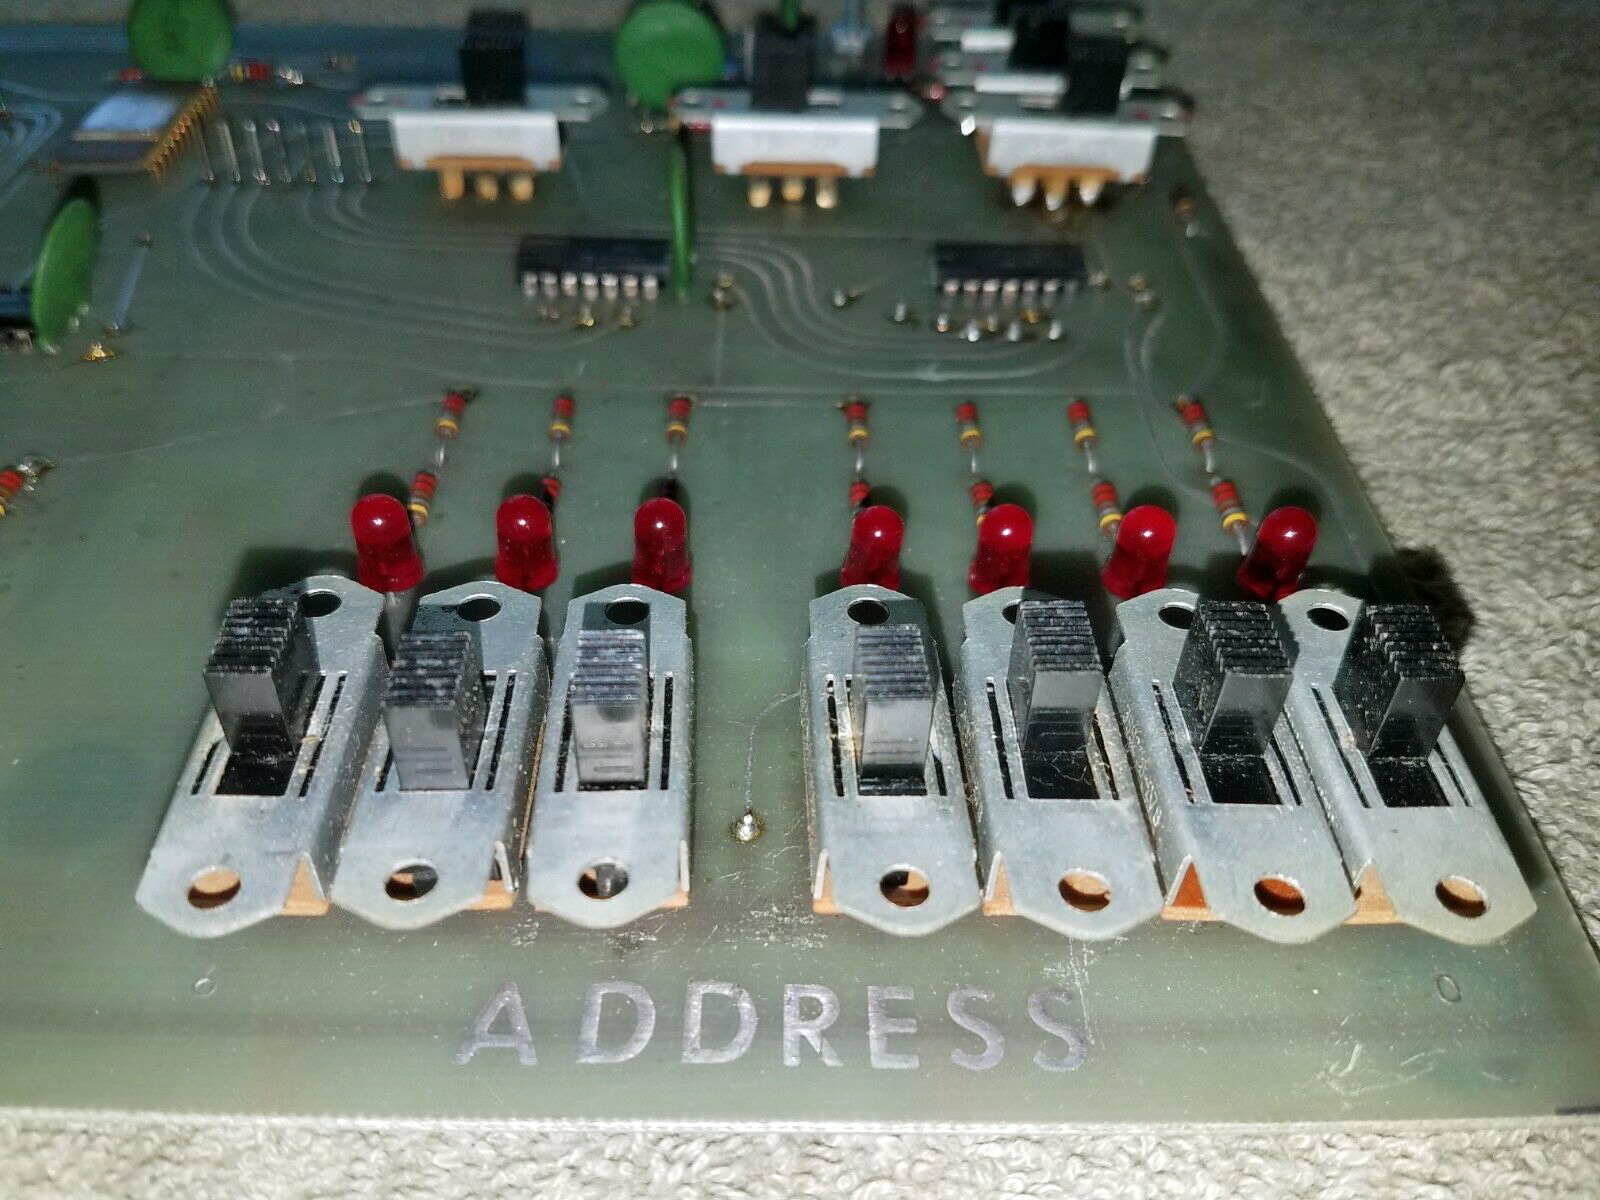

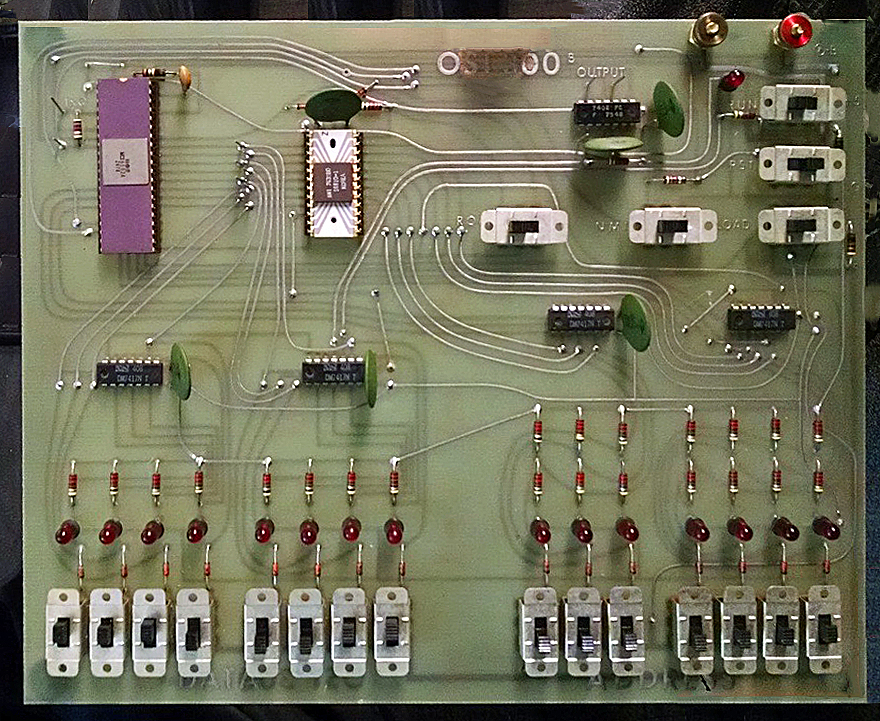
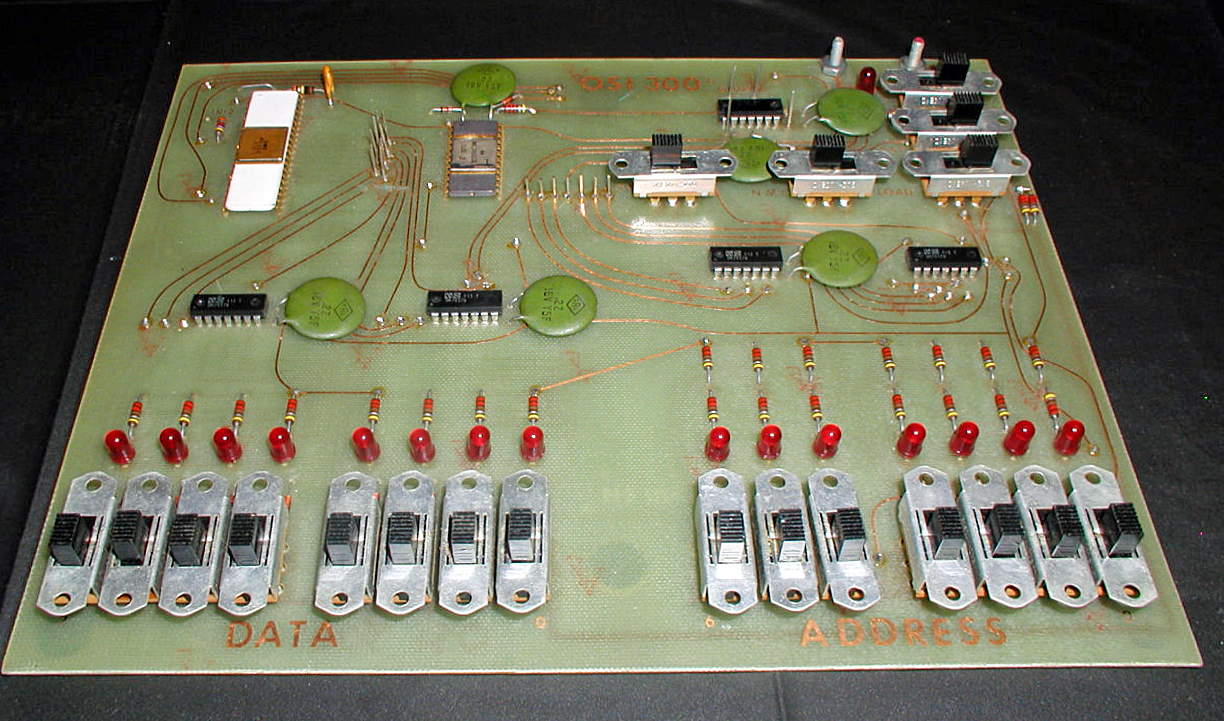
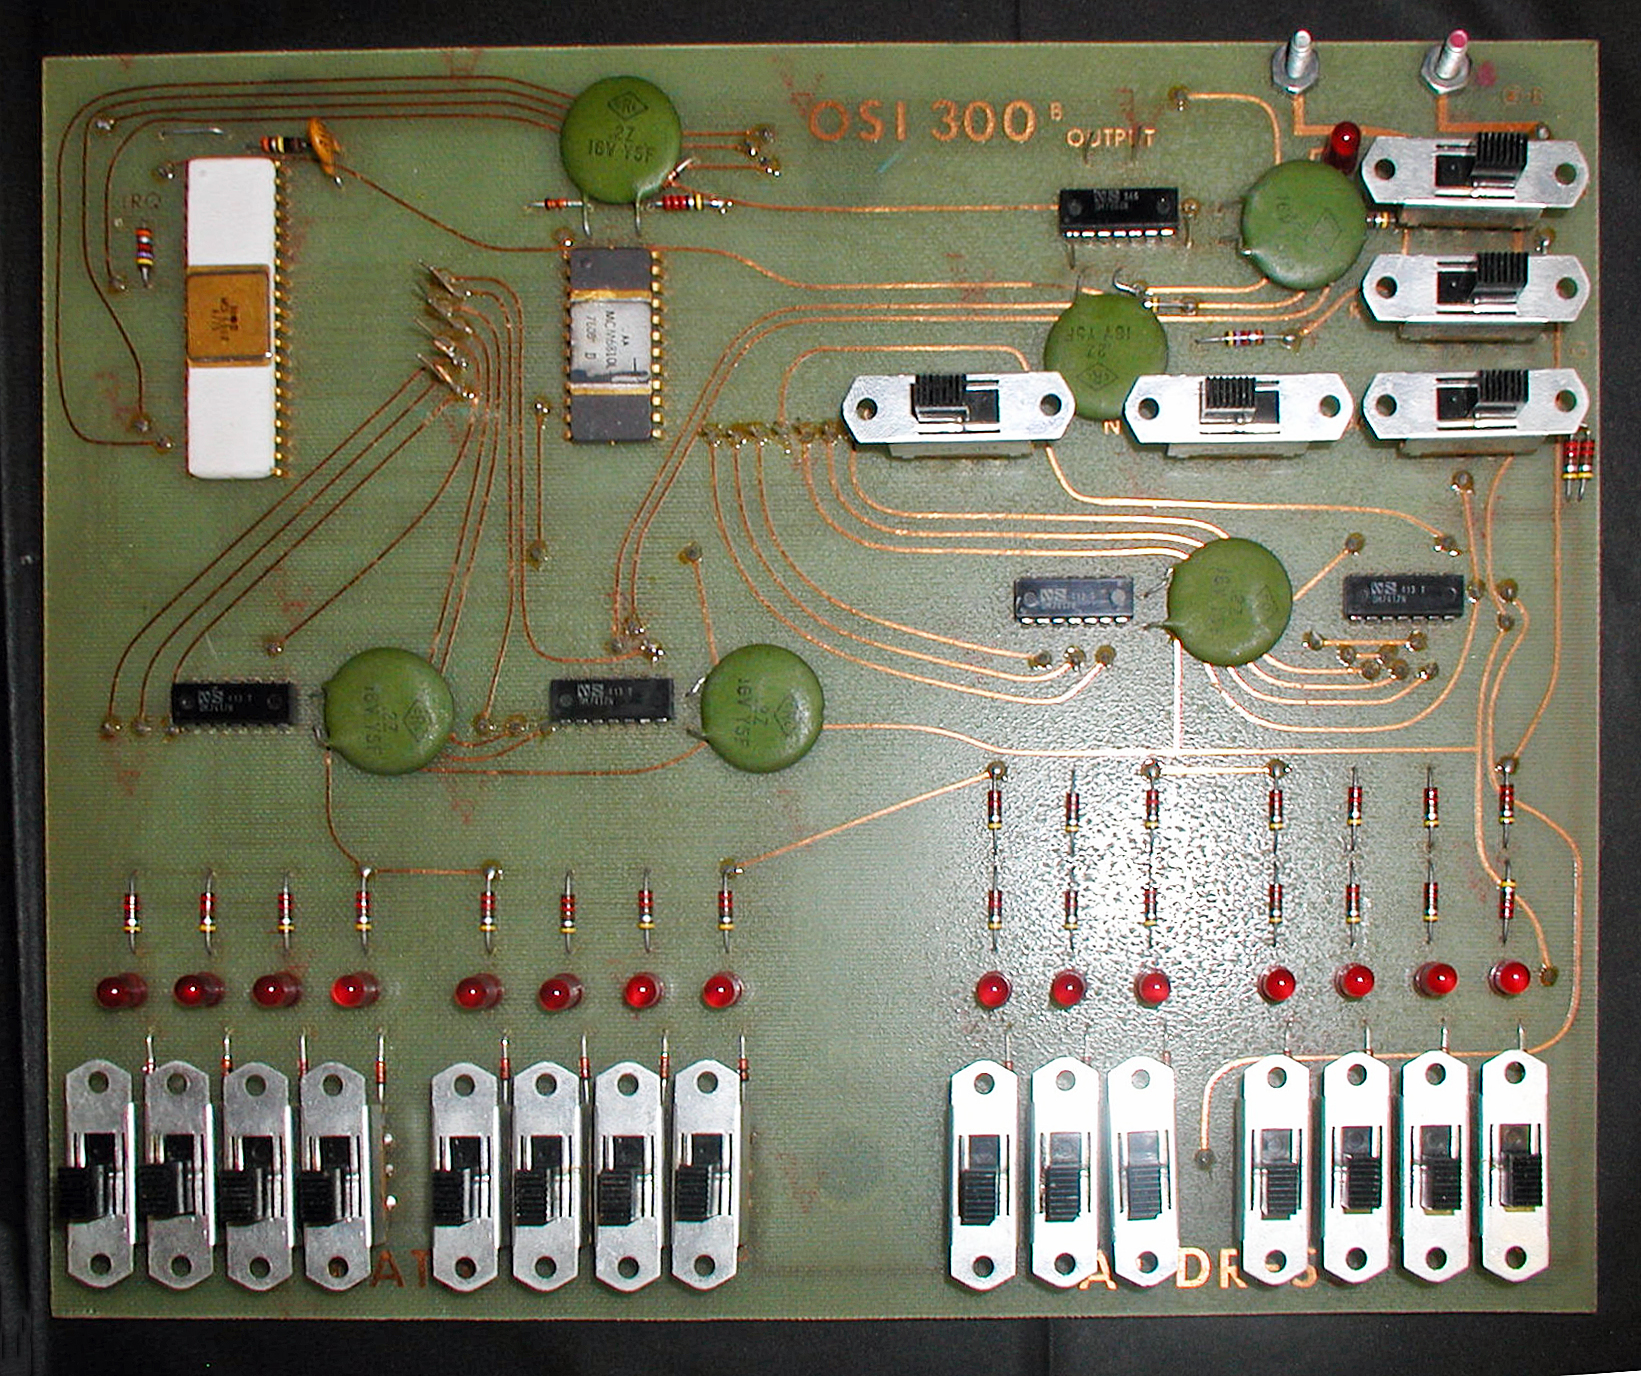
Recent photos by Commodore Z (here the source).