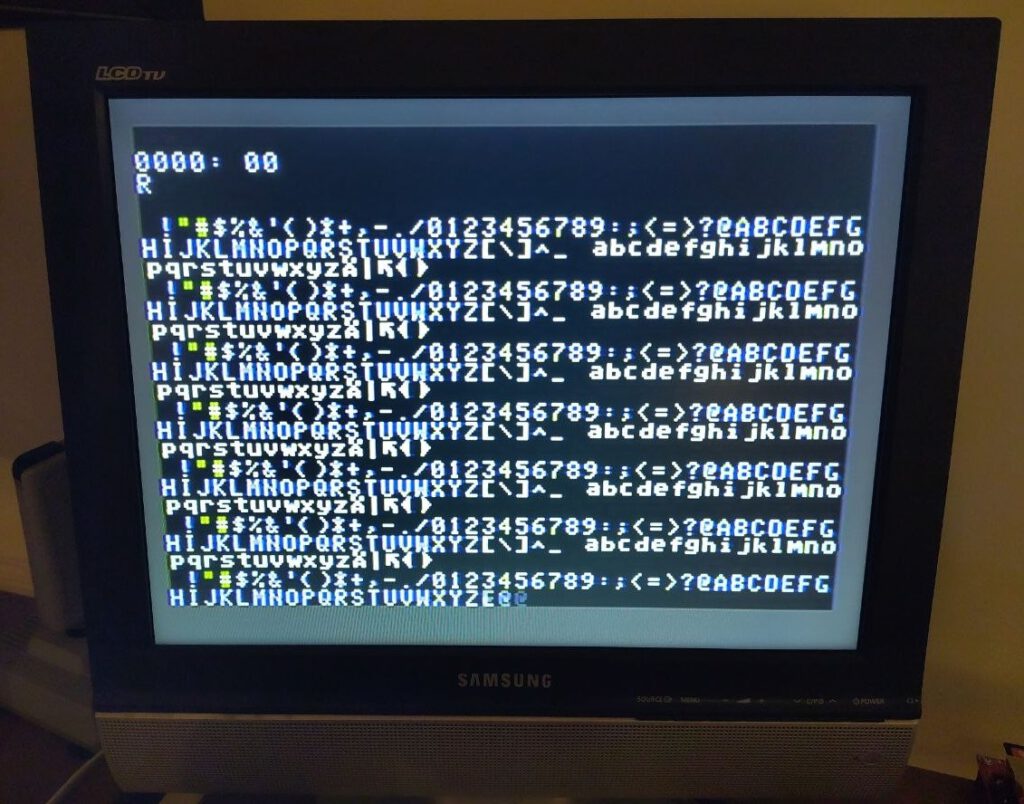
A computer terminal based on the Rockwell 6511Q microprocessor.
All scans, ROM dumps and circuit diagram thanks to Robert Offner!
c’T 1983 Heft 12, 1984 Heft 1


Category Archives: 6502
c’T-Terminal-Computer
A computer terminal based on the Rockwell 6511Q microprocessor.
All scans, ROM dumps, circuit diagram and photos thanks to Robert Offner!
c’T 1983 Heft 12, 1984 Heft 1


![]() |
c’T-Terminal Computer Part 1 | ![]() |
![]() |
R6511Q Rockwell datasheet |
![]() |
Redrawn schematic of c’T-Terminal |
![]() |
c’Terminal main and character ROM dump |
See also:
TERC KIM-1 Interface set
6502 tester NMOS CMOS 1-8MHz
680x/650x Test system
Backbit Chip Tester PRO V2
MTU documentation and MTU-130 software update
Vintagetech (Dave Williams) has scanned and dumped more MTU material in 2026:

Optional Software (added May 2026, thanks VintageTech again)
- Distribution Disk 1.4 1982 – MACASM
- Distribution Disk 1983 – Wordpic 1.0 NEC 8023 Printer Version
- MTU-130 User Group Disk 3
- MTU-140 User Group Disk 5
- Option Software Disk 1.6 1984 – MTU-Forth79 2.1 – fixed
- Optional Software Disk 1.0 1982 – DMXMON
- Optional Software Disk 1.0 1982 – Wordpic
- Optional Software Disk 1.2 1982 – MTU-C
- Optional Software Disk 1.6 – MAGIC-L Language

See also:
A demo of the new facilities in the KIM-1 Simulator 2.2.1
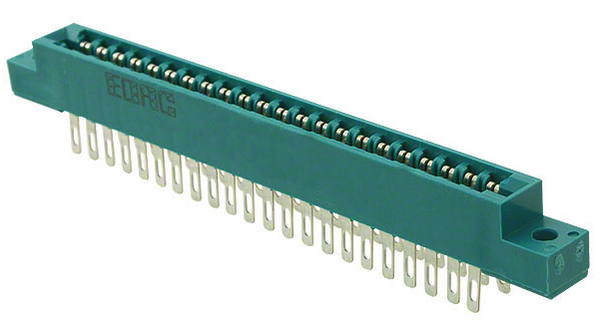
KIM-1 connectors: beware the Chinese cheap variants!
Magazines: Compute! and Compute II
All documents in the MTU pages are now clean and higher quality, about 50 new PDFs.
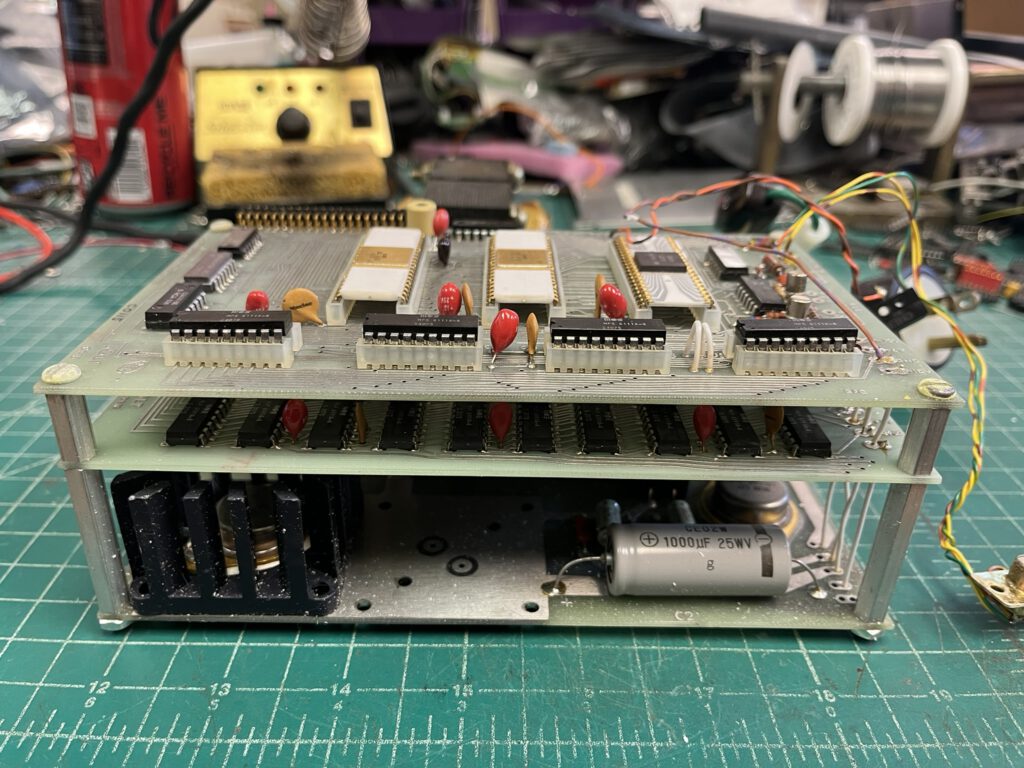
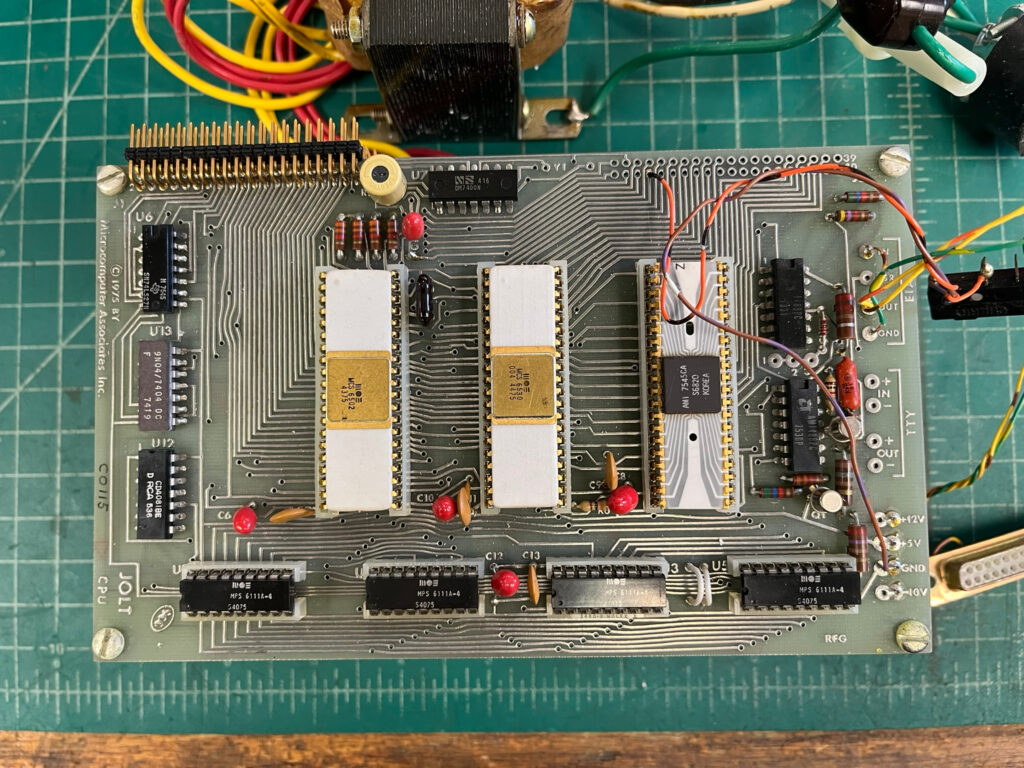
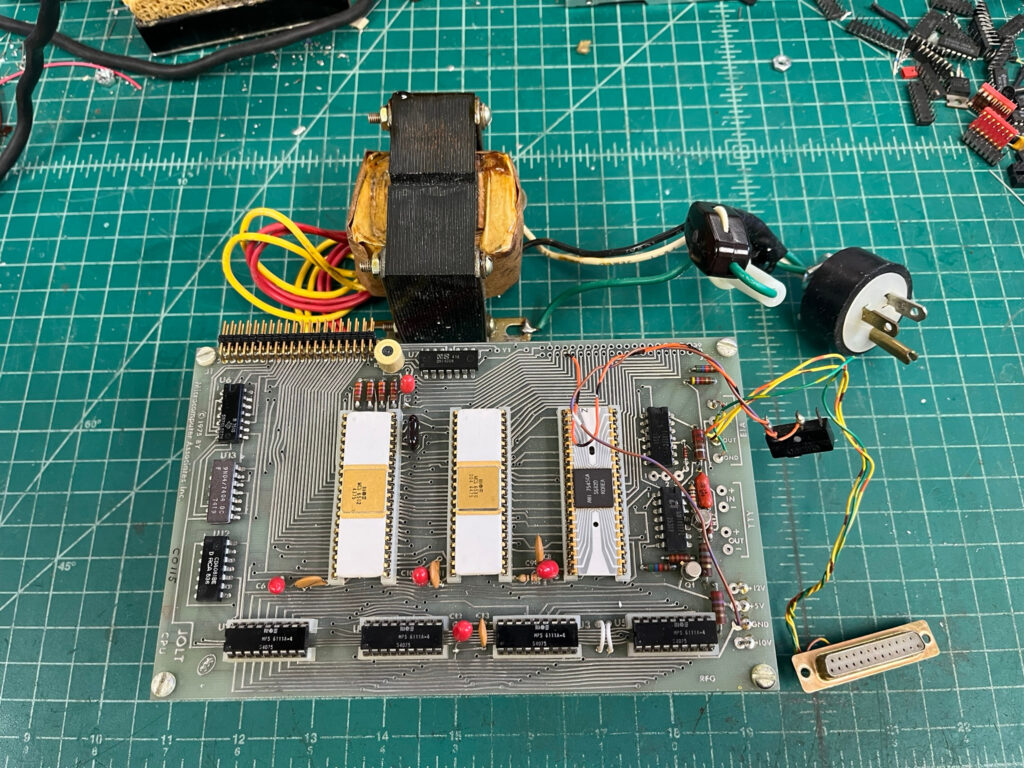
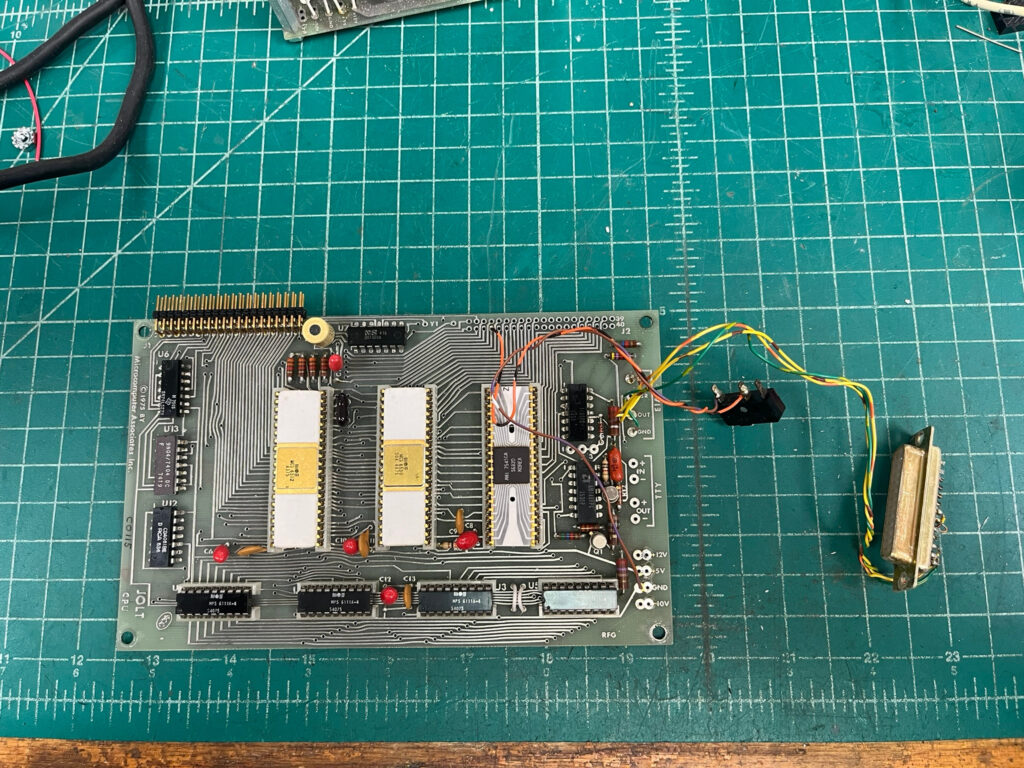
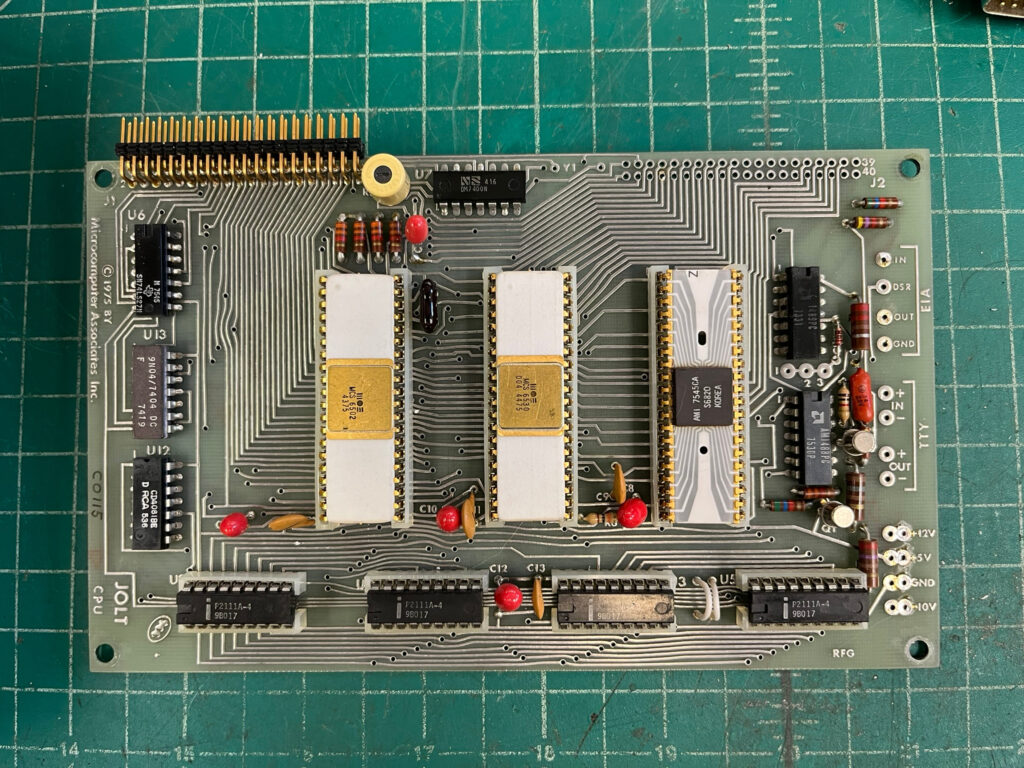
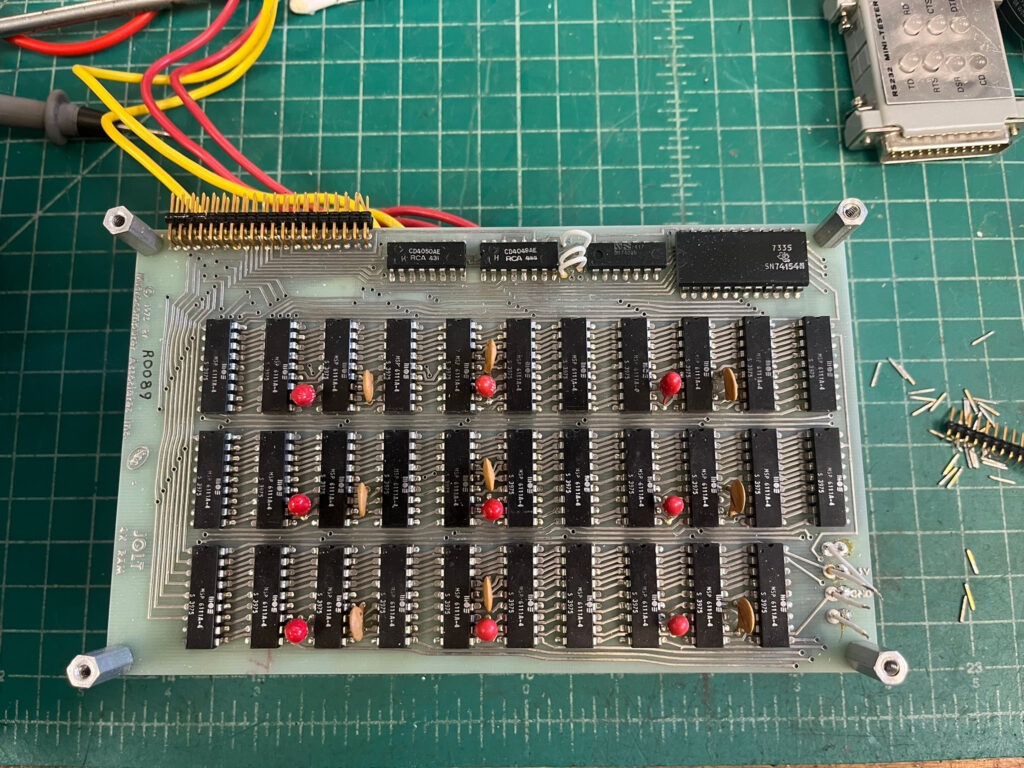
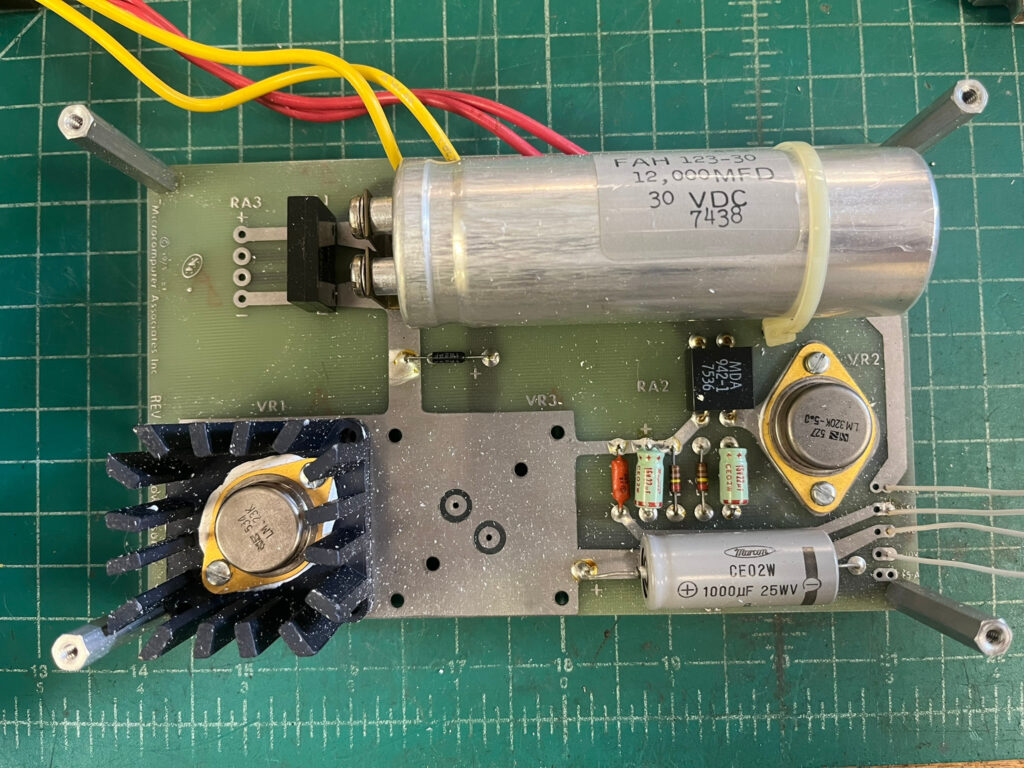
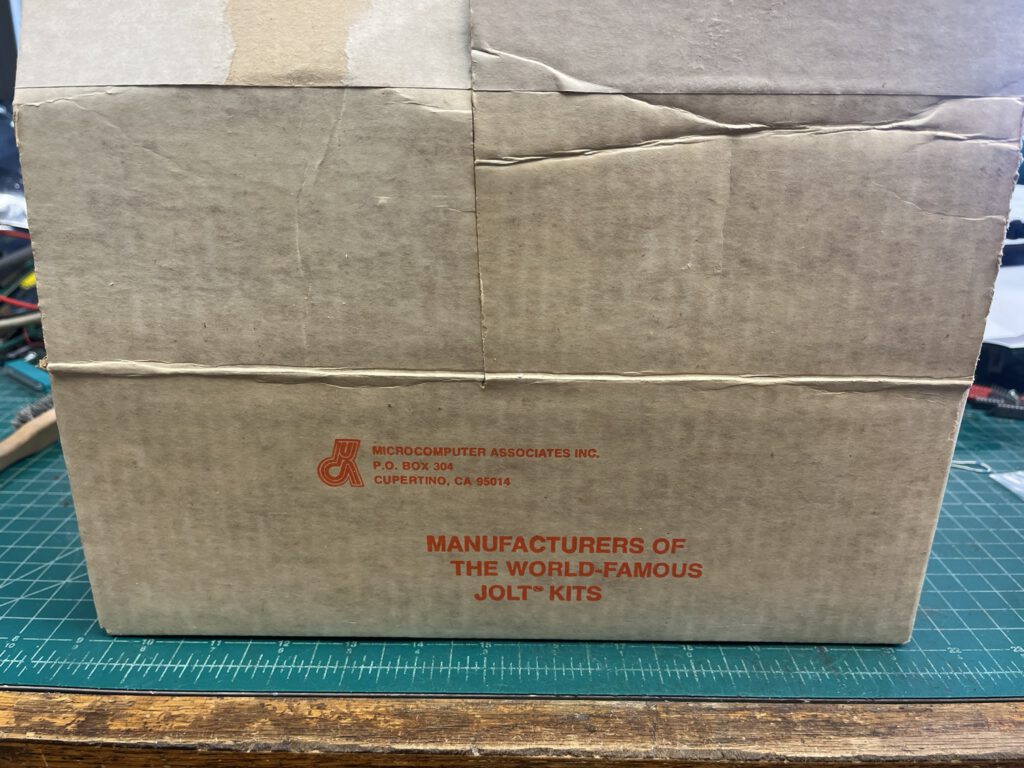
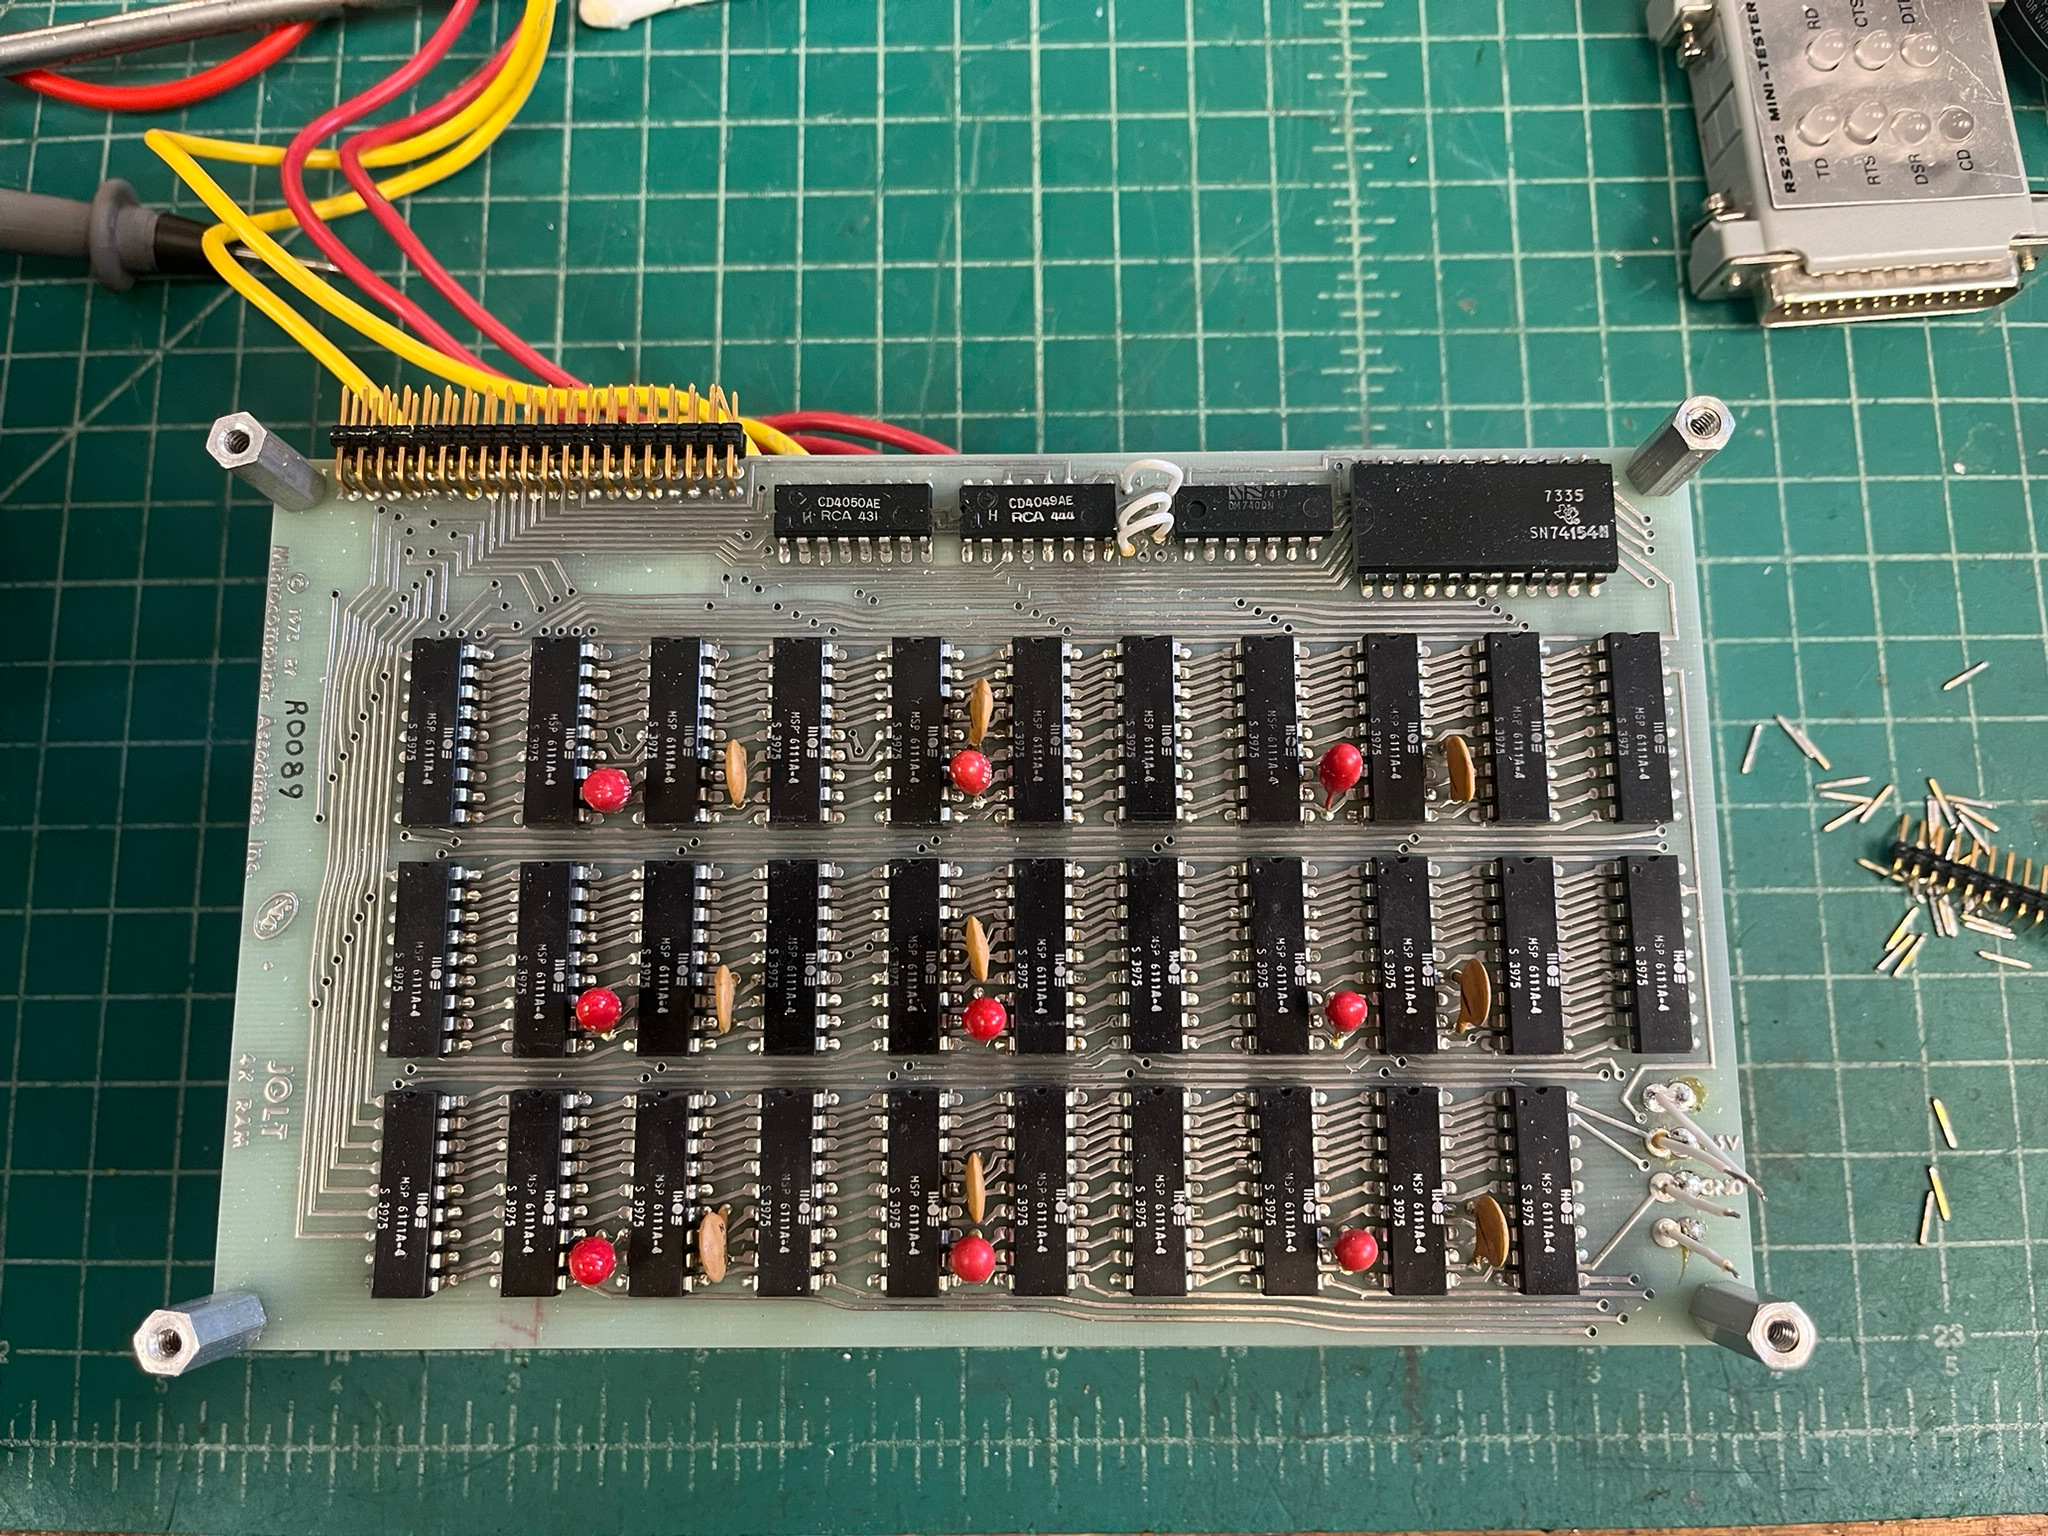
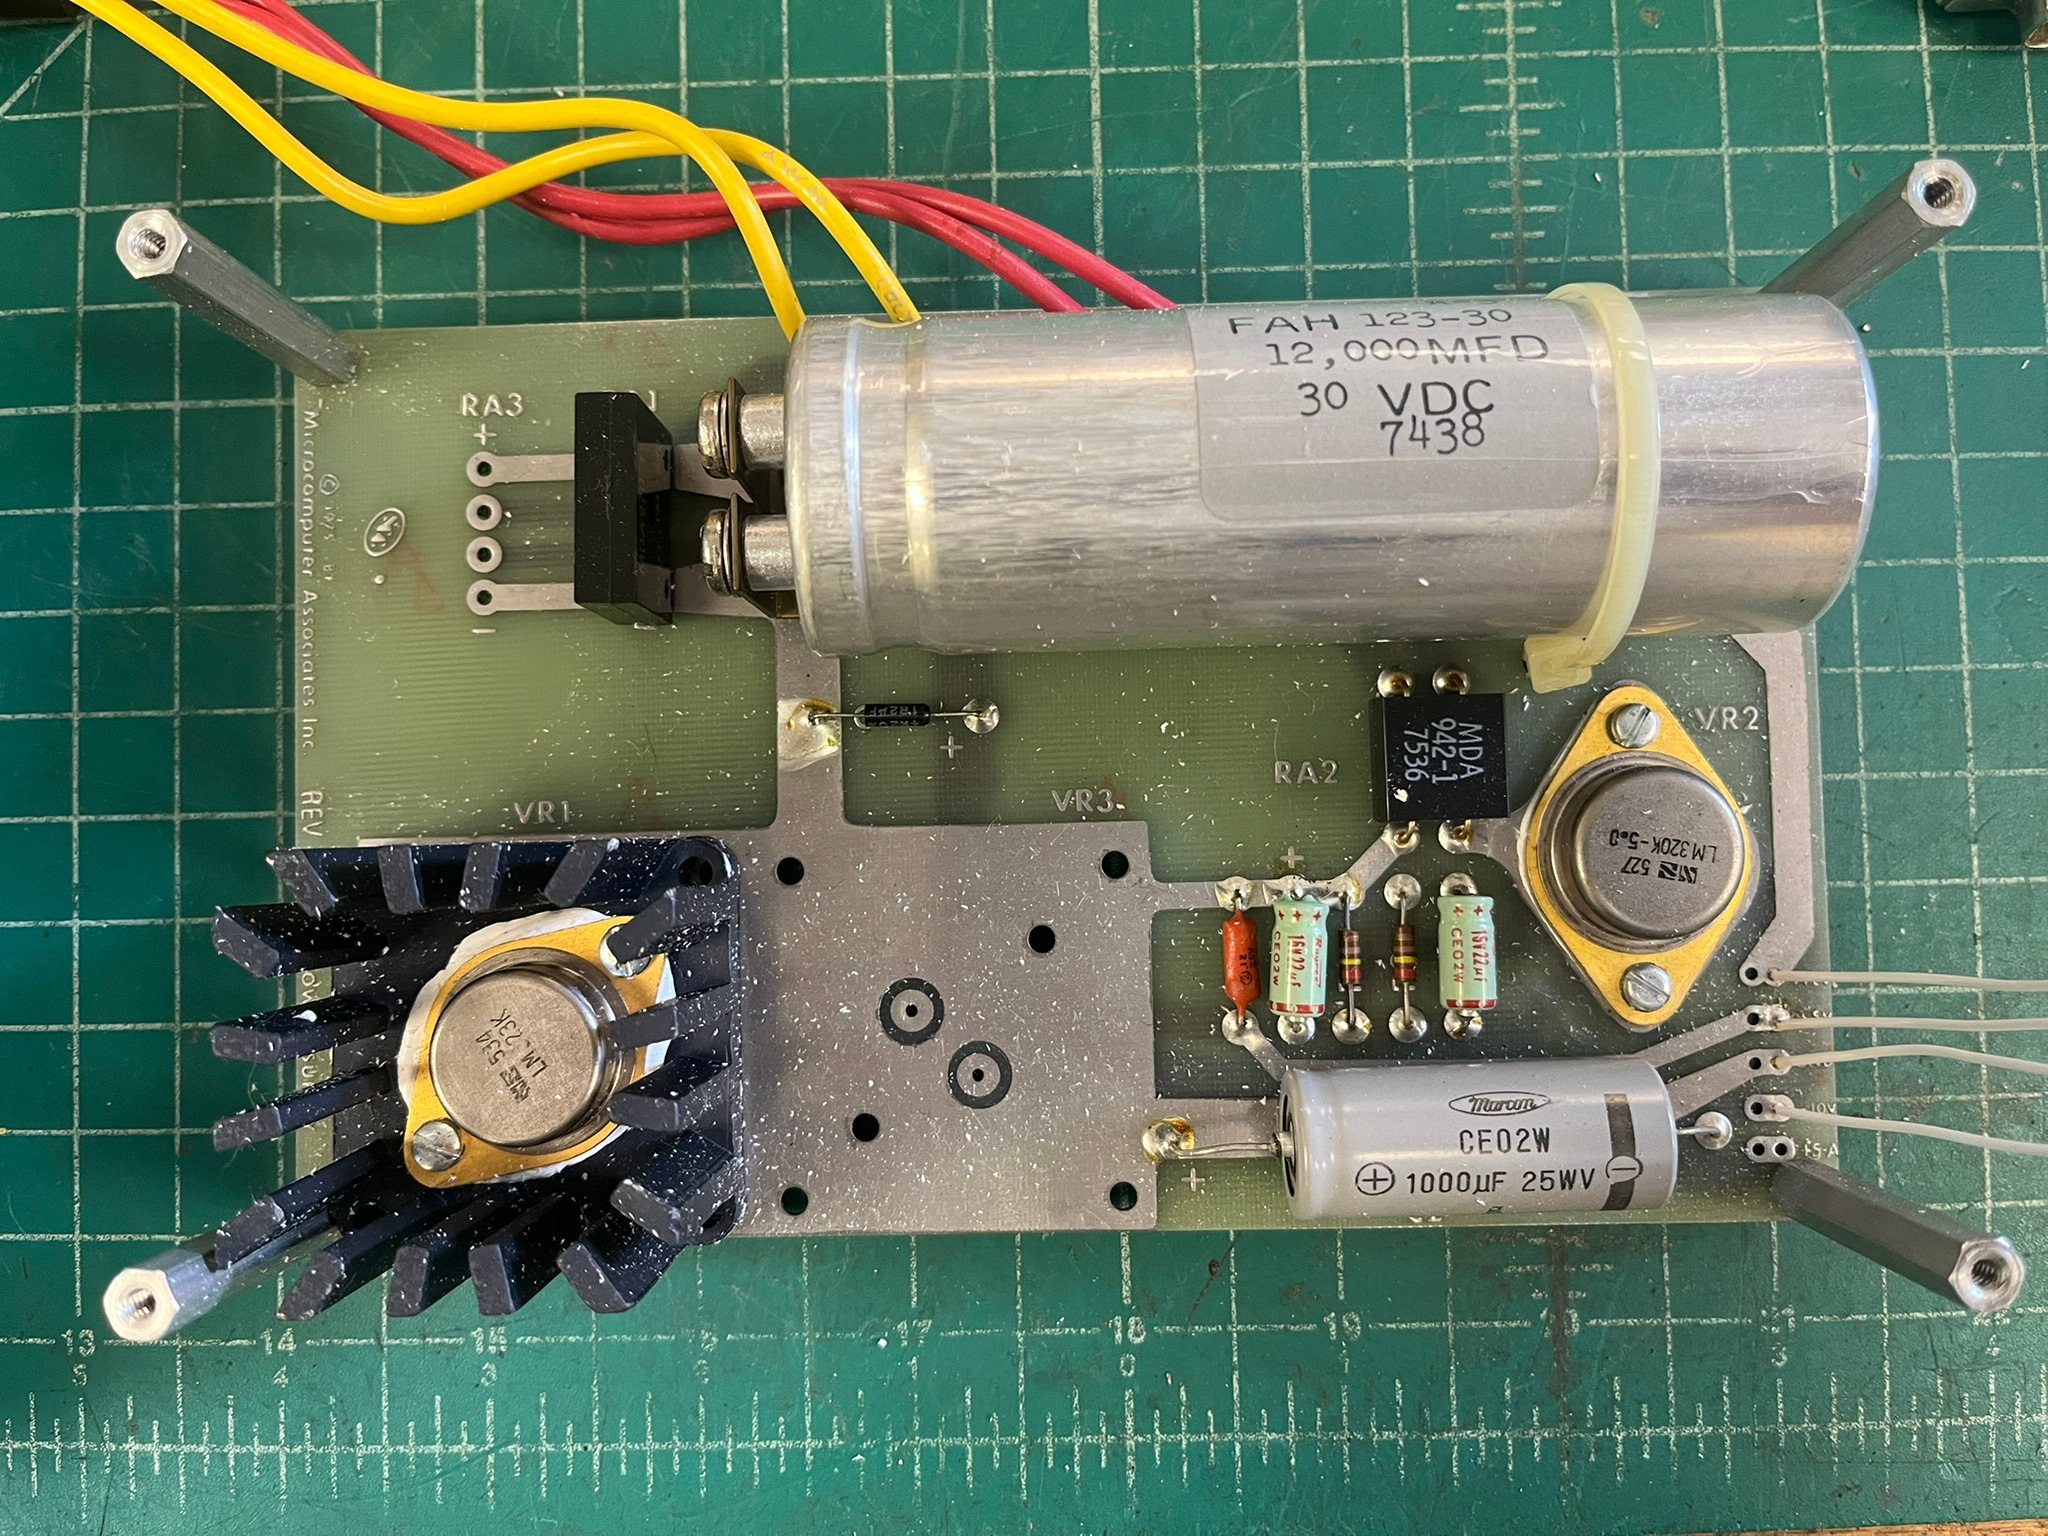
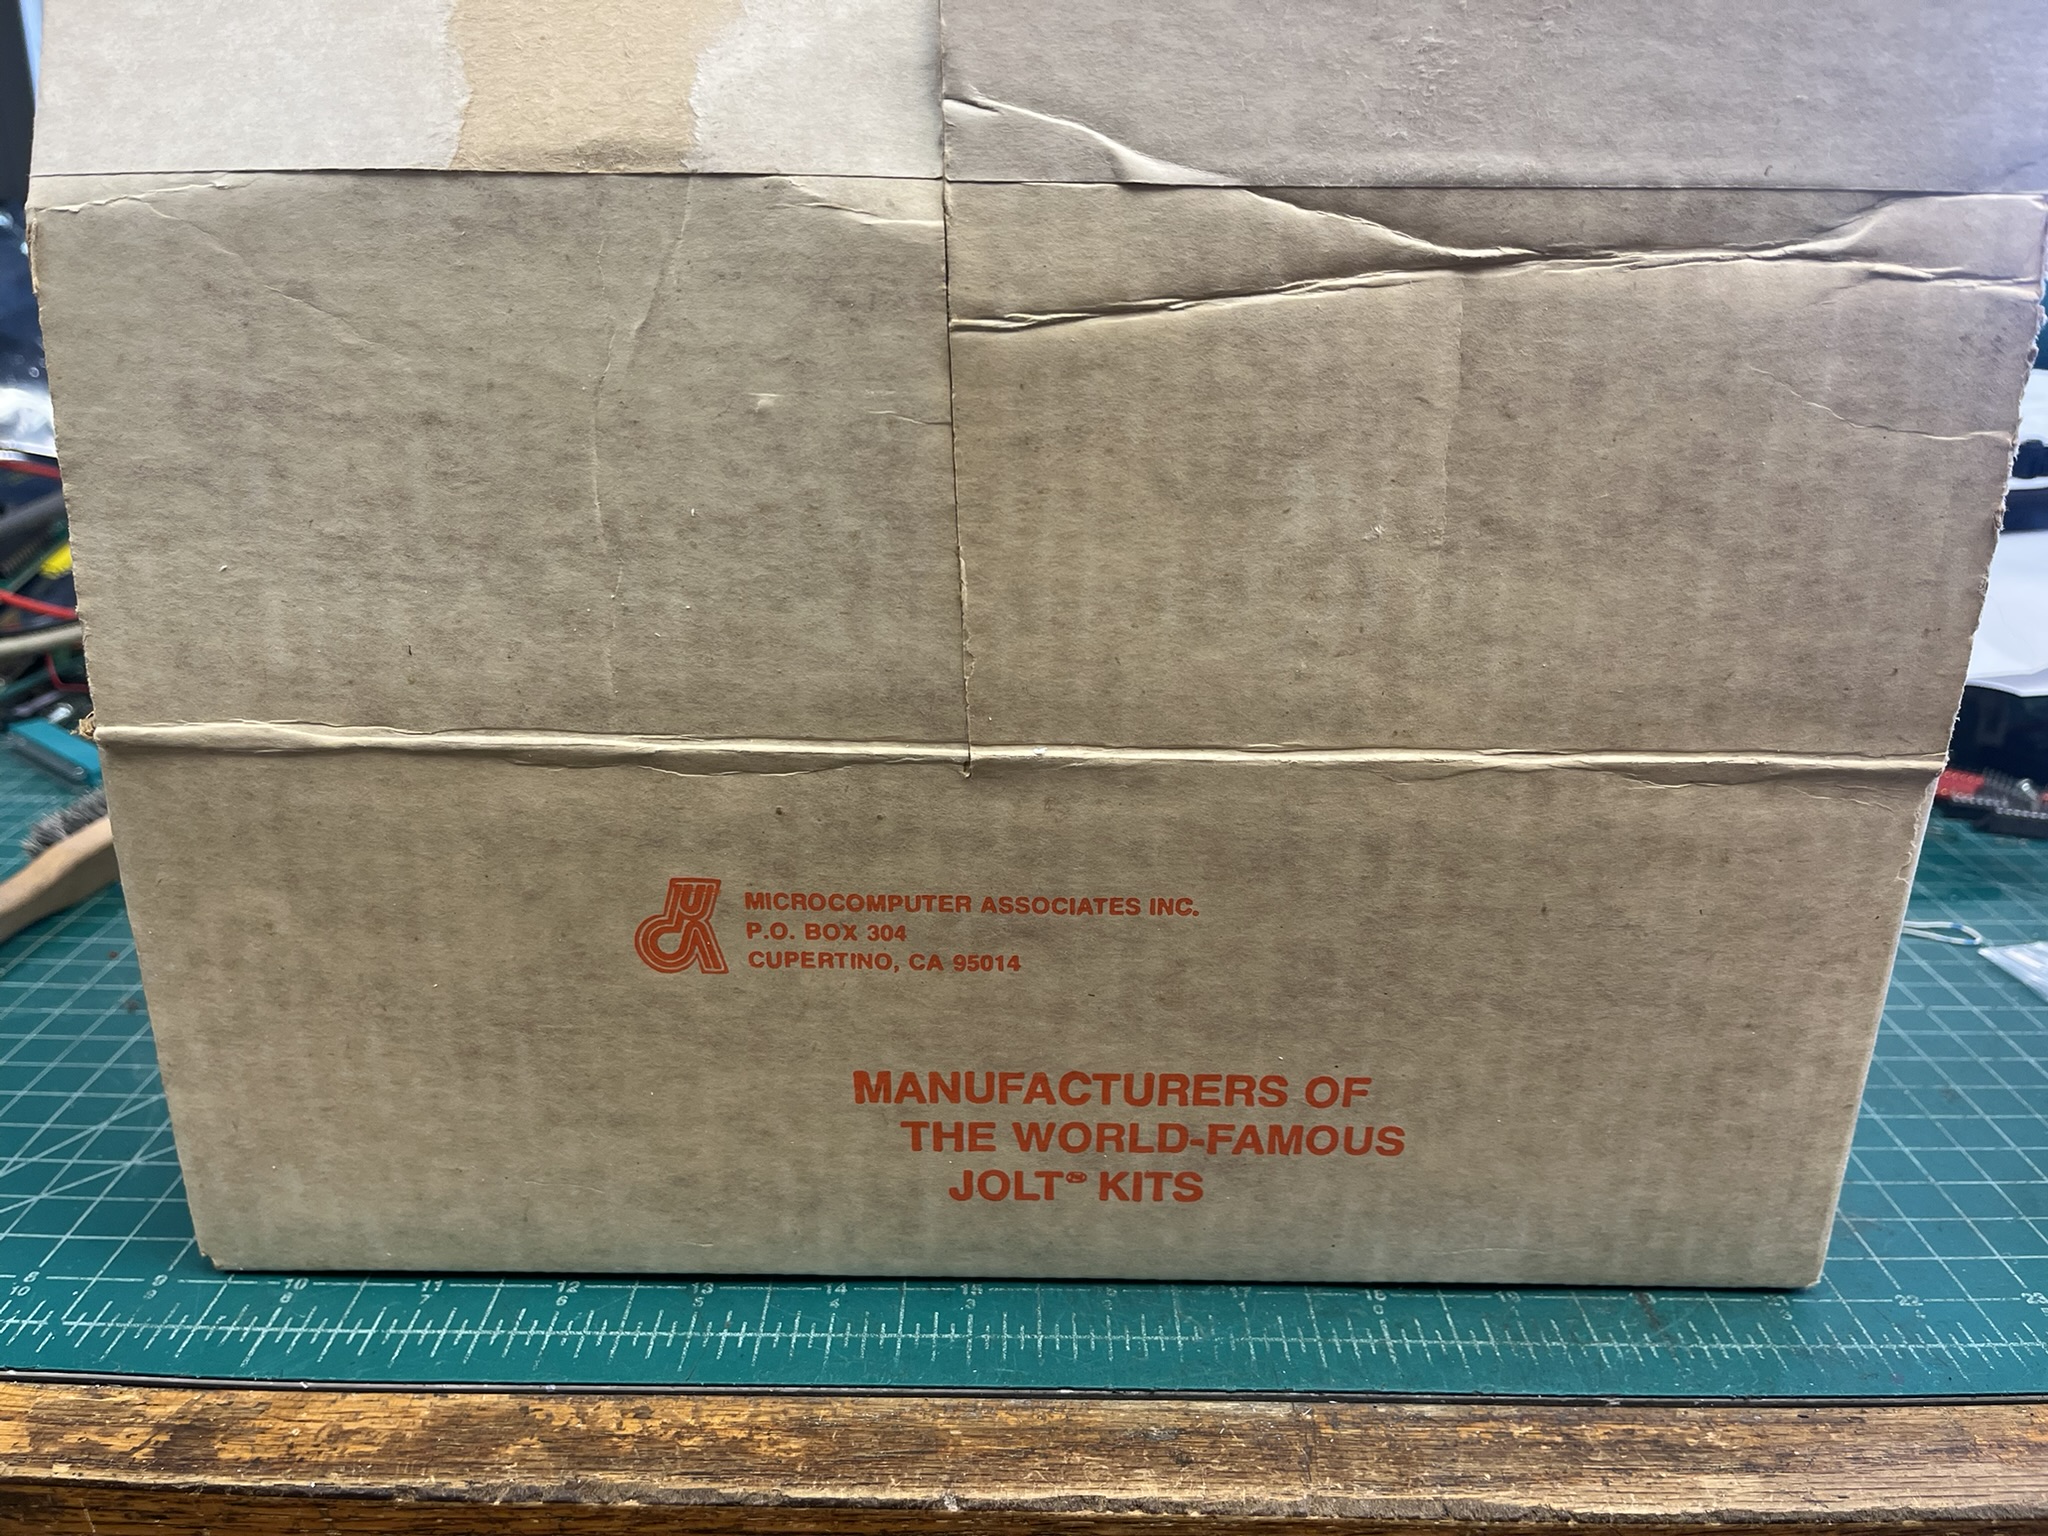
Jolt replica with ‘time period correct’ old parts
Eduardo Casino has done a great job replicating the PCB of the Jolt. And he proved the PCB was OK by building a Jolt and setting it to work.
I have populated a replica PCB with as much as I have in my junk boxes ‘time period correct’ parts. It does look good compared to photos of the original Jolt.
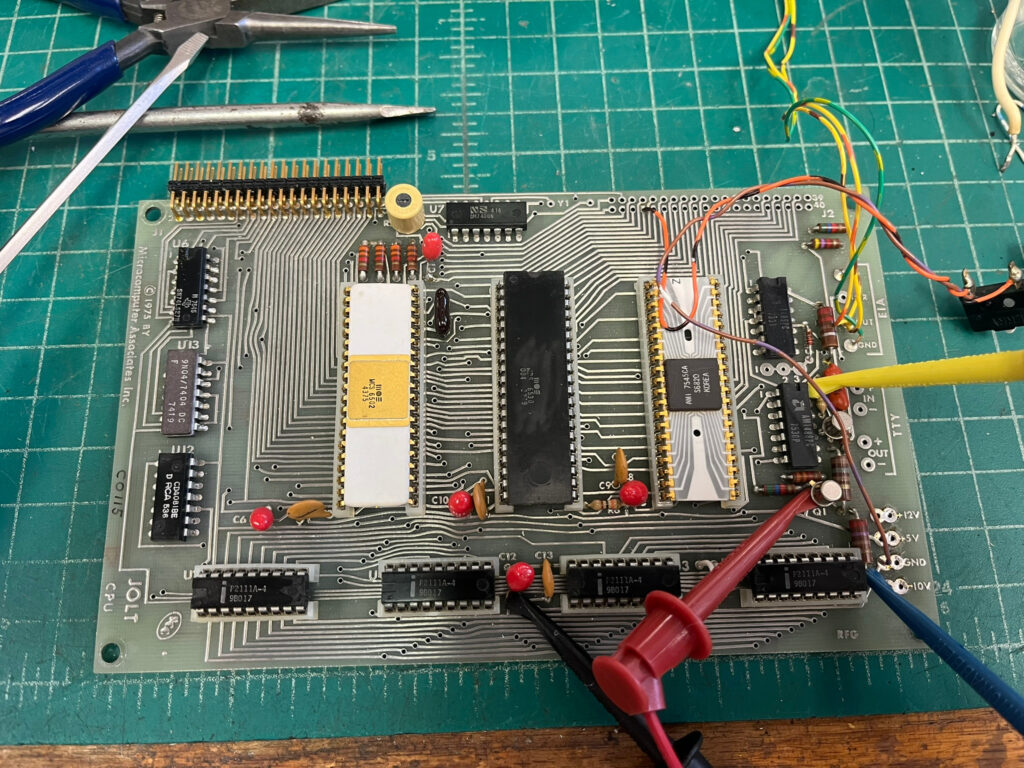
I am waiting for a ‘white’ 6502 to arrive, the purple one is already period correct.
This Jolt is meant to be a ‘museum’ part and will end up above my desk next to an original SuperJolt.
The next Jolt I will build will be a functional one with ‘black’ ICs and less attention to perfection.
See also:
A demo of the new facilities in the KIM-1 Simulator 2.2.1
KIM-1 connectors: beware the Chinese cheap variants!
Magazines: Compute! and Compute II
All documents in the MTU pages are now clean and higher quality, about 50 new PDFs.
R65 – A late seventies computer built with a KIM-1
R65 – A late seventies computer built with a KIM-1 by Rene Richarz.
An amazing showcase of how far a KIM-1 and Pascal as programming language can go!
All information on the R65 and the emulator of this computer on the github archive of Rene Richarz, a work in progress!
Including sources and full documentation.

Original Job computer built 1977-1979
The R65 computer has been built 1977-1979 by Rene Richarztogether with Rudolf Baumann, who has built his own JOB computer at the same time with similar hardware. The picture above shows the open JOB computer. The original R65 computer has not survived. The floppy disks have also not survived.
Hardware specifications of the original R65 Computer:
– 6502 8-bit microprocessor
– 1 MHz clock speed
– 17 kByte, 33 kByte, 49 kByte RAM (expanded 2 times between 1977 an 1979)
– 2 kByte graphics RAM
– 10 kByte ROM
– 40 x 16 char monochrome display
– 224 x 118 dot monochrome graphics display (switchable with char display)
– 2 floppy disk drives. Formatted capacity 199680 bytes each.
– Interfaces: Teletype, RS232, parallel printer, audio tape, golf-ball typewriter, tv
See also:
A demo of the new facilities in the KIM-1 Simulator 2.2.1
KIM-1 connectors: beware the Chinese cheap variants!
Magazines: Compute! and Compute II
All documents in the MTU pages are now clean and higher quality, about 50 new PDFs.
R65 – A late seventies computer built with a KIM-1
R65 – A late seventies computer built with a KIM-1 by Rene Richarz.
All information on the R65 and the emulator of this computer on the github archive of Rene Richarz, a work in progress!

Original Job computer built 1977-1979
The R65 computer has been built 1977-1979 by Rene Richarztogether with Rudolf Baumann, who has built his own JOB computer at the same time with similar hardware. The picture above shows the open JOB computer. The original R65 computer has not survived. The floppy disks have also not survived.

Rene Richarz (left) and a guest looking at the R65 system
Hardware specifications of the original R65 Computer:
– 6502 8-bit microprocessor
– 1 MHz clock speed
– 17 kByte, 33 kByte, 49 kByte RAM (expanded 2 times between 1977 an 1979)
– 2 kByte graphics RAM
– 10 kByte ROM
– 40 x 16 char monochrome display
– 224 x 118 dot monochrome graphics display (switchable with char display)
– 2 floppy disk drives. Formatted capacity 199680 bytes each.
– Interfaces: Teletype, RS232, parallel printer, audio tape, golf-ball typewriter, tv
Most of the original 6502 assembler programs have been written by Rene Richarz 1977 – 1980, some of them based on code snippets found in publications. They have been modified and improved up to 1982 by Rudolf Baumann for his hardware. Thanks to him for keeping his hardware (not functional anymore) and printed program listings up to today. The program listings have been scanned and digitized 2018 by Rene Richarz.
The main software includes the original KIM-1 ROM and 4 modules, which were burned on EPROMS at that time. These modules are:
– A system monitor module, which is executed at startup
– A disk controller module, which handles the access to the floppy drives
– A IO controller module, which handles other IO
– A CRT controller module, which handles the display
These 4 modules run in their original version, with the exception of a few minor bug fixes.
Emulator
The software also includes an extended disk operating system module (EXDOS), which has been modified substantially. A number of commands have been added to the emulator version of the extended disk operating system module. They allow to import and export serial data files to and from the Linux operating system and to “change floppy disks”. The emulator emulates 2 floppy drives as in the original system, but can handle an unlimited number of floppy disks.
The original text editor has not been implemented, because it must be considered very user unfriendly given todays standards. Instead, using the “edit” command of EXDOS, the file to edit is automatically exported to the Linux file system, and the Linux text editor “mousepad” is called. Once mousepad is quit, the edited file is imported automatically back into the R65 file system. This happens automatically and very quickly.
Please note that even so the emulator includes the original KIM-1 ROM, it is NOT a KIM-1 emulator. Only the KIM-1 hardware required for the operation of the R65 computer system is emulated in the emulator.
The emulator uses a very nice 6502 emulation module written 2011 by Mike Chambers (miker00lz@gmail.com). The look and feel of the emulated system is very similar to the original. But everything is much faster.
The original R65 computer included a BASIC interpreter, and an improved Tiny Pascal compiler. The R65 Pascal system, which was quite powerful for a 8-bit microprocessor at that time, and the BASIC interpreter have been reconstructed.
The floating point subroutines of the R65 Pascal system were published in Dr. Dobbs Journal, Volume 1, Number 7, August 1976, page 17 by Steve Wozniak.
It is easy to compile and run the emulator on any Debian system. The installation is well described.
You may have some trouble with the font installation, the script failed for me on bot the Raspberry as Debian Linux X86 due to protection errors. I copied the fints by hand and set the file protection to read for the world.


See also:
TERC KIM-1 Interface set
6502 tester NMOS CMOS 1-8MHz
680x/650x Test system
Backbit Chip Tester PRO V2
6502 analyzer: what CPU is this?

With the Chinese changing the prints on the IC’s, one can never be sure with a 6502 which it is. I have for example perfectly good working 6502s, which were labeled as 6502 but were in fact R65C02. SO a way to check which 6502 really it is there would be fine. So i resurrected a project I had the PCBs made for in 2021.
User kinzi at forum64.de designed a nice solution to check a 6502 for type: the 6502 analyzer.
The analyzer is a minimal 6502 (the CPU under test!) system with a 1 MHz clock circuit, ROM and RAM and a latched 8 LED array to show the result.
If any of the LEDs light up after a RESET, it is a working 6502!
The 6502 analyzer V2 has a lousy power on/reset facility. Therefore it requires some jiggling to get a test result. Some 6502s, who are fine in other testers, even do not like this tester and all LEDs light up. A smooth poweron/reset facility would be a great improvement and better latch circuit for the LEDs and make this tester usable. I did not try Version 3.
Meaning of the LEDs
Label |
OFF |
ON |
|
| CMOS | NMOS or 65816 | CMOS | |
| 65816 | NMOS 6502 | 65816 | |
| ROR | no ROR | ROR OK | |
| DEC | No Decimal mode RICO 2A03 | Decimal Mode OK | |
| 6280 | HuC6280 | ||
| 65C02 | WD65C02 G65SC02, NCR 65C02, SY65C02 | Rockwell R65C02 or WD65C02S (after 1984) | |
| 740 | Mitusbishi Renesas 740 | ||
| 740md | 740 with MUL/DIV |
In short:
- No LED lit up after RESET: not a 6502 type
- NMOS 6502: LED DEC will light
- For early NMOS 6502 ROR indicator will also light
- for CMOS, see table, one or more LEDs indicate
I have build the V2 version with V2 software. Version 3 has improved address decoding with an update to the firmware (important for the 1541 version and Hudson detection).

Download here the V2 and V3 gerbers and software. The design is for non-commercial use designed by kinzi.

Gerber view of Revision 2

Bill Of Materials for Version 2.
Remarks
- I have used a pin connector 2x for the Sally and power connector.
- The resistor values for the LEDs are lowered to 470 ohm, so I could use normal LEDs from my junkbox.
- Since I did not have the right resistor packs in stock I have build a ‘pack’ with normal resistors.
3D printed case
User mega-hz designed a case for the analyzer.
Here the 3D design files, scad an stl format.

Original text by kinzi:
===============
6502 Analyzer
===============
Kinzi Design - Copyright 2021, 2022.
Free for non-commercial use.
See English text below.
----------------------------------------------------------------------------
Eine unentgeltliche Weitergabe der Unterlagen ist ausdrücklich gestattet,
sofern immer das ganze Archiv mit allen Informationen und nicht nur z. B.
die Gerber-Dateien weitergegeben werden. Alle Informationen werden nur zu
Amateur- und Schulungszwecken bereitgestellt. Jegliche Haftung ist
ausgeschlossen. Nachbau auf eigene Gefahr.
Wer das Projekt erweitern/ausbauen möchte, kann dies gerne auf Basis dieser
Informationen hier tun, so lange die originalen Sourcen, Informationen usw.
beigelegt und angeführt werden. NOCHMALS: Bitte immer das ganze ZIP
weitergeben, nicht nur Teile davon!
Das ist die Standalone-Variante des 6502 Analyzers. Er stellt ein minimales
6502-System dar, bestehend aus CPU (= dem Testobjekt), 2 kB RAM, 8 kB ROM,
Takt-Generator, Adressdekodierungslogik und "I/O-Port". Die Memory-Map ist
dem Quellcode zu entnehmen; sie unterscheidet sich von der einer 1541.
Der vorliegende Code kann mit ACME übersetzt werden. Das resultierene BIN-
File kann in ein EPROM (2764) gebrannt und in den 6502 Analyzer gesteckt
werden. Der Code funktioniert nicht im Adapter für die 1541, bitte dazu
den "6502 Analyzer 1541" verwenden!
Der Code stammt nicht von mir, sondern von der Webseite
http://forum.6502.org/viewtopic.php?f=2&t=2263
Ich habe ihn lediglich um eine Ausgabe des Werts auf dem "I/O-Port" des
6502 Analyzers erweitert.
Die "BOM" ist dem Bestückungsaufdruck der Platine zu entnehmen. Als LEDs
sind "Super-Bright-LEDs" (2 mA-Typen) zu verwenden; für konventionelle LEDs
müsste das Widerstandsnetzwerk auf 330 Ohm oder weniger verkleinert werden.
Ein Schaltplan existiert nicht; wer wissen möchte, wie ein 6502 mit RAM und
ROM verschaltet wird, möge in einen 1541-Schaltplan schauen. Die für die
Generierung der Chip-Selects durch den 74LS00 notwendigen Gleichungen sind
im Sourcecode zu finden.
Der "I/O-Port" besteht aus einen einfachen 74LS374 Latch, welcher die Daten
vom Datenbus mit der steigenden Flanke des Chip-Selects übernimmt. Die R/W-
Leitung ist NICHT verbunden, der '374 latcht die Daten vom Datenbus auch,
wenn von ihm "gelesen"(!) wird. Da das Lesen von einem Latch-Eingang
sowieso sinnfrei ist, ist das zu verschmerzen. Mehr noch, dieser Umstand wird
benutzt, um die LEDs blinken zu lassen, auch wenn kein R/W von einem "Sally"
angeschlossen ist (siehe unten).
Der 6502 Analyzer Rev. 3 führt beim Einschalten jetzt einen sauberen Reset
durch, dieser dauert ca. eine Sekunde. Notfalls ist per eingebautem Reset-
Taster von Hand das System zu resetten. Spätestens dann wird das Programm
aus dem EPROM ausgeführt, welches die Erkennung durchführt, das Ergebnis
auf dem LED-Port ausgibt und anschließend die LEDs in einer Endlosschleife
blinken lässt.
Dies alles wurde aus Gründen der Einfachheit bewusst so gestaltet. :-)
Die Bedeutung der LEDs ist:
Bit 0 - "CMOS": aus = NMOS 6502 oder 65816 (s. u.) ein = CMOS-CPU
Bit 1 - "65816": aus = NMOS 6502 ein = 65816
Bit 2 - "ROROK": aus = ROR-Bug (NMOS 6502 Urversion) ein = ROR-Befehl OK
Bit 3 - "DECOK": aus = kein Dezimalmode (Ricoh 2A03) ein = DEC-Mode OK
Bit 4 - "6280": ein = Hudson Soft HuC6280 CPU aus = kein HuC6280
Bit 5 - "65C02": aus = WDC W65SC02 (1978), G65SC02, NCR65C02, SY65C02
ein = Rockwell R65C02 oder WDC W65C02S (1984-heute)
Bit 6 - "740": ein = Mistubishi/Renesas 740 CPU aus = kein 740
Bit 7 - "740MD": ein = 740 CPU mit MUL/DIV-Befehlen aus = kein MUL/DIV
Es sind alle 6502-Varianten inkl. W65C02S direkt im Sockel ohne irgendwelche
Anpassungen verwendbar. Lediglich ein 6502C "Sally" wird nicht erkannt,
abhängig vom Einschaltzustand des SRAMs bleiben die LEDs dunkel oder es
blinken alle acht, da R/W beim "Sally" auf einem anderen Pin liegt (36 statt
34) und daher keine (Zwischen-) Ergebnisse ins RAM geschrieben werden
können. Sollte sich daher der Verdacht erhärten, einen "Sally" im ZIF-
Sockel zu haben, kann mit dem einzigen Jumper "Sally" auf der Platine das
R/W des Sally auf Pin 34 gebrückt werden. Dann sollte auch ein Sally korrekt
erkannt werden.
Für den Normalbetrieb mit allen anderen Varianten ist dieser Jumper NICHT zu
stecken!
ABSCHLUSSHINWEIS:
Bitte KEINE 6502-Derivate mit abweichendem Pinout (6510, 8500, 8501, 8502,
Mikrocontroller mit 6502-Kern, usw.) im 6502-Analyzer testen! DAS WIRD NICHT
funktionieren, wird aber das IC und/oder den 6502-Analyzer möglicherweise
ZERSTÖREN!
----------------------------------------------------------------------------
Spreading this information on a non-profit base is welcome, as long as the
whole archive including all information (and not only the Gerber files, for
instance) is shared. All information is provided for amateur or educational
purposes only. No warranty, use at your own risk.
If you want to modify/expand the project, feel free to do so based on these
information, as long as you provide the original sources, information, etc.
with your extensions. Again: Always provide THE WHOLE ZIP, not only parts.
This is the standalone 6502 Analyzer variant, representing a minimal 6502
system, consisting of CPU (the IC to test), 2 kB RAM, 8 kB ROM, clock
generator, address decoder and "I/O port". The memory map can be found inside
the fairly documented source code, it differs from the one of a 1541.
The enclosed source code can be assembled with ACME. The resulting BIN file
can be programmed into an EPROM (2764) for use with the standalone version
of 6502-Analyzer. Again, this code will NOT work with a 1541, use version
"6502-Analyzer-1541" for that purpose.
The code is not my work but taken from
http://forum.6502.org/viewtopic.php?f=2&t=2263
I've just added an output of the result to "I/O port" of the standalone
6502-Analyzer.
The "BOM" can be found printed on the PCB. Please use "super bright" grade
LEDs (2 mA), for conventional LEDs the resistor network would have to be
lowered to 330 ohms or less.
Schematics do NOT exist. If you want to know how the 6502 is connected to
RAM and ROM, please have a look inside the 1541 schematics. Equations for
chip selects generated by the 74LS00 can be found inside the source code.
The "I/O port" is a simple 74LS374 latch which latches data on the rising
edge of the chip select. There is no R/W connected to the latch, it is
latching data from the data bus even when it's read from(!). Since reading
from a latch input(!) is rather senseless this can be simply ignored. In
fact, this is used for blinking the LEDs even with no R/W present from a
"Sally" (see below).
The standalone 6502-Analyzer Rev. 3 performs a proper reset on power up.
This will take about one second, if it fails just use the onboard RESET
button for a "reset by hand". Finally the code will run from the EPROM,
which is performing the CPU analysis, showing the result on the LED port
and finally ending in a loop blinking the 1541's drive LED.
This is all to keep it really simple. :-)
The meaning of the LEDs is as follows:
Bit 0 - "CMOS": off = NMOS 6502 or 65816 on = CMOS-CPU
Bit 1 - "65816": off = NMOS 6502 on = 65816
Bit 2 - "ROROK": off = ROR bug (NMOS 6502 first rev) on = ROR opcode OK
Bit 3 - "DECOK": off = no decimal mode (= Ricoh 2A03) on = DEC mode OK
Bit 4 - "6280": on = Hudson Soft HuC6280 CPU off = no HuC6280
Bit 5 - "65C02": off = WDC W65SC02 (1978), G65SC02, NCR65C02, SY65C02
on = Rockwell R65C02 or WDC W65C02S (1984-today)
Bit 6 - "740": on = Mistubishi/Renesas 740 CPU off = no 740
Bit 7 - "740MD": on = 740 CPU with MUL/DIV opcodes off = no MUL/DIV
All common 6502 variants should work, including W65C02S, without changes to
the setup. A 6502C "Sally" will not be recognized, depending on the state of
the SRAM at power up the LEDs will remain dark or all eight might be blinking,
because of the different R/W pin the Sally is using (36 instead of 34). So no
values from the test routines can be written to RAM. If you suppose to have
a Sally in you socket, you might want to close the jumper labelled "Sally" on
the board, this will fix the R/W routing and even Sally should work now.
For all other variants DO NOT CLOSE this jumper!
FINAL NOTE:
Please do not use 6502 derivates with different pinouts (6510, 8500, 8501,
8502, micro controllers with 6502 core, etc. etc.). THIS WILL NOT WORK and
will possibly DAMAGE you CPU and/or the 6502-Analyzer.
----------------------------------------------------------------------------
See also:
TERC KIM-1 Interface set
6502 tester NMOS CMOS 1-8MHz
680x/650x Test system
Backbit Chip Tester PRO V2
Commodore Chessmate by Stephen Crane
Stephen Crane designed a Chessmate hardware emulator some time ago.
He updated his archive on github with a PCB for a low cost variant.

See also:
A demo of the new facilities in the KIM-1 Simulator 2.2.1
KIM-1 connectors: beware the Chinese cheap variants!
Magazines: Compute! and Compute II
All documents in the MTU pages are now clean and higher quality, about 50 new PDFs.
KEMPAC SYSTEM Microcomputers
Under the name KEMPAC SYSTEM Eurocards and Microcomputers for Industrial Automation a 19 inch rack system was developed in the 80ties around the 6502 by the (of TMX fame) Kuipers Electronic Engineering B.V., Zwijndrecht
Gerben Voort has acquired such a system and has shared these photos. In the future I hope to scan the documentation.
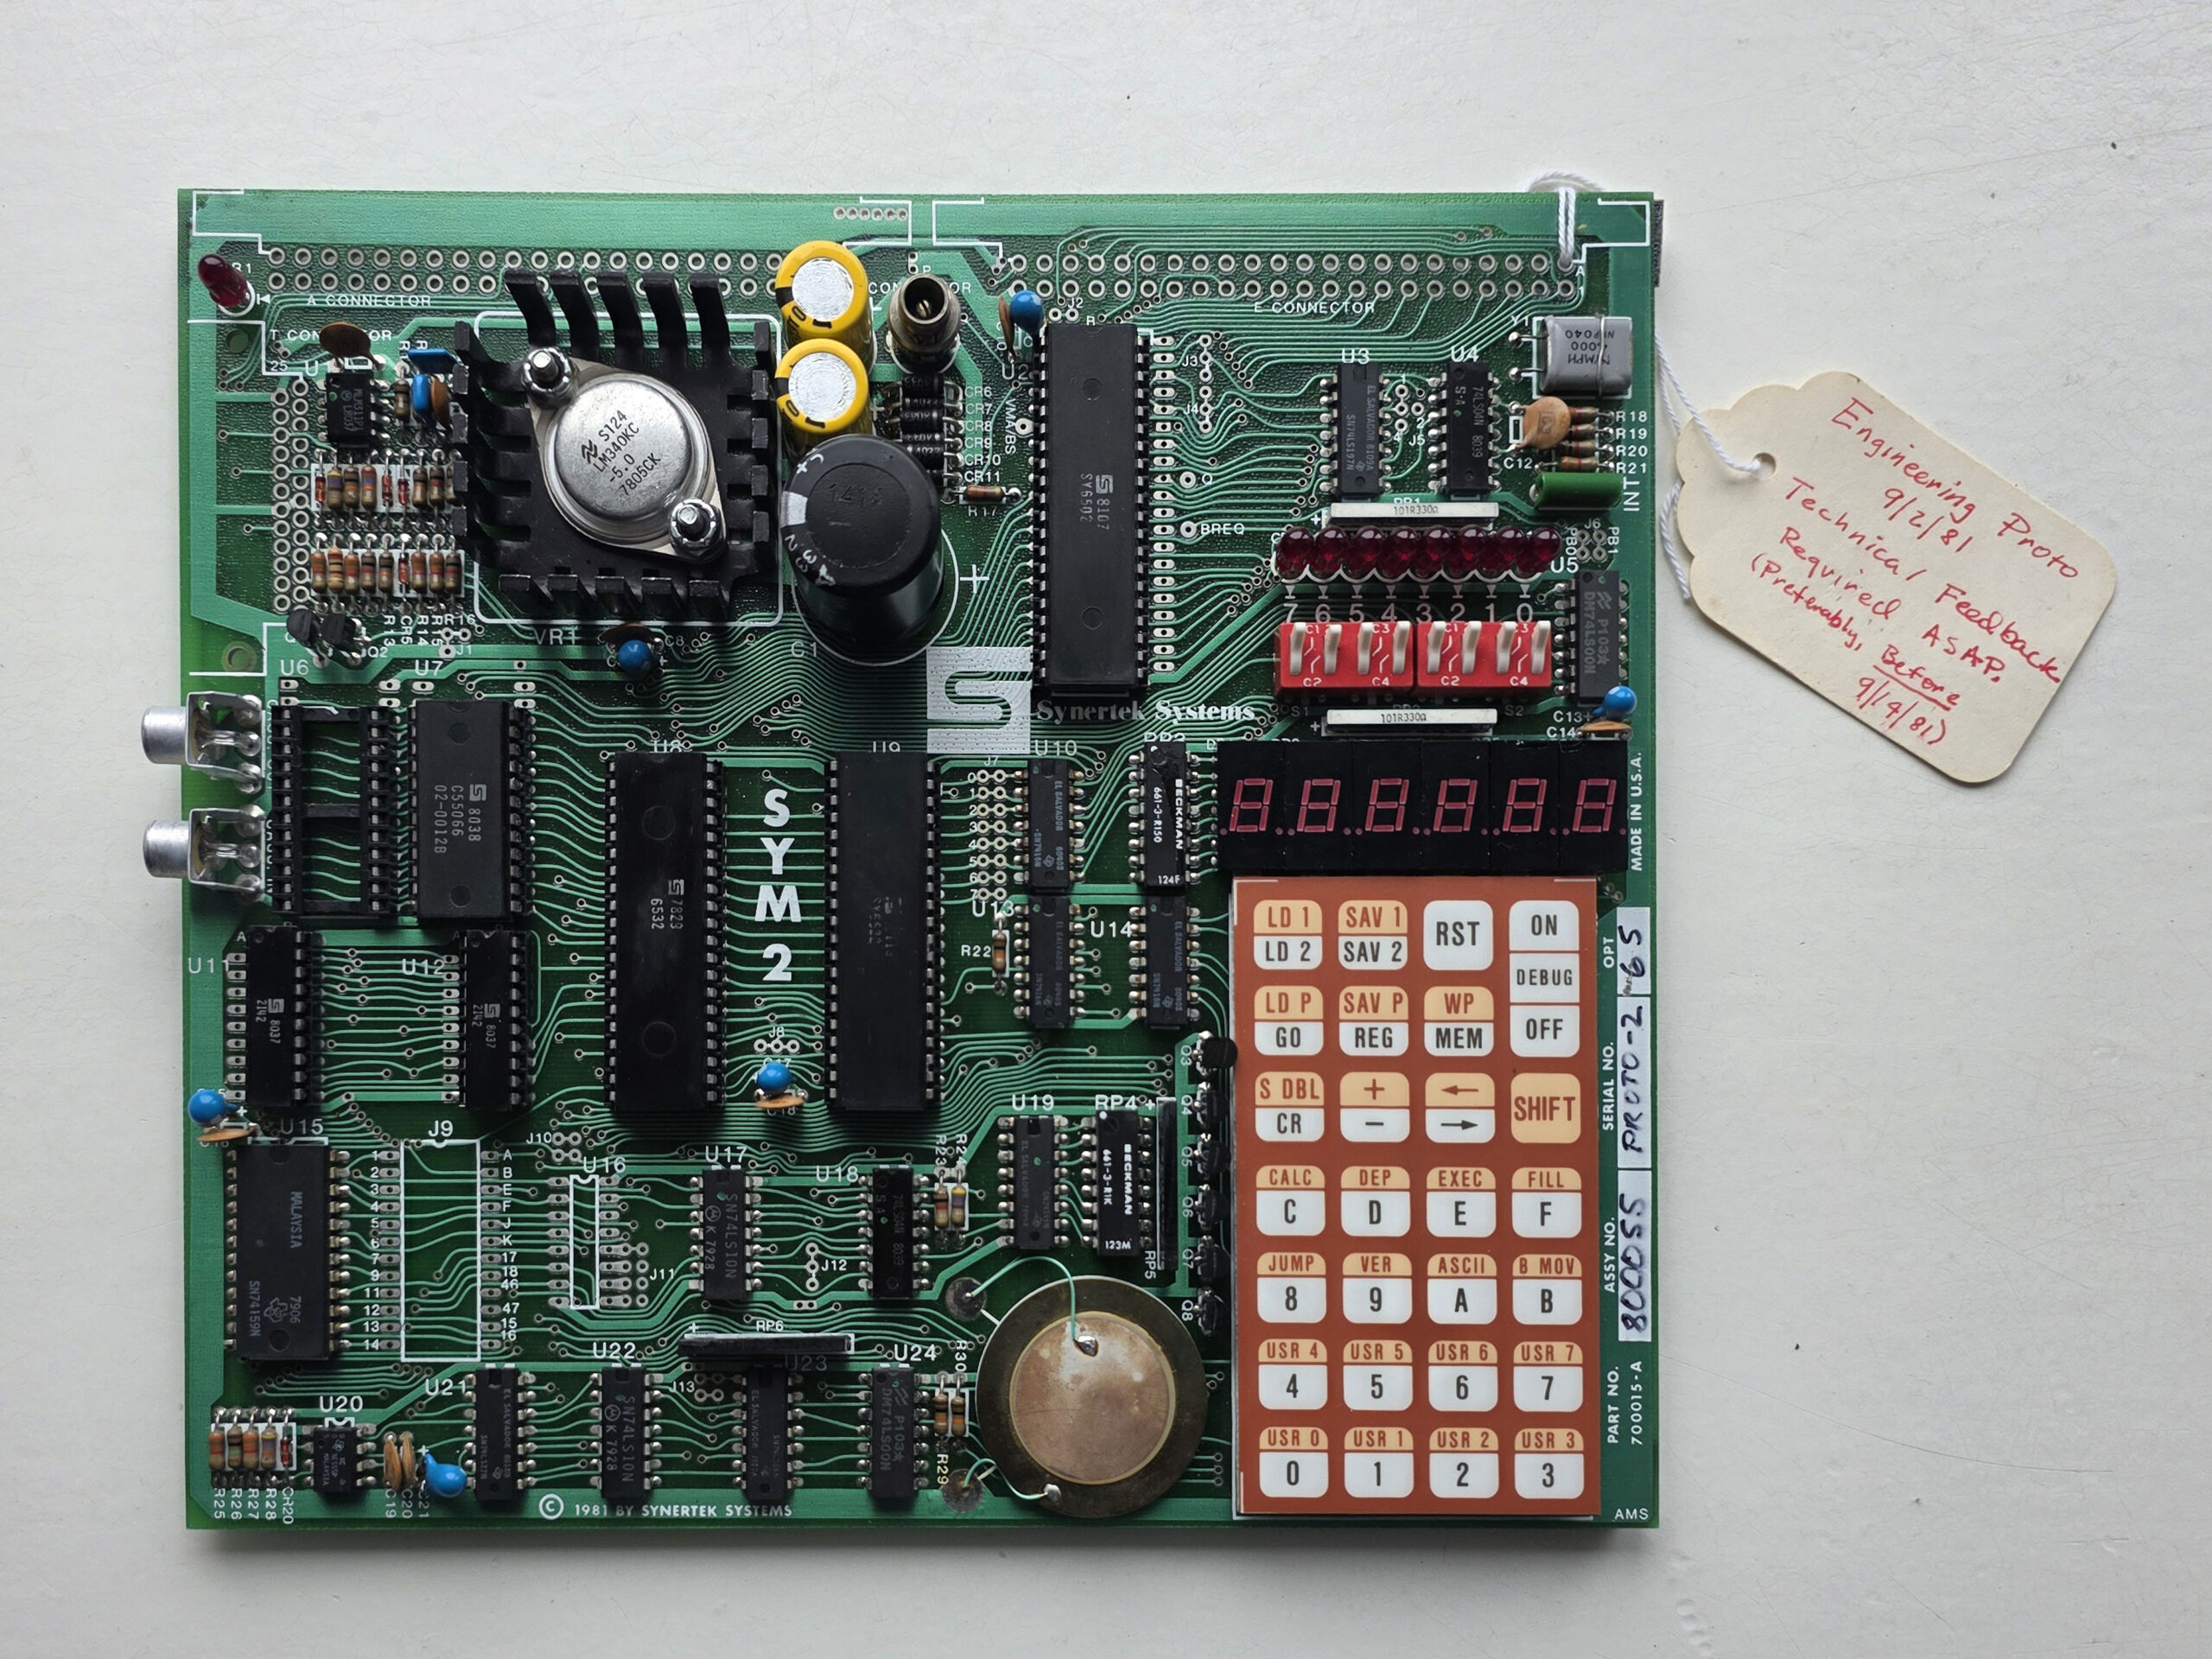


Kempas was developed by Kuipers Electronic Engineering bv. te Zwijndrecht
From a linkedin link:
Michiel Cornelissen
Afstudeeropdracht bij Kuipers Electronic Engineering bv. te Zwijndrecht: ”Van KEMPAC tot Applicatie; Opzetten van de workshop voor het ontwikkelen van applicaties met behulp van het KEMPAC systeem. Naast de technische ook de didactische aspecten onderzocht.
Directeur Peter-Paul Kuipers van Kuipers Electronic Engineering (TMX) overleed onverwachts op 24 juni 2022. Nu heeft het bedrijf surseance van betaling aangevraagd. © Kuipers Electronic Engineering (TMX)
Directeur Peter-Paul Kuipers van Kuipers Electronic Engineering (TMX) overleed onverwachts op 24 juni 2022. Nu heeft het bedrijf surseance van betaling aangevraagd.
Dubbel drama voor bedrijf: directeur overleden en nu ook financiële problemen
De dertig medewerkers van Kuipers Electronic Engineering (TMX) in Zwijndrecht maken in korte tijd twee drama’s mee.
André Oerlemans
In juni overleed onverwachts hun directeur Peter-Paul Kuipers. Nu heeft zijn broer Robert surseance van betaling moeten aanvragen. Bewindvoerder Jeroen Schras heeft tot november de tijd om het bedrijf te redden. Ondertussen wordt er doorgewerkt.
Het bedrijf aan de Houtkoperstraat bestaat sinds 1976 en levert tele-monitoring voor installaties, waterlopen, bruggen en tunnels.
See also:
TERC KIM-1 Interface set
6502 tester NMOS CMOS 1-8MHz
680x/650x Test system
Backbit Chip Tester PRO V2
Improved keypad case and button
The DIY KIM-1 keypad case and button 3D designs have been slightly improved:
The case has a small cutout around the top edges as the original.

The button has some ribbles as the original has.