post

John Bell Engineering SBC’s

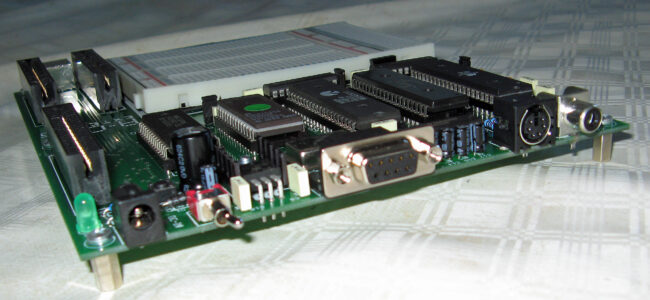
John Bell Engineering was a small firm producing microprocessor many boards between 1980 and 1990.
The early boards were 6502 and Z80 SBC’s, later boards were for the Apple II, and the last ones for the IBM PC bus.

I present here, what I have found, of John Bell 6502, Z80 and Apple ][ boards.

John Bell catalog 1984
John Bell catalog 1988

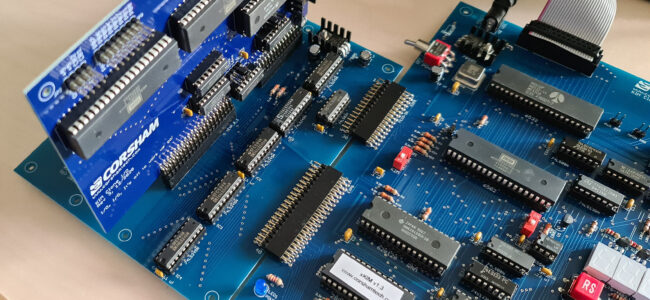
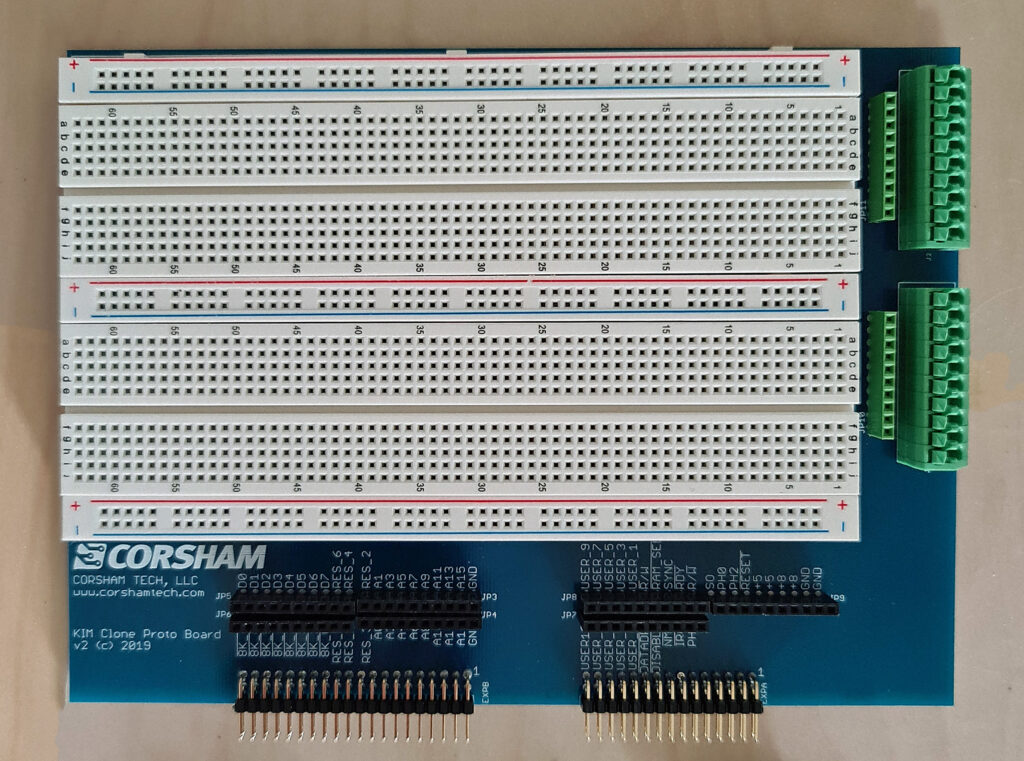
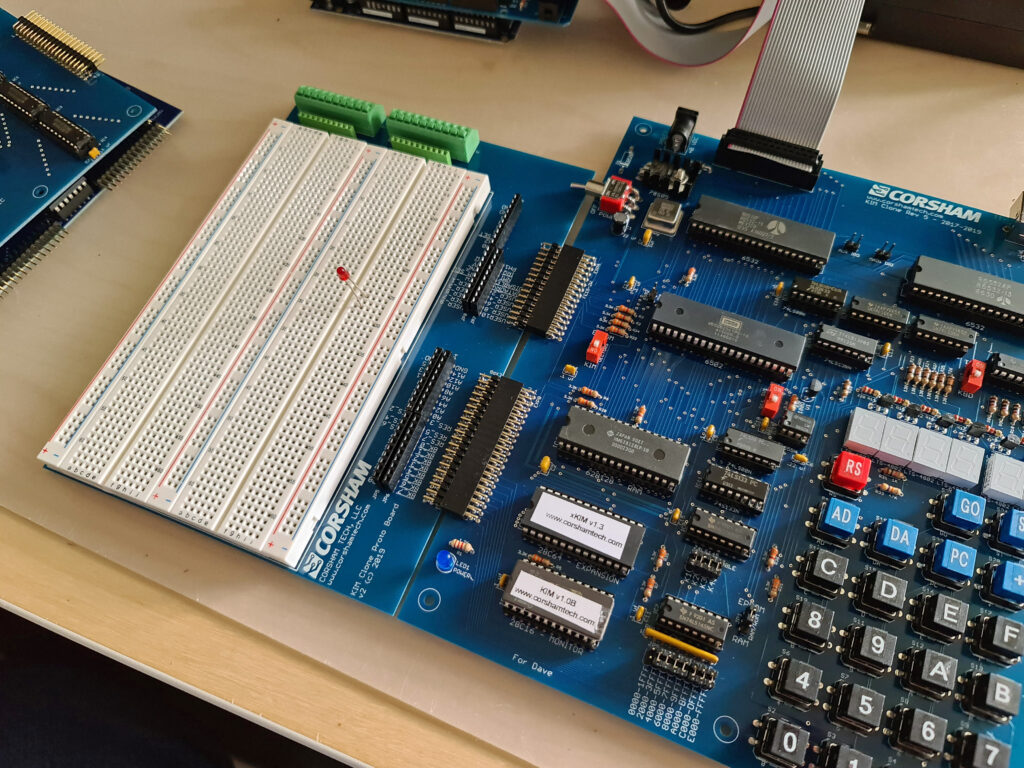
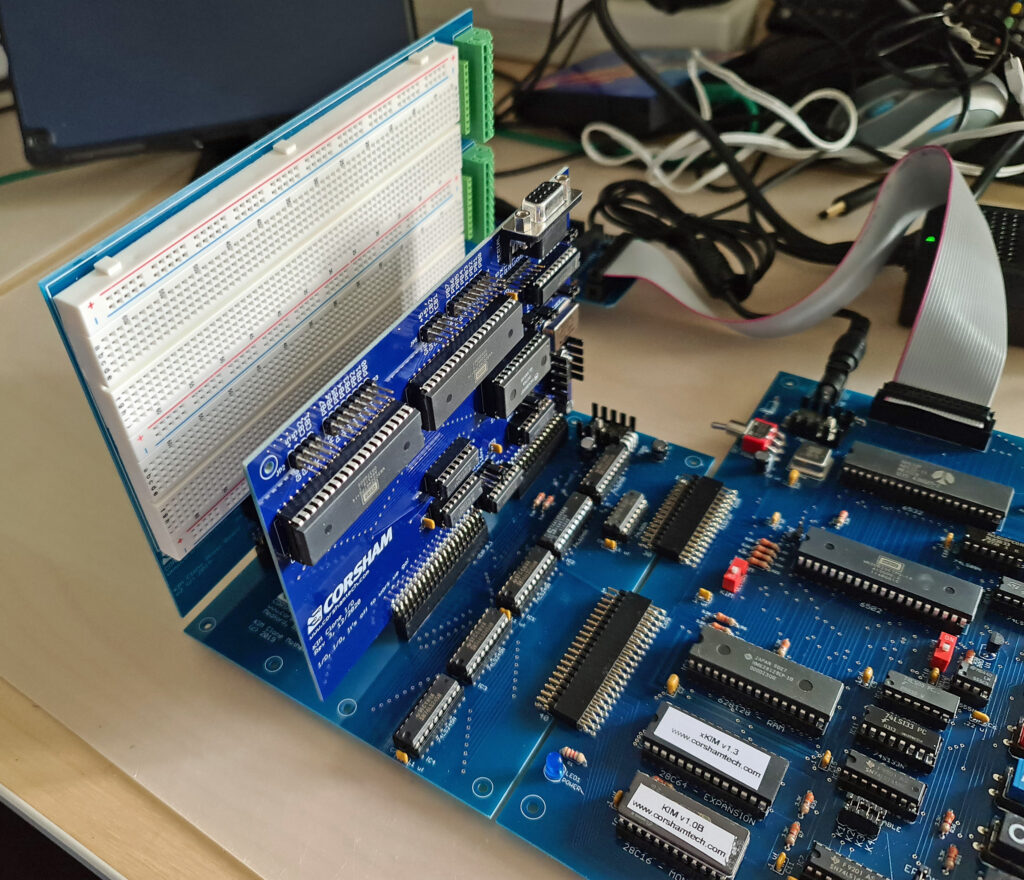
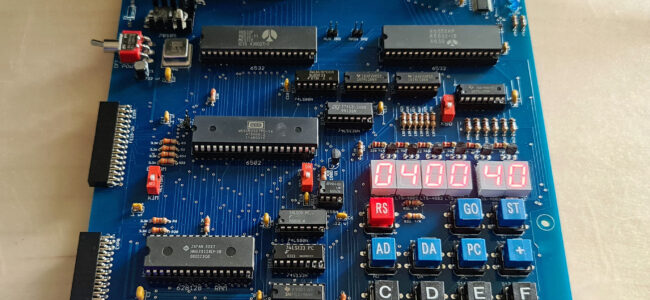
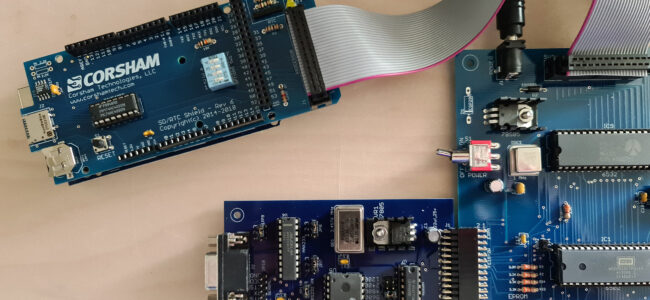
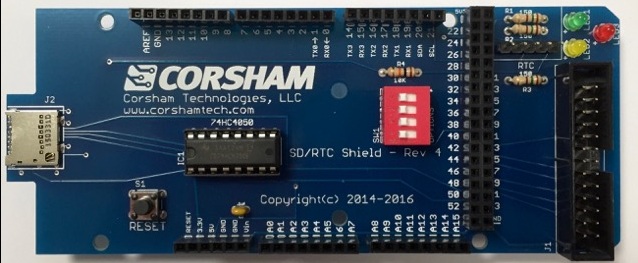
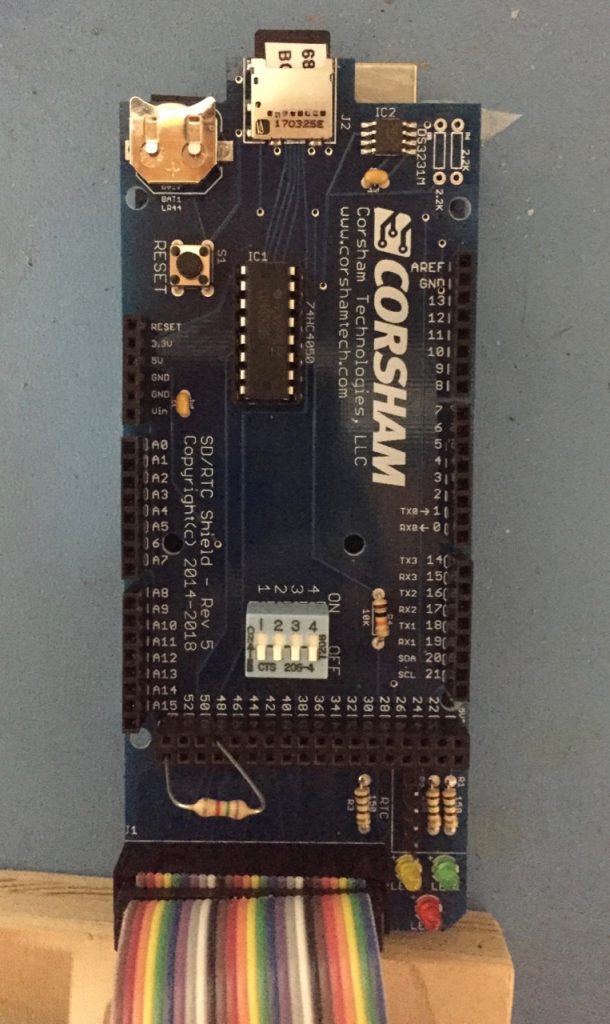
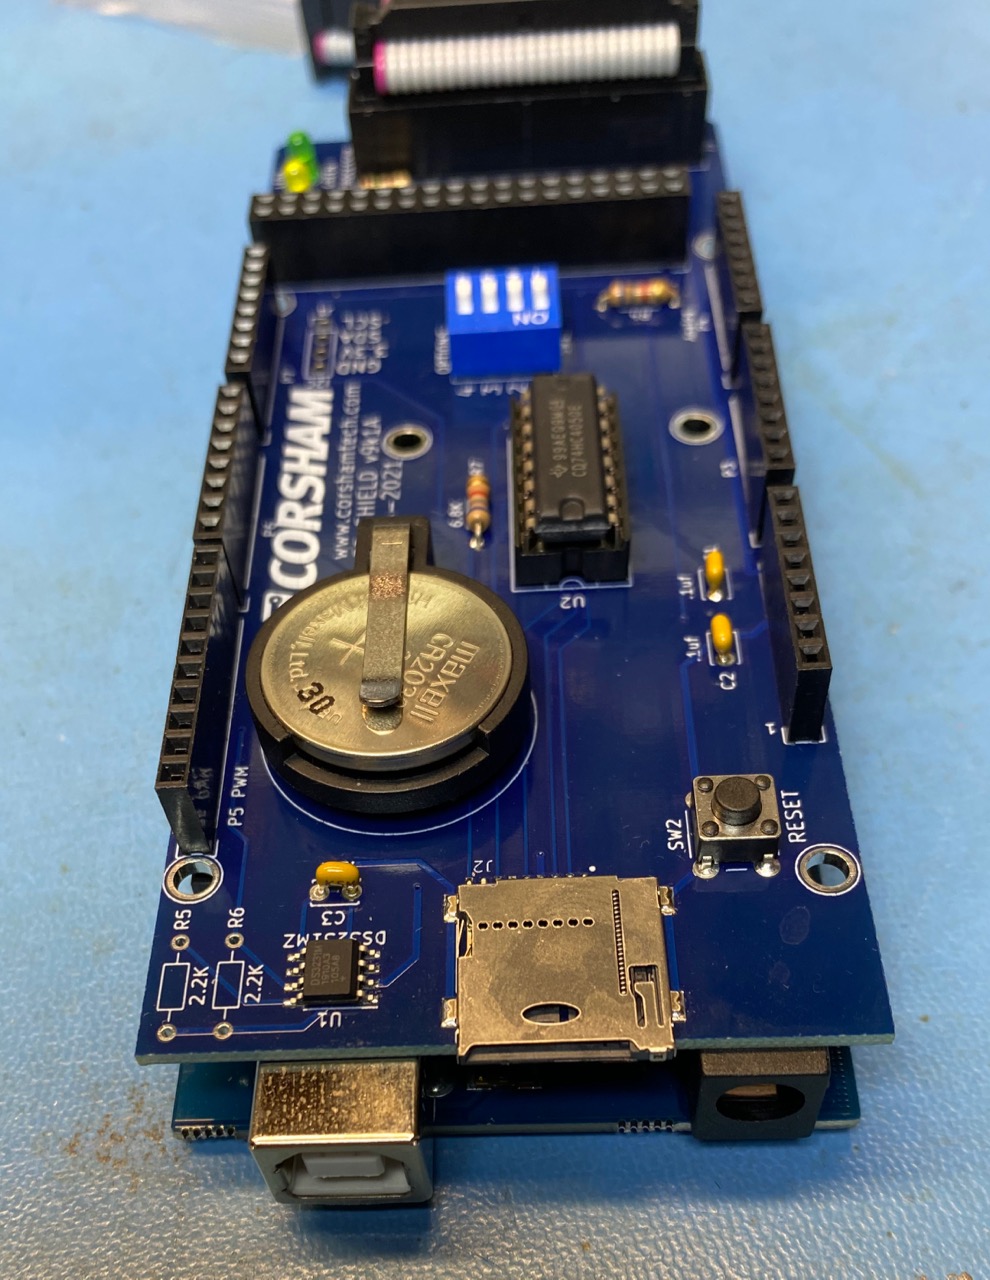
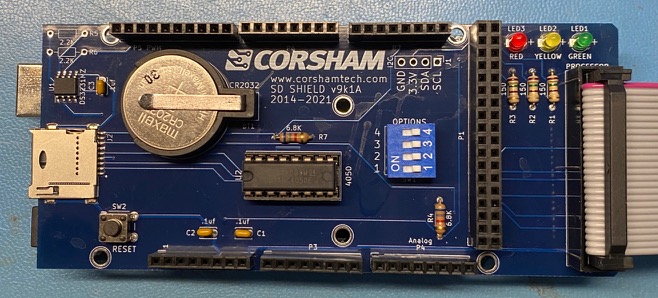
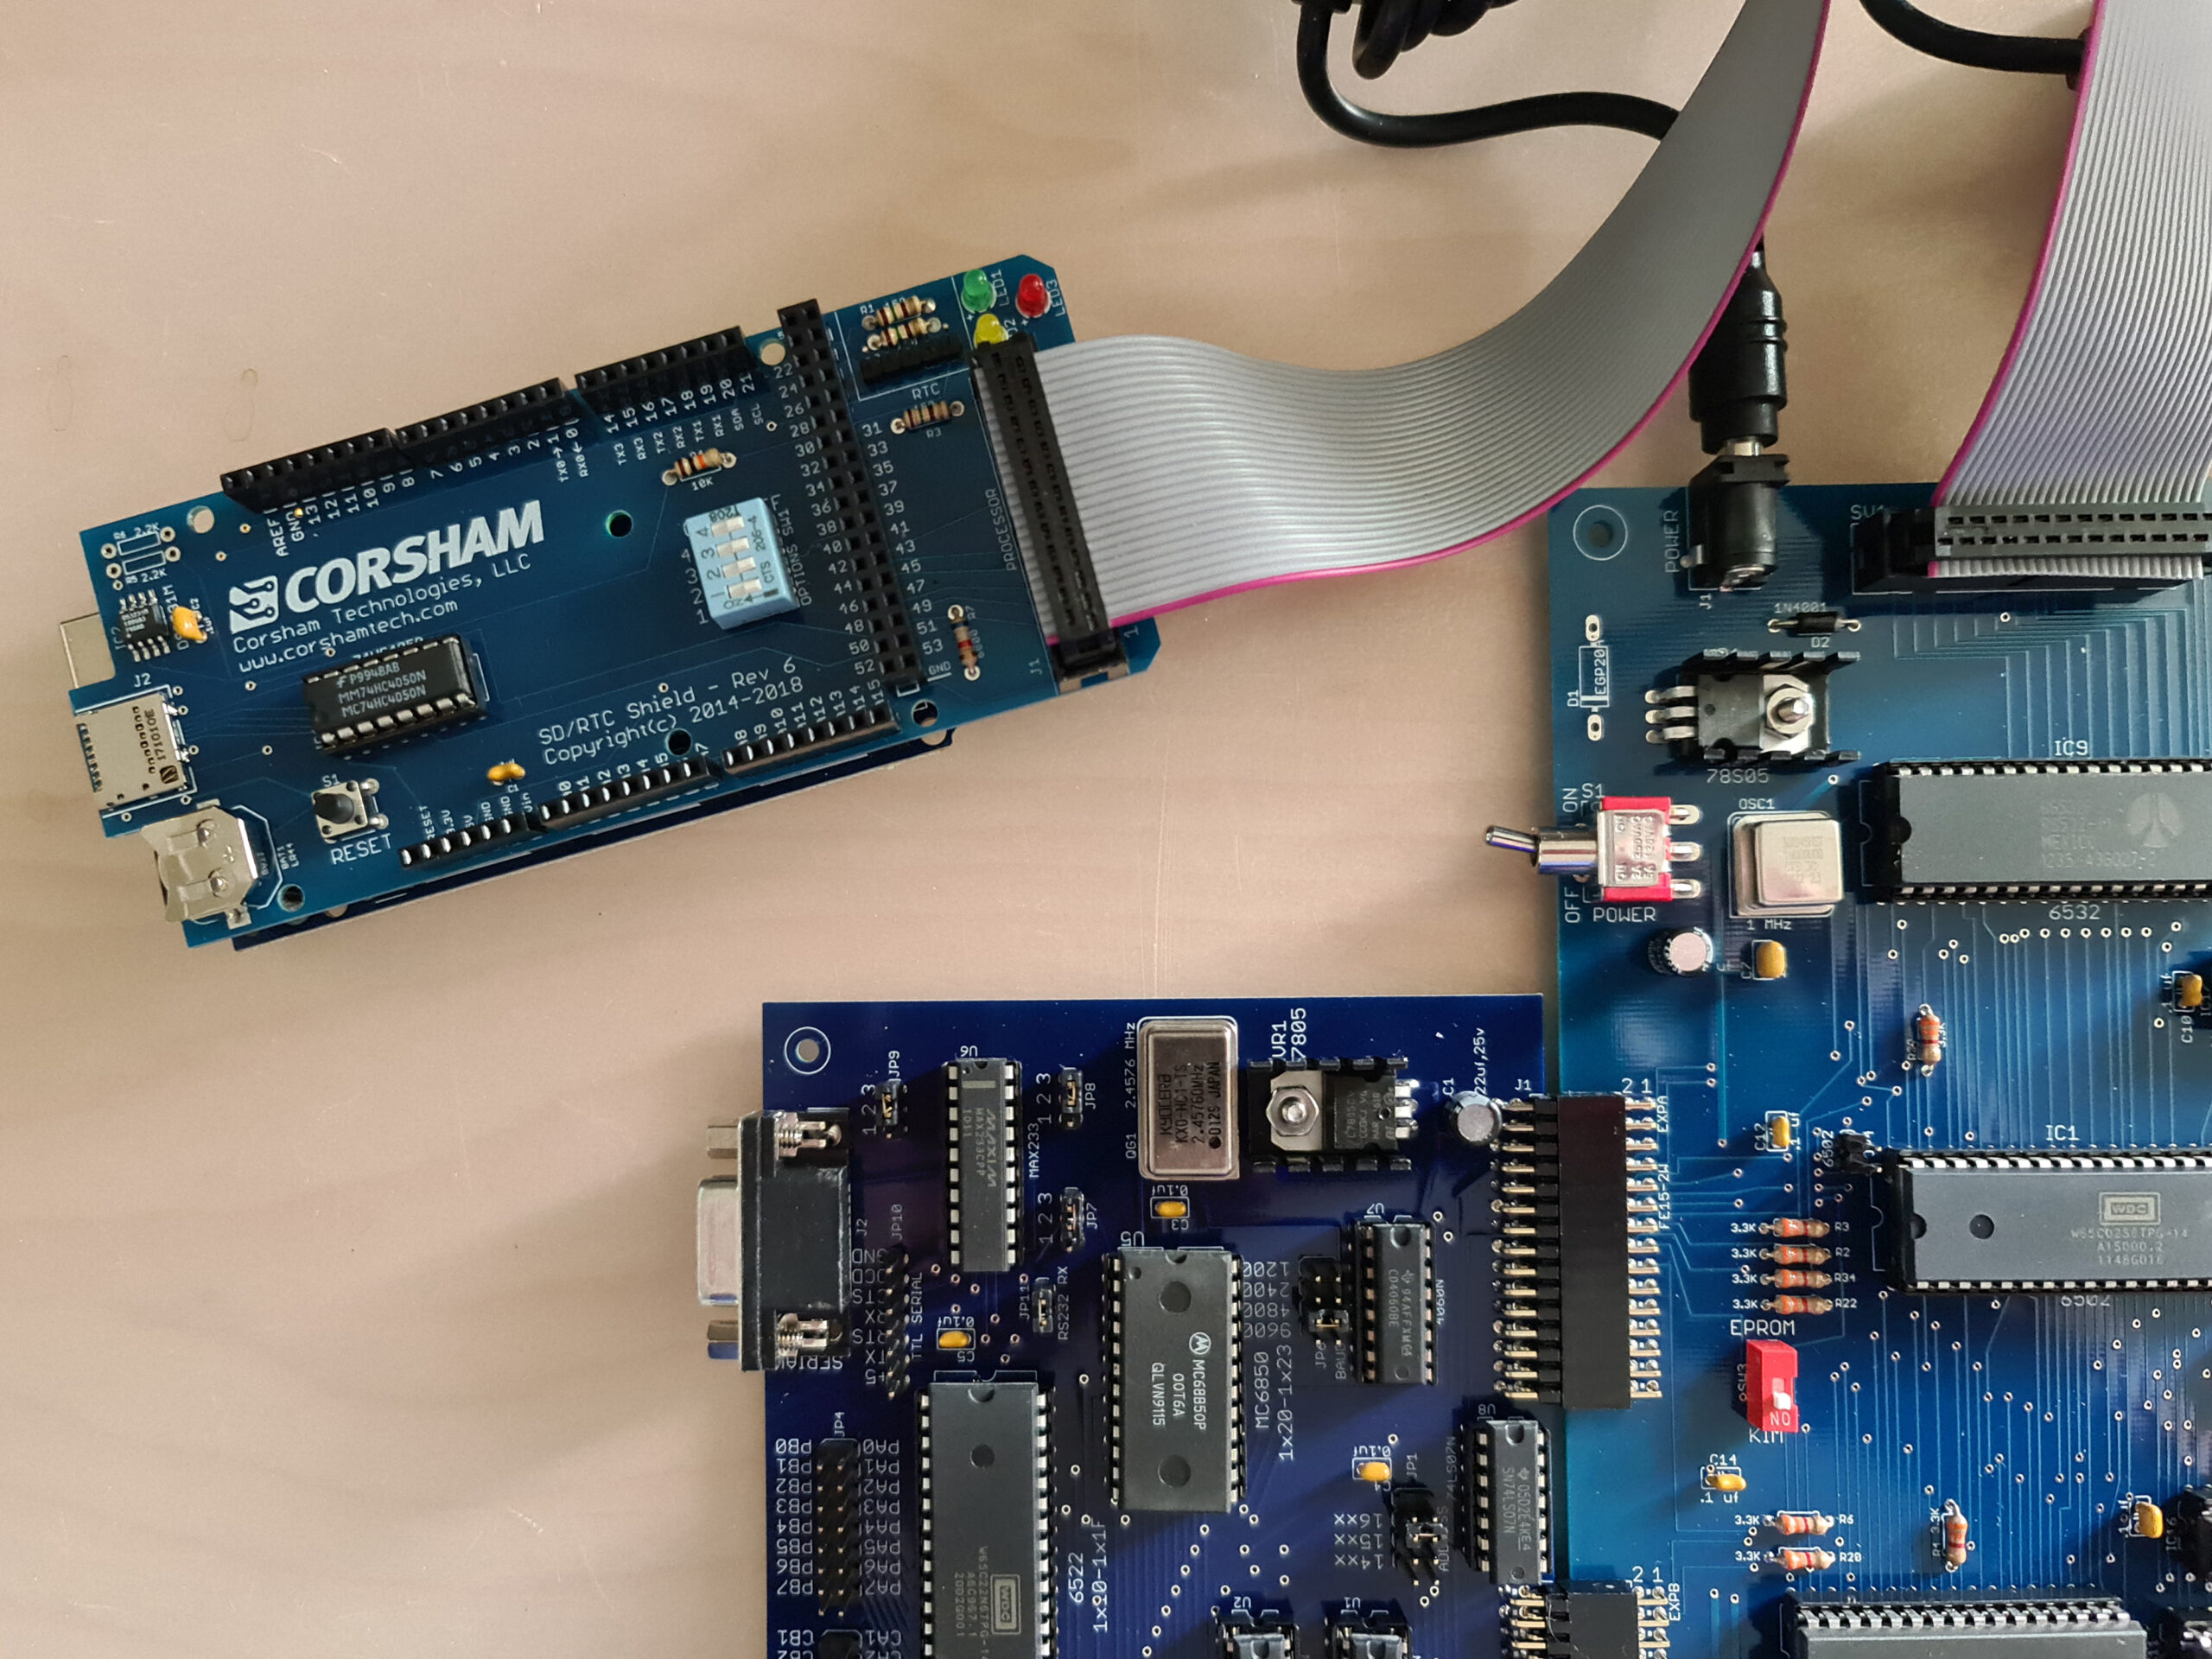
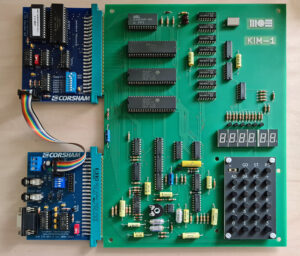
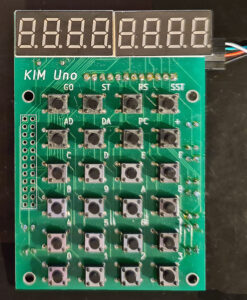
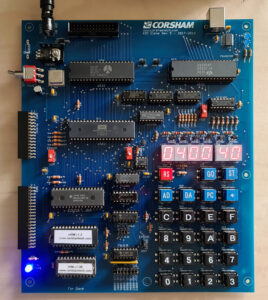
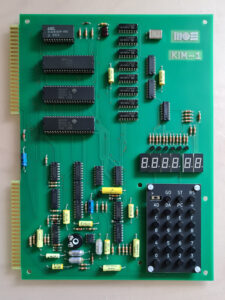
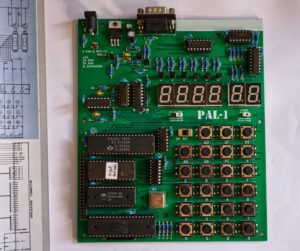
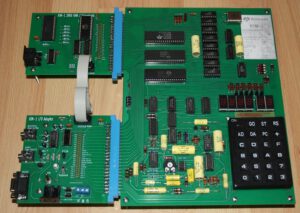
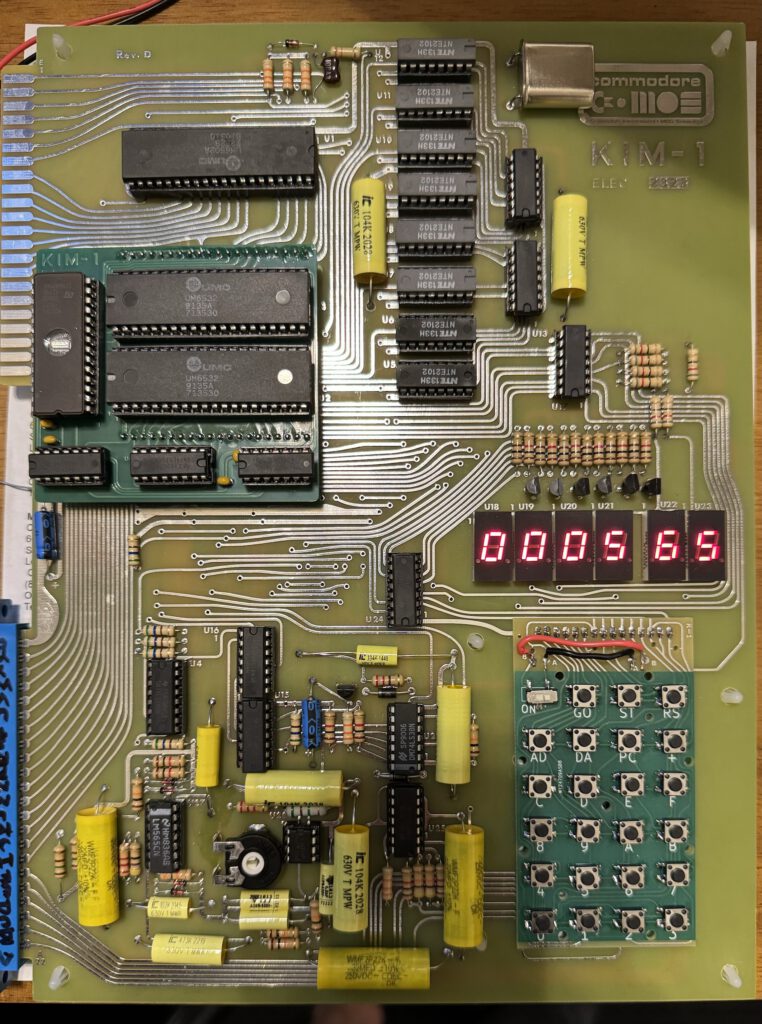
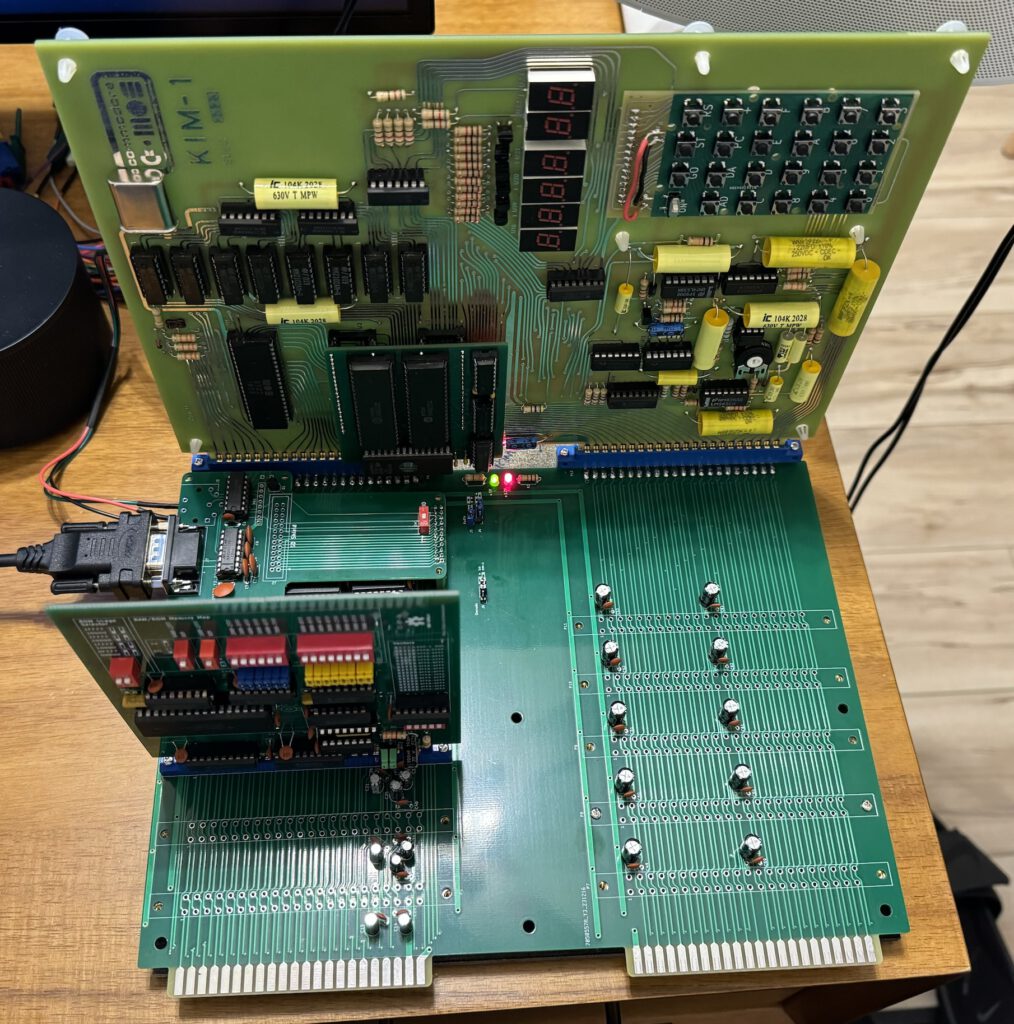
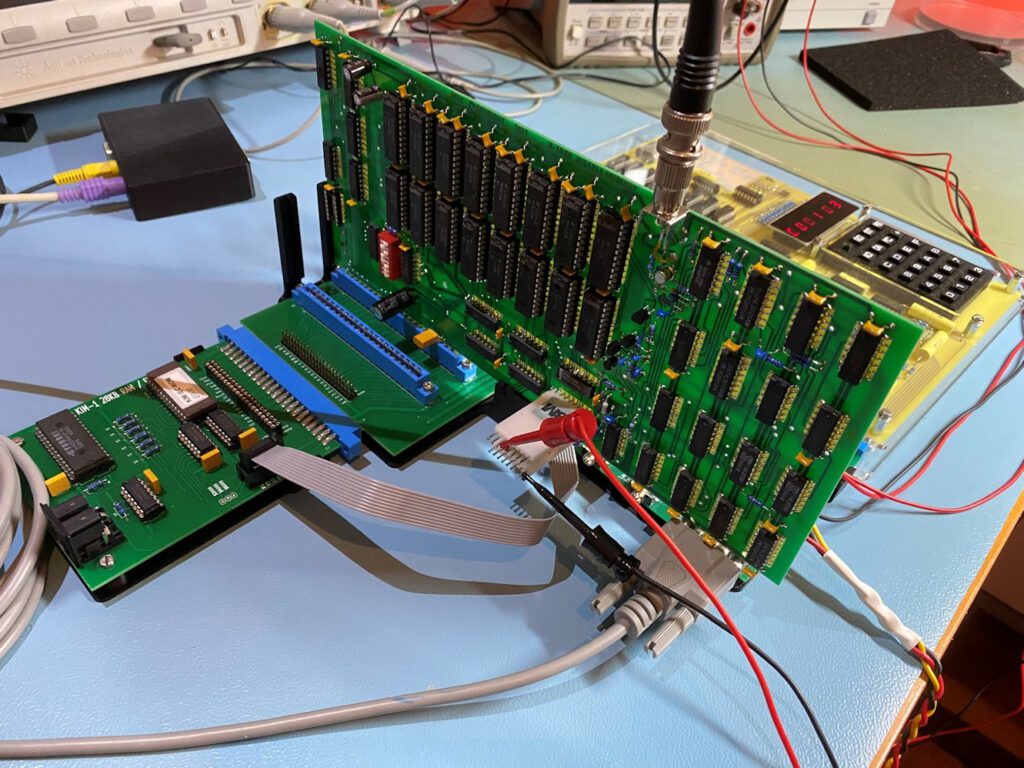
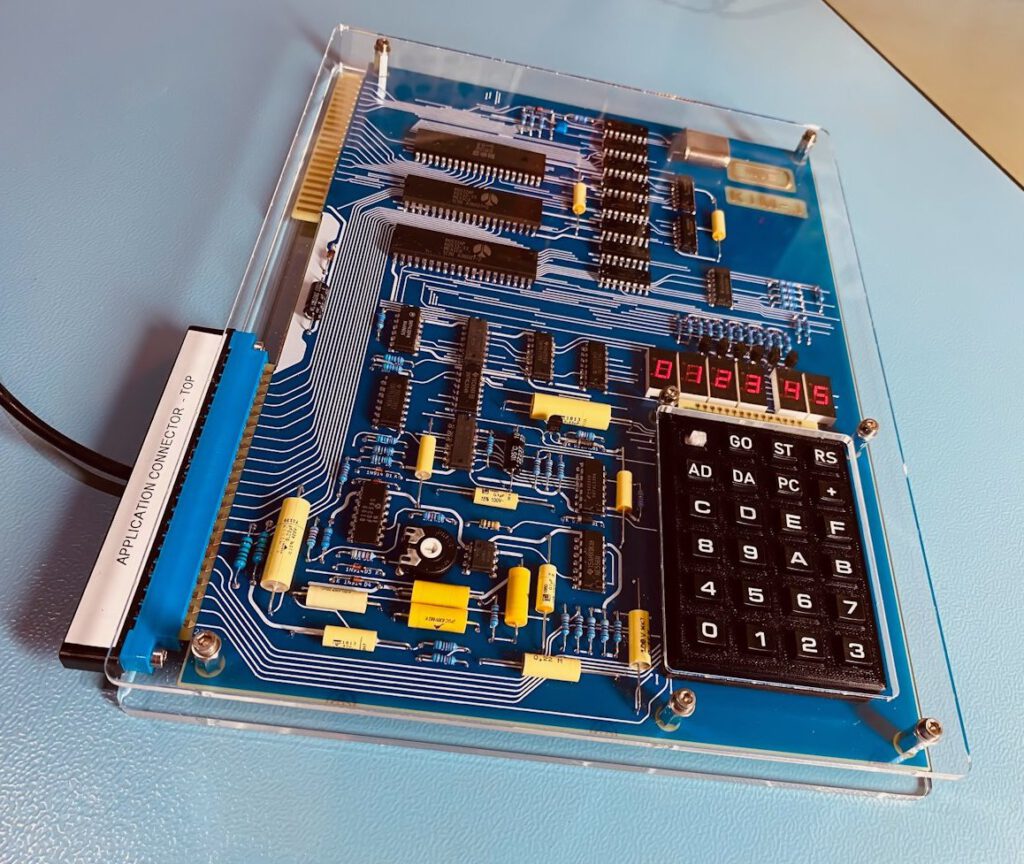
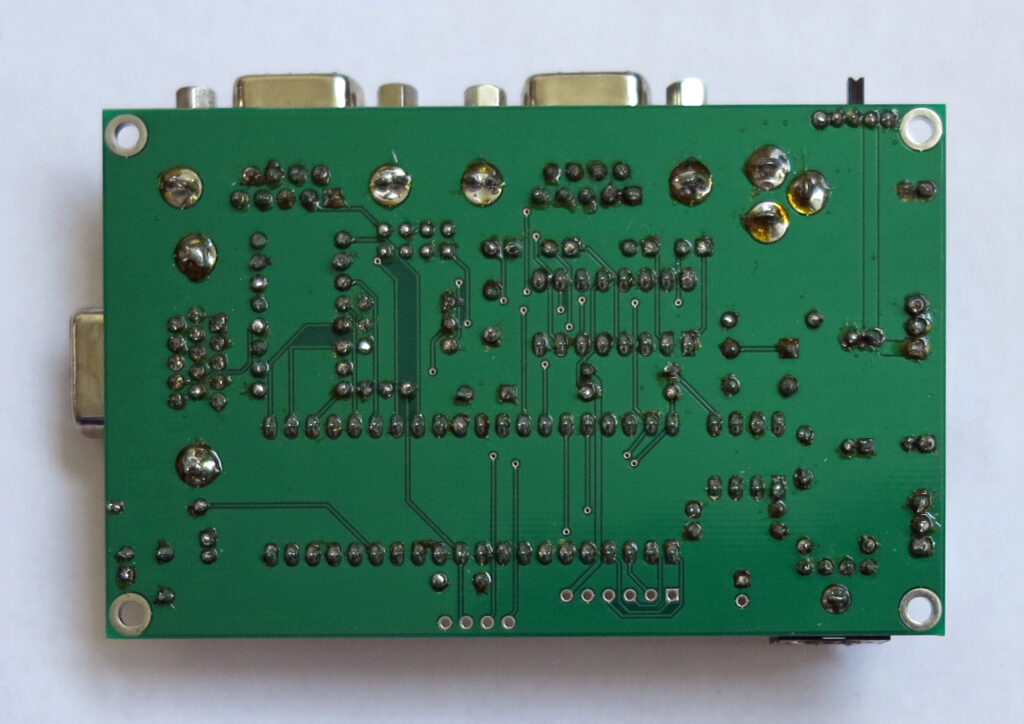
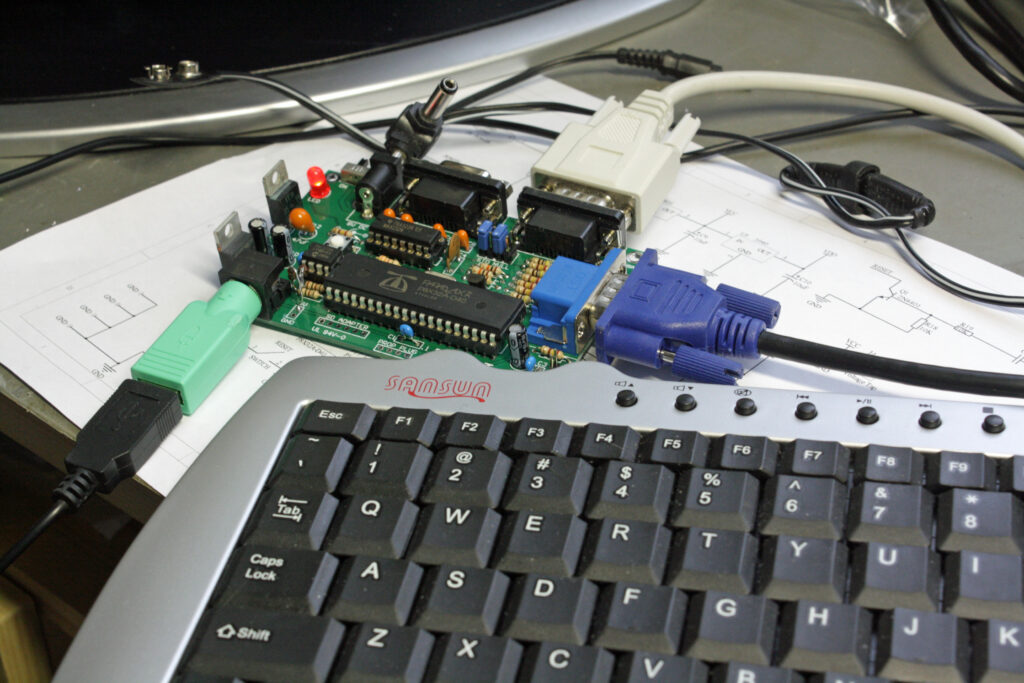
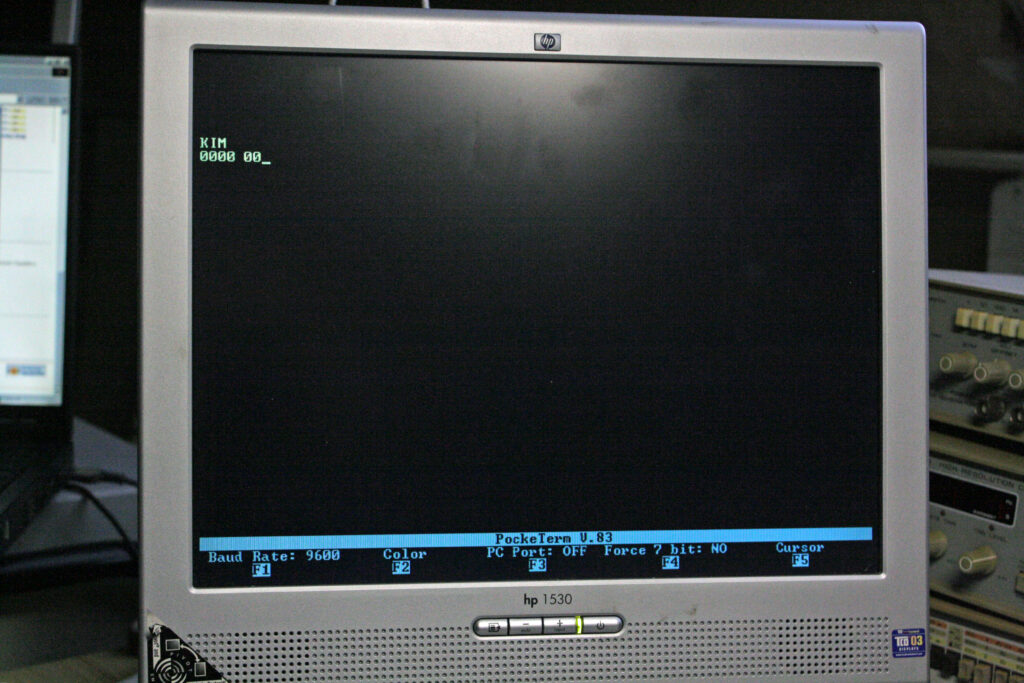
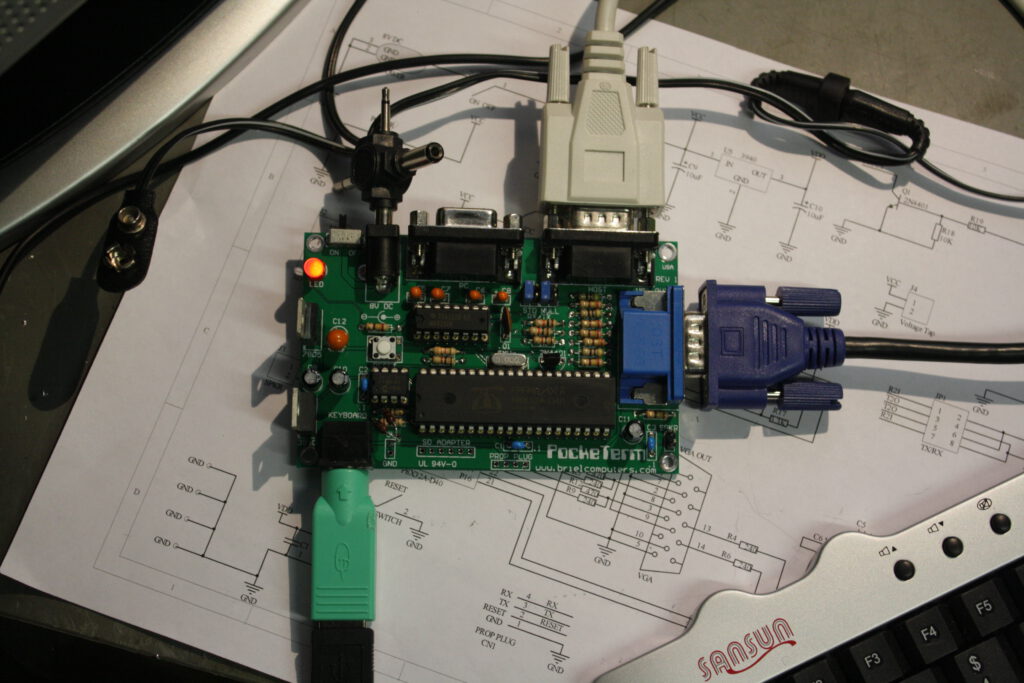
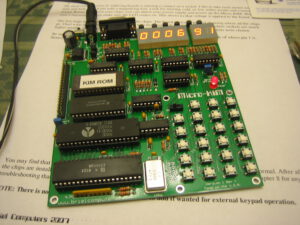
KIM Clone Corsham Technologies

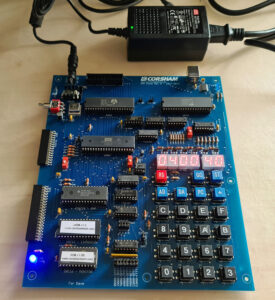
A new KIM CLone kit is coming!

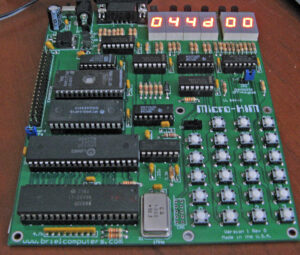
Bob Applegate is filling in the gap left by Vince Briel, with his own design.

  • 6502 for now, but will probably ship with a 65C02 (extra instructions).
  • Fully KIM-1 software compatible.
  • 5K memory from 0000 to 13FF, then another 56K from 2000 to FFF7.
  • The top 8K of RAM can be turned off and 8K of EEPROM can be enabled (socket on board for the EEPROM).
  • Has an 8V power plug and on/off switch.
  • No cassette interface.
  • USB serial board.  Ie, plug a USB cable between your computer and the KIM clone to use the TTY port.
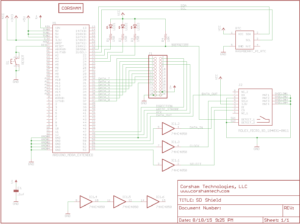
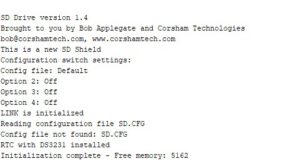
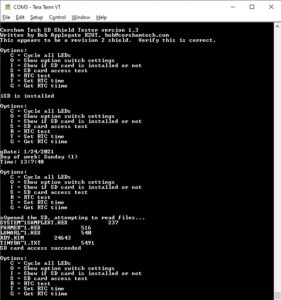
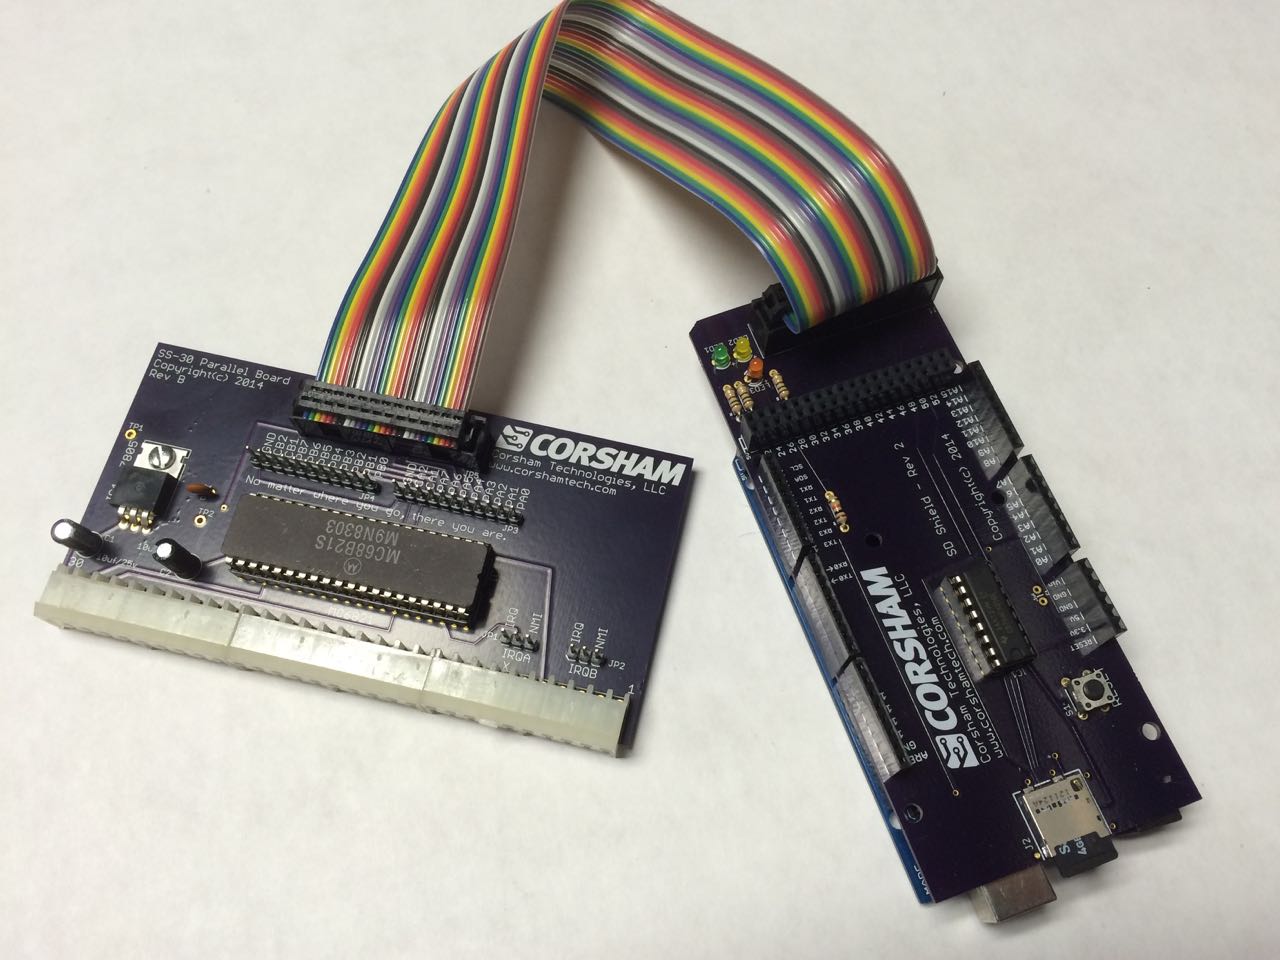
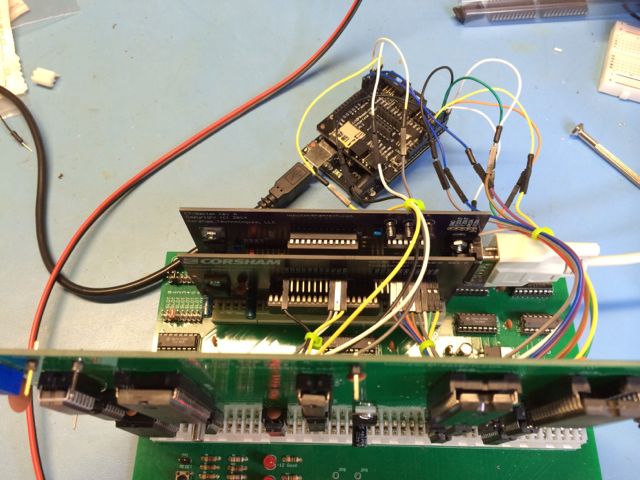
  • Has connector to plug in our SD System.  Store/retrieve programs from a micro SD card.

http://www.corshamtech.com/


post

EhBASIC bug Ibuffs location

Bug in EhBASIC 2.22 Daryl Rictor et al (from a discusson on 6502.org)

The following works:

; Ibuffs can now be anywhere in RAM, ensure that the max length is $80
IRQ_vec   = VEC_SV+2      ; IRQ code vector
Ibuffs      = IRQ_vec+$14

Whereas the following doesn’t:

; Ibuffs can now be anywhere in RAM, ensure that the max length is $80
Ibuffs      = $0400
Ibuffe      = Ibuffs + $47    ; end of input buffer

Of course be careful to make sure that Ram_base is quite faraway from Ibuffs.

So, Ibuffs can be anywhere in RAM that’s not $0400??
Any reason $0400 is magical?
Nope. $0400 is an example. $0500 gives you the same result: negative.
As long as Ibuffs is in the same page as ccflag and friends, it works. And ccflag can be at $0400.

Now, if you reference Ibuffs in relation to IRQ_vec (copy it over from min_mon.asm), then things work.
Perhaps someone somewhere made some assumptions of the page where Ibuffs need to be e.g. be in the same page as ccflag and friends etc.
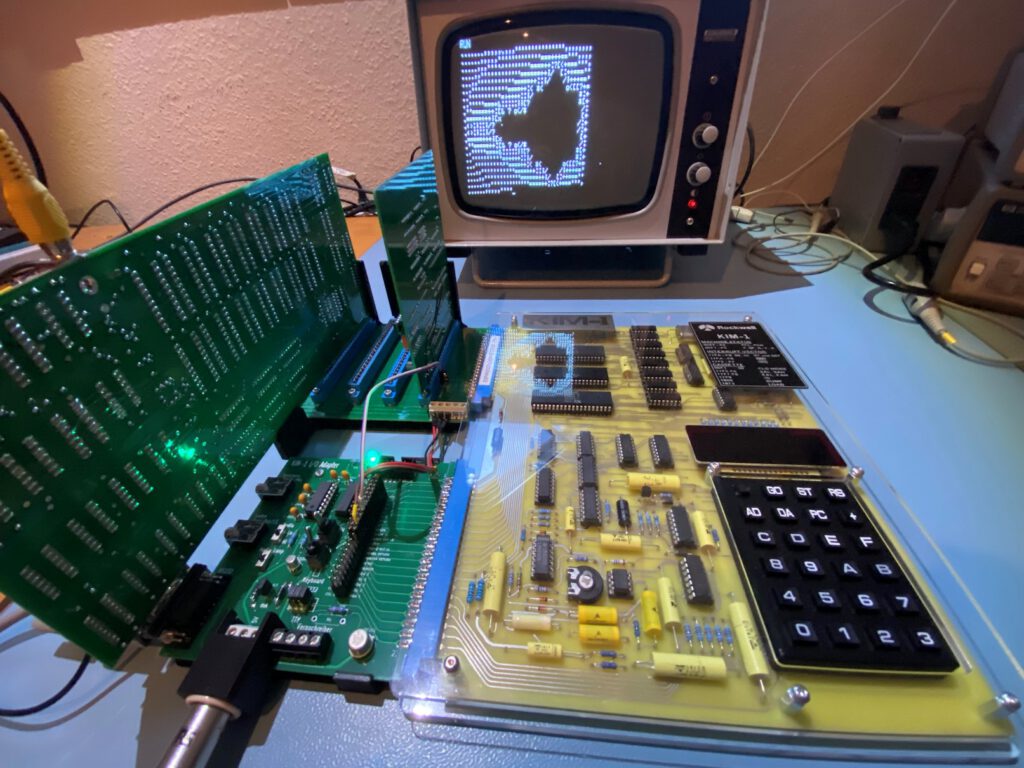
The other problem is what I’ve already observed: the EhBASIC binary has to be located in memory higher than Ram_base and Ram_top. Otherwise strange things happen.

With Ibuffs set to $0400 AND Ram_base set to $0500, I did a Cold start and entered this line – 10 PRINT “HELLO WORLD”
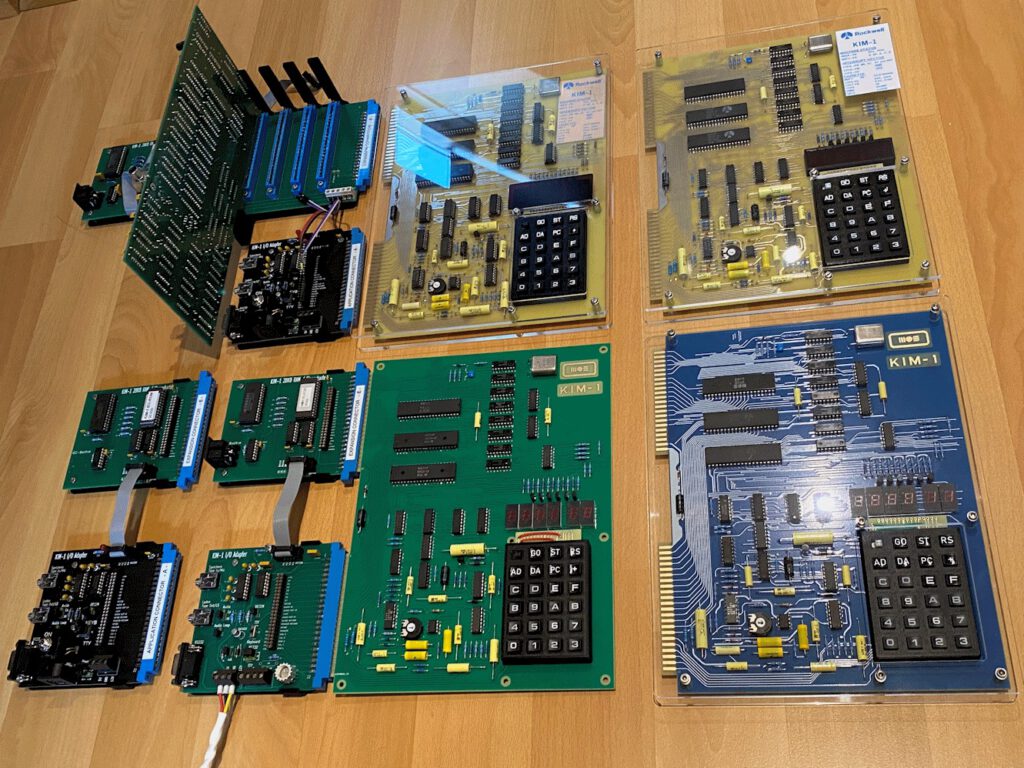
I examined the memory at Ram_base and found that the stored line was formatted correctly. However, when I typed LIST, all I got back was HELLO WORLD, as if I had typed RUN. Typing RUN also returned HELLO WORLD. When I ran the SYS command (my added command to return me to my Monitor), it just ignored it and returned to the BASIC input prompt.
Next, I changed Ibuffs to $0401 and reassembled. This time, everything performed as it should.

Next, I set Ram_base to $0600 with Ibuffs set to $0400 and entered the same line. This time, LIST returned nothing. Examining memory at $0600, the stored line is there and is correct. RUN and SYS also return nothing.

Finally, I set Ram_base to $0600 and Ibuffs to $0401 and all worked as it should.
I think I found the problem… and it would explain the issue with Ibuffs and Ram_base being 1 page apart too.

This piece of code is the problem:

LAB_142A
   INY            ; increment pointer
   INY            ; increment pointer (makes it next line pointer high byte)
   STA Ibuffs,Y   ; save [EOL] (marks [EOT] in immediate mode)
   INY            ; adjust for line copy
   INY            ; adjust for line copy
   INY            ; adjust for line copy
   DEC Bpntrl     ; allow for increment (change if buffer starts at $xxFF)
   RTS

Previously in the code, Bpntrl gets set to Ibuffs. When the DEC instruction gets executed, Bpntrl get set to $FF. Later in the code, we have this:

LAB_15F6
   JSR   LAB_IGBY     ; increment and scan memory

LAB_15F9
   JSR   LAB_15FF   

The routine LAB_IGBY is located in zero page (to increase speed). it looks like this:

LAB_2CEE
   INC   Bpntrl        ; increment BASIC execute pointer low byte
   BNE   LAB_2CF4      ; branch if no carry
               ; else
   INC   Bpntrh       ; increment BASIC execute pointer high byte

; page 0 initialisation table from $C2
; scan memory

LAB_2CF4
   LDA   $FFFF         ; get byte to scan (addr set by call routine)
   CMP   #TK_ELSE      ; compare with the token for ELSE
   BEQ   LAB_2D05      ; exit if ELSE, not numeric, carry set

   CMP   #':'          ; compare with ":"
   BCS   LAB_2D05      ; exit if >= ":", not numeric, carry set

   CMP   #' '          ; compare with " "
   BEQ   LAB_2CEE      ; if " " go do next

   SEC                 ; set carry for SBC
   SBC   #'0'          ; subtract "0"
   SEC                 ; set carry for SBC
   SBC   #$D0          ; subtract -"0"
                       ; clear carry if byte = "0"-"9"
LAB_2D05
   RTS

The code at LAB_2CEE will INC Bpntrl, which becomes $00 and then INC’s Bpntrh to $05. Now this pointer is pointing to the wrong page. And depending upon what is stored there, different things will happen.

This note is incorrect:

   DEC   Bpntrl      ; allow for increment (change if buffer starts at $xxFF)

It should read (change if buffer starts at $xx00).

My fix would be to add this:

LAB_142A
   INY            ; increment pointer
   INY            ; increment pointer (makes it next line pointer high byte)
   STA Ibuffs,Y   ; save [EOL] (marks [EOT] in immediate mode)
   INY            ; adjust for line copy
   INY            ; adjust for line copy
   INY            ; adjust for line copy

; add patch for when Ibuffs is $xx00 - Daryl Rictor
   LDA  Bpntrl    ; test for $00
   BNE  LAB_142P  ; not $00
   DEC   Bpntrh   ; allow for increment when $xx00
LAB_142P
; end of patch
   DEC   Bpntrl    ; allow for increment
   RTS

I have tested this fix and it worked for me.

Daryl

post

Lee Davison 6502 website page

Lee Davison

http://retro.hansotten.nl/lee-davison-web-site/

post

Enhanced 740 BASIC Language reference

Enhanced BASIC 740, language reference.

Most of EhBASIC74 is identical in operation to 6502 EhBASIC so this page will just describe the keywords that differ from that version.
Code that doesn’t use the features of one version should run identically on the other.

BASIC Keywords

Here is a list of BASIC keywords that differ from the 6502 version of EhBASIC. They
are only valid when entered in upper case as shown and spaces may not be included
in them. So, for example, TIMER1 is valid but TIMER 1 is not.

A2D CLEAR CNTR0 CNTR1 COUNT D2A1
D2A2 EVENT FLUSH INT0 INT1 INT2
INT3 INT4 IRQ NMI ON OFF
PRES12 PRESX PRESY PULSE PWM RETIRQ
RETNMI RETURN START STOP TIMER TIMER1
TIMER2 TIMERX TIMERY +

Anything in upper case is part of the command/function structure and must be present
Anything in lower case enclosed in < > is to be supplied by the user
Anything enclosed in [ ] is optional
Anything enclosed in { } and separated by | characters are multi choice options
Any items followed by an ellipsis, … , may be repeated any number of times
Any punctuation and symbols, except those above, are part of the structure and must be included

var is a valid variable name
var$ is a valid string variable name
var() is a valid array name
var$() is a valid string array name
expression is any expression returning a result
expression$ is any expression returning a string
result
addr is an unsigned integer in the range +/- 16777215 that will be
wrapped to the range 0 to 65535
b is a byte value 0 to 255
n is an integer in the range 0 to 63999
w is an integer in the range -32768 to 32767
i is a +ve integer value
r is real number
+r is a +ve value real number (0 is considered +ve)
$ is a string literal

BASIC74 Commands

FLUSH

This command, specific to version 1.10 on, clears the input buffer of any pending keystrokes. The buffer is also cleared by CLEAR and RUN.

INTx {ON|OFF|CLEAR}

Changes INTx event handling (where x is one of 0, 1, 2, 3 or 4).
ON
Enables the INTx handling subroutine after it has been turned off.
Note If a INTx event occured while the INTx event handling was disabled then it will be actioned immediately after this command.
OFF
Disables the INTx handling subroutine but does not remove the assignment. INTx events that occur while the handler is disabled will still be flagged for action.

CLEAR
Cleares the INTx handling assignment. After an INTx CLEAR the handling subroutine can only be restarted with an ON INTx command.


INTx {+|-}

Sets the detection edge for INTx (where x is one of 0, 1, 2, 3 or 4). + sets a low to high transition (positive edge) as the trigger, – sets a high to low (negative edge) as the trigger. The default is -. Note that changing the trigger edge when the interrupt is enabled may cause the interrupt to trigger.


CNTRx {ON|OFF|CLEAR}

Changes CNTRx event handling (where x is either 0 or 1).
ON

Enables the CNTRx handling subroutine after it has been turned off.
Note If a CNTRx event occured while the CNTRx event handling was disabled then it will be actioned immediately after this command.

OFF

Disables the CNTRx handling subroutine but does not remove the assignment. INTx events that occur while the handler is disabled will still be flagged for action.

CLEAR

Cleares the CNTRx handling assignment. After a CNTRx CLEAR the handling subroutine can only be restarted with an ON CNTRx command.


CNTRx {+|-}

Sets the detection edge for CNTRx (where x is one of 0 or 1). + sets a low to high transition (positive edge) as the trigger, – sets a high to low (negative edge) as the trigger. The default is -. Note that changing the trigger edge when the interrupt is enabled may cause the interrupt to trigger.


PRESq <b>

Sets the value for prescaller q (where q is one of 12, X or Y).


TIMERp {TIMER|PWM|COUNT|PULSE}

Sets TIMERp timing mode (where p is either X or Y).
TIMER

The timer (X or Y) counts down (f/16)/(1+PRESq)/(1+TIMERp).

PWM

If the corresponding active edge selection bit (CNTR0 for timer X, CNTR1 for timer Y) is “0” (CNTRx -) then the counter counts as in timer mode while the pin is at “1”.
If the corresponding active edge selection bit (CNTR0 for timer X, CNTR1 for timer Y) is “1” (CNTRx +) then the counter counts as in timer mode while the pin is at “0”.
The Prescaller and timer latches are preset to $FF by setting this mode and when the selected event (-ve or +ve edge) happens the prescaller and timer values are copied and available to BASIC using the TIMERp (where p is either X or Y) function.

COUNT

The same as timer mode except pulses on the corresponding counter pin (CNTR0 for timer X, CNTR1 for timer Y) are counted. Selecting this mode also sets the corresponding pin to input mode.

PULSE

As timer mode except when the timer reaches $0000 the counter pin (CNTR0 for timer X, CNTR1 for timer Y) is inverted. Selecting this mode also sets the corresponding pin to output mode.


TIMERp {START|STOP}

Enables or disables counting for TIMERp (where p is either X or Y).


TIMERq {ON|OFF|CLEAR}

Changes TIMERq event handling (where q is one of 1, 2, X or Y).
ON

Enables the TIMERq handling subroutine after it has been turned off.
Note If a TIMERq event occured while the TIMERq event handling was disabled then it will be actioned immediately after this command.

OFF

Disables the TIMERq handling subroutine but does not remove the assignment. TIMERq events that occur while the handler is disabled will still be flagged for action.

CLEAR

Cleares the TIMERq handling assignment. After a TIMERq CLEAR the handling subroutine can only be restarted with an ON TIMERq command.

TIMERq <b>

Sets the value of TIMERq (where q is one of 1, 2, X or Y).


RETIRQ

This command has been removed from EhBASIC74. It’s function is now handled by an enhanced RETURN command.


RETNMI

This command has been removed from EhBASIC74. It’s function is now handled by an enhanced RETURN command.


RETURN

As well as returning program execution to the next statement after the last GOSUB in EhBASIC74 RETURN also restores execution to the next statement after event
subroutine has been executed. RETURN checks the type of event and automatically restores the enabled flag for the interrupt that caused the event.


ON

See INTx {ON|OFF|CLEAR}, CNTRx
{ON|OFF|CLEAR} or TIMERq {ON|OFF|CLEAR}.


OFF

See INTx {ON|OFF|CLEAR}, CNTRx
{ON|OFF|CLEAR} or TIMERq {ON|OFF|CLEAR}.


CLEAR

See INTx {ON|OFF|CLEAR}, CNTRx
{ON|OFF|CLEAR} or TIMERq {ON|OFF|CLEAR}.


ON {IRQ|NMI} <n>

These commands have been removed from EhBASIC74 as there is no IRQ or NMI interrupt on the 740 series microprocessor.


ON INTx <n>

Set up the INTx routine pointers (where x is one of 0, 1, 2, 3 or 4). This sets up the effective GOSUB line that is taken when an interrupt happens. When the effective GOSUB is taken the interrupt, INTx, is turned off. The interrupt is turned back on when normal program flow is resumed by a matched RETURN command.


ON CNTRx <n>

Set up the CNTRx routine pointers (where x is one of 0 or 1). This sets up the effective GOSUB line that is taken when a counter interrupt happens. When the
effective GOSUB is taken the interrupt, CNTRx, is turned off. The interrupt is turned back on when normal program flow is resumed by a matched
RETURN command.


ON TIMERq <n>

Set up the TIMERq routine pointers (where q is one of 1, 2, X or Y). This sets up the effective GOSUB line that is taken when a timer interrupt happens. When the
effective GOSUB is taken the interrupt, TIMERq, is turned off. The interrupt is turned back on when normal program flow is resumed by a RETURN
command.


IRQ {ON|OFF|CLEAR}

This command has been removed from EhBASIC74 as there is no IRQ interrupt on the 740 series microprocessor.


NMI {ON|OFF|CLEAR}

This command has been removed from EhBASIC74 as there is no NMI interrupt on the 740 series microprocessor.


D2Ax <b>

Output byte b as an analog voltage on D-A port x (where x is 1 or 2). Setting either convertor also sets the corresponding pin to analog output mode.

D2Ax {ON|OFF}

Enables or disables the D2Ax output (where x is one of 0 or 1).


+

See INTx {+|-} or CNTRx
{+|-}.


See INTx {+|-} or CNTRx
{+|-}.

BASIC74 Functions

Functions always return a value, be it numeric or string, so are used on the right hand side of the = sign or in commands requiring an
expression e.g. after PRINT, within expressions, or in other functions.


A2D(<b>)

Returns the value of the A-D convertor input b, where b is 0 to 7. Any value for b outside this range will cause a function call error.


EVENT

Returns a boolean value. If any enabled interrupt has occured since EVENT was last examined then EVENT will return -1 else EVENT will return 0


TIMERp

Returns the count value from TIMERp (where p is either X or Y). As this is a count down timer the value returned is first subtracted from zero then returned as if it had been DEEKed from the timer registers. This function is only of any use when TIMERp is being used in PWM mode.

post

Enhanced 740 BASIC

Enhanced BASIC74 is a BASIC interpreter for the 740 microprocessor family. It is constructed to be quick and powerful and includes instructions to facilitate easy low level handling of 740 family hardware devices. It also retains most of the powerful high level instructions from similar BASICs.

EhBASIC74 is derived from EhBASIC for the 6502 and shares much of the code used in that BASIC. However EhBASIC74 also includes enhancements to make it specifically more usefull on the Mitsubishi 740 series of single chip micros. While it was developed on the M38067 it should be possible to run it on most of the 740 family with only minor modifications.

EhBASIC74 is free but not copyright free. For non commercial use there is only one restriction, any derivative work should include, in any binary image distributed, the string “Derived from EhBASIC” and in any distribution that includes human readable files file that includes the above string in a human readable form e.g. not as a comment in an HTML file.

  • Language reference
  • Code examples

19th June 2003.
Confusingly the main version number is now the 3806 specific version number so, while the generic BASIC version is still 1.09, this incarnation is 1.10.This adds an interrupt driven receive buffer and an extra command to help use it. Go see the language reference for details.

18th June 2003.
This is the last version for the SuprDupr and SuprChip boards that will use polled input. The next version will have an interrupt driven Rx buffer for better response. As such version 1.09 will remain available for download here.

AT keyboard interface driver

The SuprDupr has a PS2 style socket for an AT keyboard. However, as it arrived, the data and clock go to the GAL and so were jumped directly to port 7, bits 7 and 6, on the micro. There are also positions for pullup resistors on both the keyboard data and clock lines, these are not needed and were omitted. These details may have changed as this was an early production board.
The software is unfinished and provided as a starting point for anyone who wishes to make their own. As provided the driver provides very reliable basic keyboard handling. During developement it was noticed that the keyboard driver would sometimes hang so some test code was added to monitor the reliability (included in the source but commented out) and it was found that the routine wouldn’t return about once in every 750,000 calls.

This was eventually traced to a faulty keyboard but highlighted the vunerability of the code to spurious responses from the keyboard. As a result the robustness of the code was improved by adding timeouts and the resulting code proved reliable over hundreds of millions of calls.

Download the source here

LCD port driver

The SuprDupr has a port wired to enable use of many inteligent LC displays. The display, pictured right, is an LC7980 type though most of the other graphics and
text types are similarly driven.
One change needed to be made to the SuprDupr to use this display and that was to disconnect the earthy end of the contrast pot from 0v and connect it to the -ve
charge pump output on the MAX232 chip. This is because the greater multiplex on these graphics displays requires a more -ve bias to maintain the viewing angle.

A down side to this is that display contrast is effected by the loading on the RS232 port and use of such things as a RS232 line monitor can have an adverse
effect on the display. Also if the load from the display is to great then the MAX232 charge pump will not start. However this should not be a problem in normal use.
Another change made to the SuprDupr was to wire +12v to the spare pin on the LCD port to provide power for the backlight. This could be connected through a PNP
transistor and controlled by software via one of the port pins.

The software is unfinished and provided as a starting point for anyone who wishes to make their own. It is usable and was used to produce the displays pictured above and below.

Download the source here


8 Bit ISA slot

I wanted a quick way to connect an 8 bit ISA slot, only to access the IO adresse range, to the SuprChip V microcontroller. The circuit I came up with appears on the right.

The address lines A5 to A15 can either be set using jumpers or switches (I used switches) or, if you only need one address range, can be hard wired to the corresponding address.

Any of the five interrupt lines, from IRQ3 to IRQ7, can be selected by the use of a jumper. Again if you will only need one (or none) of these then the desired interrupt can be hard wired.

This circuit could be fairly easily adapted as a memory mapped device by connecting the corresponding address and data lines (possibly through buffers), by driving the IOR and IOW pins with decoded read and write signals, and by connecting the interrupt, via an invertor, to the NMI input on the processor. The RESET line can be driven, again via an invertor, by the processor RESET line or by an output port line. This line is active high.

While experimenting with different network cards I discovered some of them need the +12v supply in addition to the +5v supply. This additional connection is shown in red on the diagram.

As I had a stack of 3Com 3C509B NICs of various types I decided to try to use them. Well it turns out that even with PnP disabled you still need to access the card’s id port on $01xx. To allow this Port 6 bit 6 was connected to the A9 line, so both $03xx and $01xx can be accessed by the software. This additional connection is shown in green on the diagram.

Though the slot can be accessed entirely from EhBASIC it was decided to create two short routines to make accessing the slot faster and easier. To that end one function, to read a byte, and one subroutine, to write a byte, were written.

After initialising the function and subroutine addresses thus ..

..
30 DOKE $44,$EF20 : REM USR(n) = read from IO address $xxnn	
31 rr = $EF00 : REM call address for write to IO address
..

It is a simple matter to write a byte by doing ..

20500 CALL rr,cr,dd : REM set control register			
20505 REM cr is the IO address - $00 to $1F
20510 REM dd is the byte value for that IO address

.. and read a byte by doing ..

10050 by = USR(cr)						
10055 REM cr is the IO address - $00 to $1F
10060 REM the byte value is returned to by

You can download the assembly source for the read and write routines.

post

EhBASIC LOAD and SAVE notes

The quickest and easiest way to save the program is to do this …

Type LIST but not the return ..
Set your terminal program to ASCII capture..
Hit return to start the LIST command..
Once the list is complete stop the ASCII capture.

To load the program back there are two possible, similar, ways.

If your hardware supports hardware handshake properly just select the listing and use ASCII send to transfer it (You’ll need to edit the ‘Ready’ prompt from the end of the listing).

If your hardware doesn’t support hardware handshaking then you’ll need to paste a number of SPACE characters at the start of each line to give the interpreter enough time to tokenise the previous line. The number of spaces depends on two things, how fast your processor is and how fast the serial link is. The faster the processor the fewer spaces, the faster the serial link the more spaces. Otherwise just do as above.

(Alternately edit the NULL command to insert $20’s instead of $00’s into the start of each line and do ..
NULL n
LIST
NULL 0
when you save the list)

If you want to save the program as binary you should save (Smeml) to (Svarl)-1.

If you want to save the program as ASCII you should redirect the character output vector to write to your filesystem and then call LIST. Doing this can also allow you to specify line numbers or ranges as with LIST. The output vector should be restored and the file closed when LIST returns or an error is encountered.

To load a binary program start loading it at (Smeml) and set (Svarl) to the last address + 1 then call LAB_1477 to clear the variables and reset the execution pointer. An easy way to do the first part is by copying (Smeml) to (Svarl) and using (Svarl) as a post incremented save pointer. If there is a chance that the program has been relocated it’s probably a good idea to rebuild the line pointer chain.

To load an ASCII program redirect the character input vector to read from your filesystem and return to the main interpreter loop. The input vector should be restored and the file closed when the file end is reached or an error is encountered.

I prefer ASCII format as it’s far more portable, easier to manipulate and can include direct commands and comment lines that aren’t saved to memory.

Is there an easy way to support a filename in the LOAD and save COMMANDs, and get access to that from my code? Right now I am prompting the user for it.

Call the evaluate following expression routine, LAB_EVEZ, and look for a string by testing if the data type flag, Dtypef, is negative. If it is the string descriptor is on the descriptor stack so don’t forget to pop it off there by calling LAB_22B6 once you’re done with it.

Look at Jeff Trantor’s implemention of LOAD and SAVE for the Apple 1 with a CFFA1 and for the OSI C1P via the serial line.

Daryl Rictor wrote a simple SAVE and LOAD program:

;******** LOAD &amp; SAVE PATCH FOR ENHANCED BASIC ON 65C02 Simulator

psave    
    jsr  pscan
    ldy  #$00
    lda  itempl
    sta  (itempl),y
    iny
    lda  itemph
    sta  (itempl),y
    ldx  smeml
    lda  smemh
    jsr  print2byte
    jsr  print_cr
    sec
    lda  itempl
    sbc  smeml
    tax
    lda  itemph
    sbc  smemh
    jsr  print2byte
    jsr  print_cr
    rts

pload    
    jsr  pscan
    lda  itempl
    sta  svarl
    sta  sarryl
    sta  earryl
    lda  itemph
    sta  svarh
    sta  sarryh
    sta  earryh
    JMP   LAB_1319    
pscan
    lda  smeml
        sta  itempl
        lda  smemh
        sta  itemph
pscan1  ldy   #$00
    lda   (itempl),y
    bne   pscan2
    iny   
    lda   (itempl),y
    bne   pscan2
    clc
    lda   #$02
    adc   itempl
    sta  itempl
    lda  #$00
    adc  itemph
    sta  itemph
    rts
pscan2  ldy   #$00
    lda  (itempl),y
    tax
    iny
    lda  (itempl),y
    sta  itemph
    stx  itempl
    bra  pscan1

Another version of this:
;******** LOAD &amp; SAVE PATCH FOR ENHANCED BASIC ON SBC-3
; Daryl Rictor, Feb 2009
;

.include dos.lbl      ; get DiskOS pointers
;input    ; sbc scanned input
;output    ; text output
;DiskOS    ; diskos entry
;SaveF    ; save program file from BASIC
;LoadF    ; load program file from BASIC

;ibuffs+1 ($420) contains the name, start addr, end address

psave    ldx  #$00
    lda  ibuffs+1
    stz  ibuffs+1  ; this fixes syntax error in ehbasic
    bne  psave15
    rts
psave1    lda  ibuffs+1,x
    stz  ibuffs+1,x  ; this fixes syntax error in ehbasic
    beq  psave3
psave15    cmp  #$b9
    bne  psave2
    lda  #"/"
psave2    sta  buffer+2,x
    inx
    cpx  #$46
    bne  psave1
    rts      ; entry too long, abort
psave3    lda  #","
    sta  buffer+2,x
    inx
    phx
    jsr  pscan    ; Find end of program
    plx
    lda  smemh
    jsr  ToHex
    lda  smeml
    jsr  ToHex
    lda  #","
    sta  buffer+2,x
    inx
    lda  itemph
    jsr  ToHex
    lda  itempl
    jsr  ToHex
    lda  #$00
    sta  buffer+2,x
    jsr  SaveF    ; save file to IDE (in DiskOS)
    rts

pload    ldx  #$00
    lda  ibuffs+1
    stz  ibuffs+1  ; this fixes syntax error in ehbasic
    bne  pload15
    rts
pload1    lda  ibuffs+1,x
    beq  pload3
pload15    cmp  #$b9
    bne  pload2
    lda  #"/"
pload2    sta  buffer+2,x
    inx
    cpx  #$47
    bne  pload1
    rts      ; entry too long, abort
pload3    lda  #$00
    sta  buffer+2,x
    jsr  Loadf    ; load file from IDE (in DiskOS)
    jsr  pscan
    lda  itempl
    sta  svarl
    sta  sarryl
    sta  earryl
    lda  itemph
    sta  svarh
    sta  sarryh
    sta  earryh
    JMP   LAB_1319    

pscan
    lda  smeml
          sta  itempl
          lda  smemh
          sta  itemph
pscan1    ldy   #$00
    lda   (itempl),y
    bne   pscan2
    iny   
    lda   (itempl),y
    bne   pscan2
    clc
    lda   #$02
    adc   itempl
    sta  itempl
    lda  #$00
    adc  itemph
    sta  itemph
    rts
pscan2    ldy   #$00
    lda  (itempl),y
    tax
    iny
    lda  (itempl),y
    sta  itemph
    stx  itempl
    bra  pscan1

SysJMP    JSR  Main_Loop  ; in DiskOS
    rts

ToHex    PHA                     ;  prints AA hex digits
    LSR                     ;  MOVE UPPER NIBBLE TO LOWER
    LSR                     ;
    LSR                     ;
    LSR                     ;
    JSR   SaveDig           ;
    PLA                     ;
SaveDig    AND   #$0F              ;
    CMP   #$0A              ;
    BCC   SaveDig1          ;
    ADC   #$66              ;
SaveDig1  EOR   #$30              ;
    sta   buffer+2,x        ;
    inx
    rts

And another approach:

There seems to be quite a lot of mixed information about how to deal with string arguments in LOAD and SAVE. I’d like to present the way I came up with:
At the beginning of either LOAD and SAVE, i call a subroutine that gets the string argument using LAB_EVEX and opens the file:

openfile:
                jsr LAB_EVEX
                lda Dtypef
                bne @go
                ; not a string, trigger syntax error
                ldx #$02
                jsr LAB_XERR
@go:
                ldy #$00
@l:
                lda (ssptr_l),y
                beq @open
                cmp #'"'
                beq @term
                iny
                bne @l
@term:
                lda #$00
                sta (ssptr_l),y
@open:
                lda ssptr_l
                ldx ssptr_h
                jsr krn_open
                bne     io_error
                rts
io_error:
                pha
                jsr     krn_primm
                .asciiz "io error: "
                pla
                jmp krn_hexout

As it seems, after calling LAB_EVEX, ssptr points to the string given as parameter including the closing “, which I overwrite with $00 to be compatible with my open routine, which expects the address of a null terminated string.
In another thread, it was suggested to pop the string from the descriptor stack using LAB_22B6, which in my case resulted in ut1_ph/l not pointing to the string, but anywhere in the area of $exxx, where my os resides. So I went for the above approach. It works, but it feels rather dirty due to the overwriting of the closing “. At this point, I am open for suggestions.

post

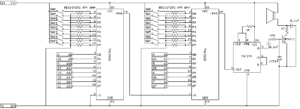
IDE bus interface circuit

IDE bus interface circuit

Hardware

IDE Bus interface circuit.

The connector on the top left of the diagram is from my own 6502 boards (see the sbc project) and is as it is for two reasons. It’s easy
to wire on a stripboard layout and I have a lot of 26 way ribbon, headers and plugs. All the signals are directly from the 6502 except /SEL0 and /SEL1 which are used to select the block $F1xx with /SEL0 = 1 and /SEL1 = 0.

A 40 pin IDC header, re-cycled from a PC motherboard, is used to connect to the IDE bus.

All the capacitors are low ESR electrolytics and are placed one near each chip. If you don’t have this type to hand you can use standard electrolytics with some low value
ceramic capacitor, say 0.1uF, in parallel.

The GAL16V8A is used to generate the read and write strobes for the buffers and latches and to generate the IOR and IOW strobes for the IDE bus. All are active low. The interface uses 32 bytes in the address range as it is a 16 bit port with 16 addresses. For anyone interested the equations for this chip are in ide_01.pld and can be compiled with WinCUPL. The fuse file, ide_01.jed and the compiler listing, ide_01.txt are also included.

IDE ATA Interface address map. High byte at address+1
Address Read Write Width
$00 Data 16 Bit
$02 Error Precomp 8 Bit
$04 Sector count 8 Bit
$06 LBA bits 0 to 8 / CHS Sector number 8 Bit
$08 LBA bits 8 to 15 / CHS Cylinder low 8 Bit
$0A LBA bits 16 to 23 / CHS Cylinder high 8 Bit
$0C Drive select & LBA bits 24 to 27 / CHS Head select 8 Bit
$0E Status Command 8 Bit
$1C Alternate status Device control 8 Bit
$1E Drive address Not used 8 Bit

For ATAPI devices some of the register names and functions change. Here is the ATAPI map.

IDE ATAPI Interface address map. High byte at
address+1
Address Read Write Width
$00 Data 16 Bit
$02 Error Feature 8 Bit
$04 Interrupt reason Not used 8 Bit
$06 Not used
$08 Byte count low 8 Bit
$0A Byte count high 8 Bit
$0C Device select 8 Bit
$0E Status Command 8 Bit
$1C Alternate status Device control 8 Bit
$1E Not used

All reads and writes to the IDE bus are sixteen bits wide. On write, first the lower eight bits are written to the even address (A0 = 0) and latched by one 74LS574, Then the upper eight bits are written to the corresponding odd address (A0 = 1) and are presented to the upper eight bits of the IDE bus by the 74LS245, a bi-directional buffer used here in the one direction only. These eight bits, along with the previously latched lower
eight bits, make up the sixteen bits needed for a write operation.
On read the lower eight bits are read from the IDE bus even address (A0 = 0) via the second 74LS245 and, as this read takes place the upper, eight bits from the IDE bus are latched by the second 74LS574. The upper eight bits can then be read from the 74LS574 latch.

The interface is arranged thus so that ..

  • All 16 bits are used, this allows us to utilise the full capacity of the drive.
  • Reads and writes are symmetrical, i.e. both are done low byte and then high byte.
  • The status registers on ATA devices are all on the low byte, fast polling is possible because only the low byte needs to be read.

The disadvantage is that every write must be sixteen bits, even if the top eight bits
aren’t used.

Other features are ..

  • An activity LED. Illuminates during ATA device activity. If required this could be wired off board.
  • A reset jumper. This ties the IDE bus reset to the CPU reset so both are reset together.
  • An IRQ jumper. This is to allow an interrupt based driver to be developed.

The finished board.

Close-up views.

Software.
At present only a BASIC demonstration program is available. It can be seen here.
Download this file

10 REM set disk interface values
20 REM enhanced BASIC version
30 REM supports ATA but not ATAPI devices
100 AD=$F100 : REM interface base address
110 IO=AD+$00 : REM input/output register - 16 bits
120 ER=AD+$02 : REM error/precomp register
130 SC=AD+$04 : REM sector count
140 SS=AD+$06 : REM LBA bits 0 to 7
150 CL=AD+$08 : REM LBA bits 8 to 15
160 CH=AD+$0A : REM LBA bits 26 to 23
170 HR=AD+$0C : REM drive/LBA bits 24 to 27
180 SR=AD+$0E : REM status/command
190 RR=AD+$0C+$10 : REM alternate status/device control
200 AS=AD+$0E+$10 : REM drive address
210 MD=%10100000 : REM these bits must always be set
220 BK=%01000000 : REM value to set LBA mode
1000 REM set parameters to defaults
1005 DOKE RR,6 : REM write device control
1010 DOKE SC,1 : REM sector count
1020 DOKE SS,0 : REM LBA bits 0 to 7
1030 DOKE CL,0 : REM LBA bits 8 to 15
1040 DOKE CH,0 : REM LBA bits 26 to 23
1050 DOKE HR,MD+BK : REM drive/LBA upper 4 bits
1055 DOKE RR,2 : REM write device control
1060 GOSUB 1300
1065 PRINT : GOSUB 3100
1070 PRINT
1080 PRINT "0  Select drive"
1090 PRINT "1  Reset device"
1100 PRINT "2  Identify device"
1110 PRINT "3  Sleep device"
1120 PRINT "4  Idle device"
1130 PRINT "5  Standby device"
1140 PRINT "6  Query power mode"
1150 PRINT "7  Execute diagnostics"
1160 PRINT "8  Recalibrate"
1170 PRINT "9  Test read"
1175 PRINT "10 Write BASIC""
1180 PRINT
1190 PRINT "Choose one";
1200 INPUT I
1210 I=I+1
1220 IF (I&lt;1) OR (I&gt;11) THEN 1200
1230 PRINT
1240 ON I GOSUB 3000,1300,6000,2200,2300,2400,2500,2600,2900,2700,20000
1250 GOTO 1065
1300 REM reset device(s)
1310 DOKE HR,(MD+BK) EOR 16 : REM select other drive
1320 CMD=8
1330 GOSUB 11020
1340 DOKE HR,MD+BK : REM select drive
1350 CMD=8
1360 GOSUB 11020
1370 RETURN
2200 REM go to sleep
2210 CMD=230
2220 DOKE SR,CMD : REM send command
2230 RETURN
2300 REM go to idle mode
2310 CMD=225
2320 GOTO 11000
2400 REM go to standby mode
2410 CMD=224
2420 GOTO 11000
2500 REM query device power mode
2510 CMD=229
2520 GOSUB 11000
2530 I=DEEK(SC) AND 255 : REM sector count
2540 PRINT "Device is in ";
2550 IF I=0 THEN PRINT "standby"; : GOTO 2590
2560 IF I=128 THEN PRINT "idle"; : GOTO 2590
2570 IF I=255 THEN PRINT "active"; : GOTO 2590
2580 PRINT "unknown";
2590 PRINT " mode"
2595 RETURN
2600 REM execute diagnostics
2610 CMD=144
2620 GOSUB 11000
2630 I=(DEEK(ER) AND 255) : REM read error register
2640 PRINT "Device 0 ";
2650 IF (I AND 127)=1 THEN PRINT "passed" : GOTO 2670
2660 PRINT "failed"
2670 PRINT "Device 1 ";
2680 IF (I AND 128) THEN PRINT "failed" : GOTO 2695
2690 PRINT "passed or not present"
2695 RETURN
2700 REM test read
2710 INPUT "Sector number";IX
2725 GOSUB 10000
2730 CMD=32
2740 GOSUB 11000
2750 REM display sector
2760 S$=""
2770 PRINT
2780 FOR WC=0 TO 255
2790 GOSUB 12000
2800 HH=(HI/256) AND 127
2810 IF HH &lt; 32 THEN HH=46
2815 HL=HI AND 127
2820 IF HL &lt;32 THEN HL=46
2825 S$=S$+CHR$(HL)
2830 S$=S$+CHR$(HH)
2865 PRINT " ";HEX$(HI,4);
2870 IF (WC AND 7)&lt; &gt;7 THEN 2885
2875 PRINT "    ";S$
2880 S$=""
2885 NEXT
2890 RETURN
2900 REM recalibrate device (seek to 0)
2910 IX=0
2920 GOSUB 10000
2930 CMD=16
2940 GOTO 11000
3000 REM change drive selection
3010 DO : INPUT "Which drive [0/1]";I
3020 LOOP WHILE (I AND -2)
3030 MD=MD AND 239
3040 IF I THEN MD=MD OR 16
3050 DOKE HR,MD+BK : REM select drive
3060 RETURN
3100 REM display allegedly selected drive
3110 PRINT "Drive ";
3120 IF (MD AND 16) THEN PRINT "1"; :GOTO 3140
3130 PRINT "0";
3140 PRINT " selected"
3150 RETURN
6000 REM read ID data and display drive parameters
6010 CMD=236
6020 GOSUB 11000
6030 GOSUB 12000
6035 REM will identify some ATAPI devices
6040 PRINT "ATA";
6050 IF (HI AND -32768) THEN PRINT "PI";
6060 PRINT " Device - ";
6070 IF (HI AND 128)=0 THEN PRINT "non";
6080 PRINT "removable media"
6085 PRINT
6090 GOSUB 12000 : CYL=HI
6100 GOSUB 12000
6110 GOSUB 12000 : HE=HI
6120 GOSUB 12000 : GOSUB 12000
6130 GOSUB 12000 : SPT=HI
6140 GOSUB 12000 : GOSUB 12000 : GOSUB 12000
6150 PRINT "Cylinders",CYL
6160 PRINT "Heads",HE
6170 PRINT "Sectors",SPT
6180 SIZE = CYL*HE*SPT/2048
6190 PRINT "Capacity",SIZE;" MB"
6195 PRINT
6200 PRINT "Serial # "," "; : CNT=10 : GOSUB 7000 : PRINT
6210 GOSUB 12000 : GOSUB 12000 : GOSUB 12000
6220 PRINT "Rev: "," "; : CNT=4 : GOSUB 7000 : PRINT
6230 PRINT "Model: "," "; : CNT=20 : GOSUB 7000 : PRINT
6240 PRINT
6250 FOR I=1 TO 7
6260 GOSUB 12000
6270 NEXT
6280 GOSUB 12000 : PRINT "Current logical cylinders",HI
6300 GOSUB 12000 : PRINT "Current logical heads",HI
6310 GOSUB 12000 : PRINT "Current logical sectors",HI
6320 GOSUB 12000 : CAP=HI
6330 GOSUB 12000 : CAP=HI*65536+CAP
6340 PRINT "Current capacity in sectors",CAP
6350 GOSUB 12000 : GOSUB 12000 : CAP=HI
6360 GOSUB 12000 : CAP=HI*65536+CAP
6370 PRINT "User addressable LBA sectors";CAP
6380 FOR I=62 TO 255 : GOSUB 12000 : NEXT
6400 RETURN
7000 REM read CNT words and output ASCII
7010 FOR I=1 TO CNT
7020 LO=PEEK(IO) : REM read data
7030 HI=PEEK(IO+1) : REM read data
7040 IF HI &gt; 31 THEN PRINT CHR$(HI);
7050 IF LO &gt; 31 THEN PRINT CHR$(LO);
7060 NEXT
7070 RETURN
10000 REM Set LBA block number and sector count of 1
10005 REM As BASIC only has 24 significant bits this
10006 REM routine will break if the block number is
10007 REM greater than 16777216 (just over 8GB limit!)
10010 I1=IX AND 255
10020 IX=IX/256 : I2=IX AND 255
10030 IX=IX/256 : I3=IX AND 255
10040 IX=IX/256 : I4=IX AND 15
10050 DOKE HR,I4+MD+BK : REM drive/LBA upper 4 bits
10060 DOKE SS,I1 : REM LBA bits 0 to 7
10070 DOKE CL,I2 : REM LBA bits 8 to 15
10080 DOKE CH,I3 : REM LBA bits 26 to 23
10090 DOKE SC,1 : REM sector count
10100 RETURN
11000 REM send command to drive, ensure ready
11010 DO : LOOP UNTIL (PEEK(SR) AND 192)=64 : REM get status
11020 DOKE SR,CMD : REM send command
11030 DO : I=PEEK(SR) : REM get status
11040 LOOP UNTIL (I AND 128)=0
11050 IF (I AND 1)=0 THEN RETURN
11060 I=PEEK(ER) : PRINT "IDE Error, command";CMD : REM read error register
11062 IF (I AND 2) THEN PRINT "No media"
11064 IF (I AND 4) THEN PRINT "Aborted"
11066 IF (I AND 8) THEN PRINT "Media change requested"
11068 IF (I AND 16) THEN PRINT "Sector ID not found"
11070 IF (I AND 32) THEN PRINT "Media changed"
11072 IF (I AND 64) THEN PRINT "Uncorrectable error"
11090 RETURN
12000 REM read one word, return it in HI
12010 WAIT SR,16 : REM wait status
12020 HI=DEEK(IO) : REM read data
12030 RETURN
20000 REM write C000h-DFFDh to disk
20010 AA=$C000
20030 FOR WX = 1 TO 16
20040 PRINT "Writing sector";WX
20050 IX=WX
20060 GOSUB 10000
20070 CMD=48
20080 GOSUB 11000
20090 FOR WC=1 TO 256
20120 HI=DEEK(AA)
20140 AA=AA+2
20150 GOSUB 22000
20160 NEXT
20190 NEXT
20999 RETURN
22000 REM write one word in HI
22010 DO : LOOP UNTIL (PEEK(SR) AND 144)=16 : REM get status
22020 DOKE IO,HI : REM write data
22030 RETURN

LazyPROM

LazyPROM – The idle person’s EPROM emulator.

Even with a new EPROM eraser that can handle 14 EPROMs at once I got fed up going through the program/test/erase cycle that is part of developing code.
I did think, briefly, of building a full featured EPROM emulator, but that was far too much like work. There had to be an easier way.
As I have a few old Dallas smart sockets kicking about I decided that one of them, with a 32k low power CMOS RAM, would be ideal.

The circuit.

The circuit is very simple. The pinout for a standard 32k ROM and standard 32k EPROM differ on only two pins. This means most of the circuit is just pin for pin connections as can be seen in the diagram below.


LazyPROM diagram.
With the switch in the ‘RAM’ position all the pins are connected pin to pin and the RAM can be programmed either in a programmer or as part of a microprocessors main memory. With the switch in the ‘EPROM’ position the RAM’s R/W line is disconnected from the header and pin 27 on the header is now connected to the RAM’s A14 pin. This makes the RAM chip look like a 32k EPROM to the target socket.

Construction.

The whole thing was put together on a small piece of prototyping board in well under an hour. The most dificult part was soldering the headers to the track side of the board.
Note – Don’t be tempted to use anything but hard, gold, turned pin header pins for the header. The, easier to find, square pins will either not fit, or damage, most IC sockets and the cheaper tinned header pins will be damaged more easily during use.


In use.

As no special voltages or timings are needed to program the RAM in the smart socket it would be fairly easy to make a programmer for this, if you don’t already have something suitable. The Dallas smart socket is supposed to retain RAM contents for up to 10 years but the
ones I have, being very second user, are an unknown quantity. They certainly work for a week or so though one was originally completely dead and required some surgery to replace both batteries. More on that elsewhere.
The first one I built proved to be so usefull that I’ve since built another and both have proved invaluable in hacking the Ferguson SRB1 DMAC receiver.

EhBASIC Internals

Enhanced BASIC internals

Floating point numbers.
Floating point numbers are stored in memory in four bytes. The format of the
numbers is as follows.

Exponent S Mantissa 1 Mantissa 2 Mantissa 3

Exponent
This is the power of two to which the mantissa is to be raised. This number is biased to +$80 i.e. 2^0 is represented by $80, 2^1 by $81 etc. Zero is a special case and is used to represent the value zero for the whole of the number.
S
Sign bit. This bit (b7 of mantissa 1) is one if the number is negative.
Mantissa 1/2/3
This is the 24 bit mantissa of the number and is normalised to make the highest bit (b7 of mantissa 1) always one. So the absolute value of the
mantissa varies between 0.5 and 0.9999999403954 . As we know that the highest bit is always one it is replaced by the sign bit in memory.
Example.

$82,$49,$0F,$DB = +3.14159274	nearest floating equivalent to pi
 |   ||  |   |
 |   |\--+---+- = 0.785398185	absolute value of mantissa
 |   |
 |   \--------- = +		b7 of mantissa 1 is zero
 |
 \------------- = x 2^2 = 4	mantissa to be multiplied by 4

Values represented in this way range between + and – 1.70141173×10^38

BASIC program memory use.

A BASIC program is stored in memory from Ram_base upwards. It’s format is ..
$00 Start of program marker byte
.. then each BASIC program line which is stored as ..
start of next line pointer low byte
start of next line pointer high byte
line number low byte
line number high byte
code byte(s)
$00 End of line marker byte
.. and finally ..
$00 End of program marker byte 1
$00 End of program marker byte 2
If there is no program in memory only the start and end marker bytes are present.

BASIC variables memory use.
After the program come the variables and function references, all six bytes
long, which are stored as ..
1st character of variable or function name (+$80 if FN name)
2nd character of variable or function name (+$80 if string)
.. then for each type ..

Numeric
String
Function
Exponent String length BASIC execute pointer low byte
Sign (bit 7) + mantissa 1 String pointer low byte BASIC execute pointer high byte
Mantissa 2 String pointer high byte Function variable name 1st character
Mantissa 3 $00 Function variable name 2nd character

After the variables come the arrays, which are stored as ..
1st character of variable name
2nd character of variable name (+$80 if string)
array size in bytes low byte (size includes this header)
array size in bytes high byte
number of dimensions
[dimension 3 size high byte] (lowest element is zero)
[dimension 3 size low byte]
[dimension 2 size high byte] (lowest element is zero)
[dimension 2 size low byte]
dimension 1 size high byte (lowest element is zero)
dimension 1 size low byte
.. and then each element ..

Numeric
String
Exponent String length
Sign (bit 7) + mantissa 1 String pointer low byte
Mantissa 2 String pointer high byte
Mantissa 3 $00

The elements of every array are stored in the order ..
index1 [0-n], index2 [0-n], index3 [0-n]
i.e. element (1,2,3) in an array of (3,4,5) would be the ..
1 + 1 + 2*(3+1) + 3*(3+1)*(4+1) = 70th element
(As array dimensions range from 0 to n element n will always be the (n+1)th
element in memory.)

String placement in memory.

Strings are generally stored from the top of available RAM, Ram_top, working down, however if the interpreter encounters a line such as ..

  100 A$ = "This is a string"

.. then the high/low pointer in the A$ descriptor will point to the string in
program memory and will not make a copy of the string in the string memory.
String descriptors in BASIC.
A string descriptor is a three byte table that describes a string, it is of the format ..
base = string length
base+1 = string pointer low byte
base+2 = string pointer high byte

Stack use in BASIC.

GOSUB and DO both push on the stack ..
BASIC execute pointer high byte
BASIC execute pointer low byte
current line high byte
current line low byte
command token (TK_GOSUB or TK_DO)

FOR pushes on the stack ..
BASIC execute pointer low byte
BASIC execute pointer high byte
FOR line high byte
FOR line low byte
TO value mantissa3
TO value mantissa2
TO value mantissa1
TO value exponent
STEP sign
STEP value mantissa3
STEP value mantissa2
STEP value mantissa1
STEP value exponent
var pointer for FOR/NEXT high byte
var pointer for FOR/NEXT low byte
token for FOR (TK_FOR)