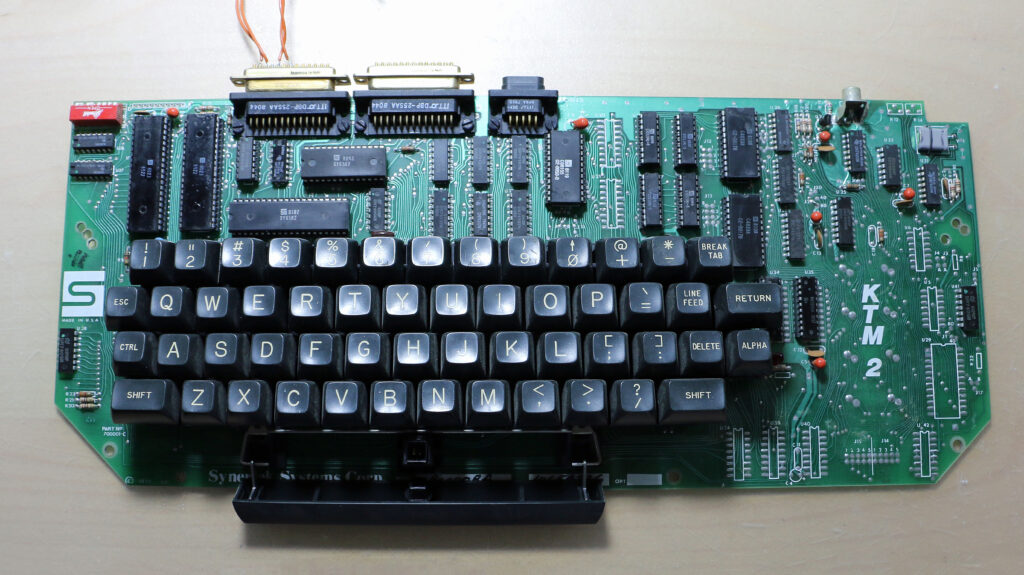
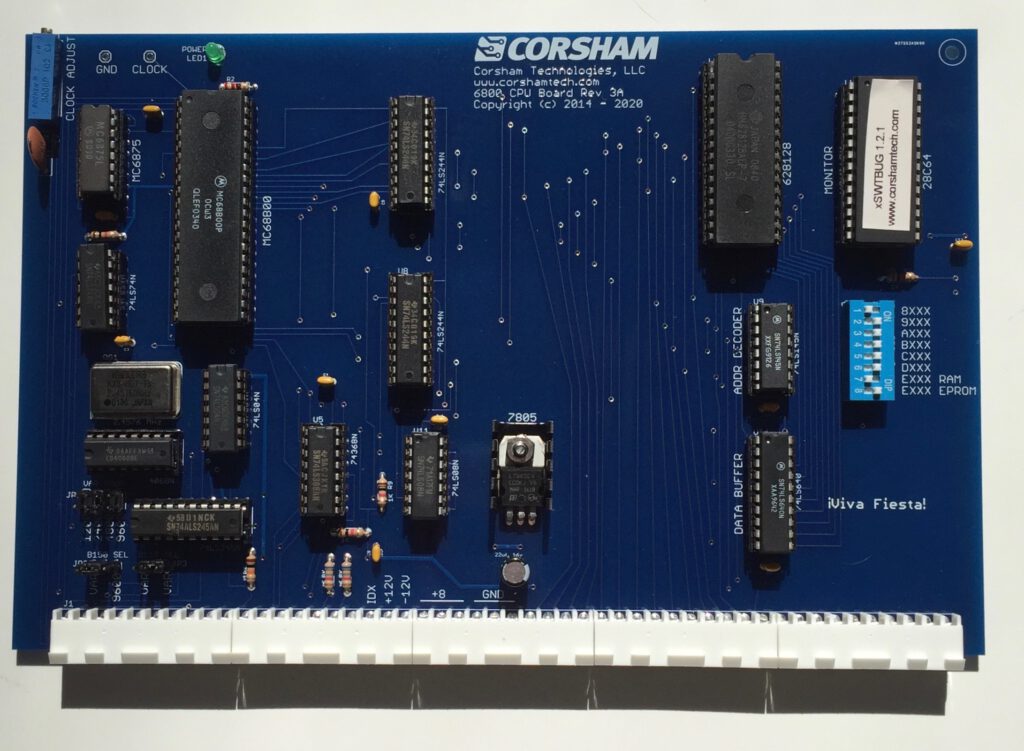
6800 CPU board!
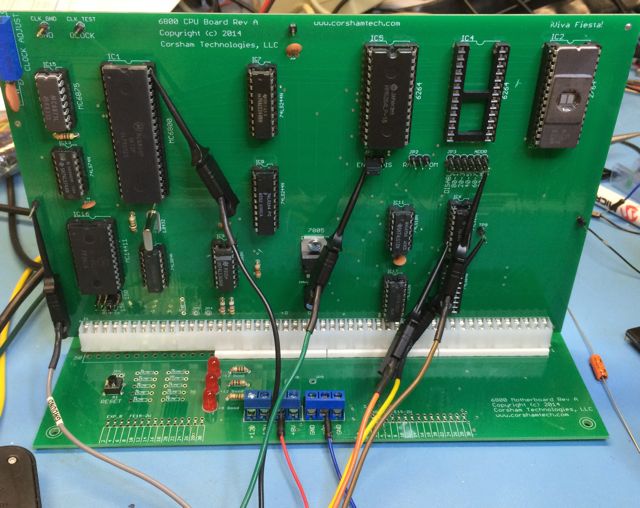
Is this board vintage? Well, it was designed in 2014, so technically it is not. However, it uses a design very similar to the original SWTPC MP-2A using parts available at that time. The large RAM and EPROMs are not vintage, nor are some of the TTL chips.
Using older parts has been a problem because some of them have not been made in a long time, so prices are high, conditions of pulled chips are unknown, and we have to test a lot more components to verify they actually work as expected. Fortunately all the chips on this board are available from surplus inventories, but eventually they will be unavailable.
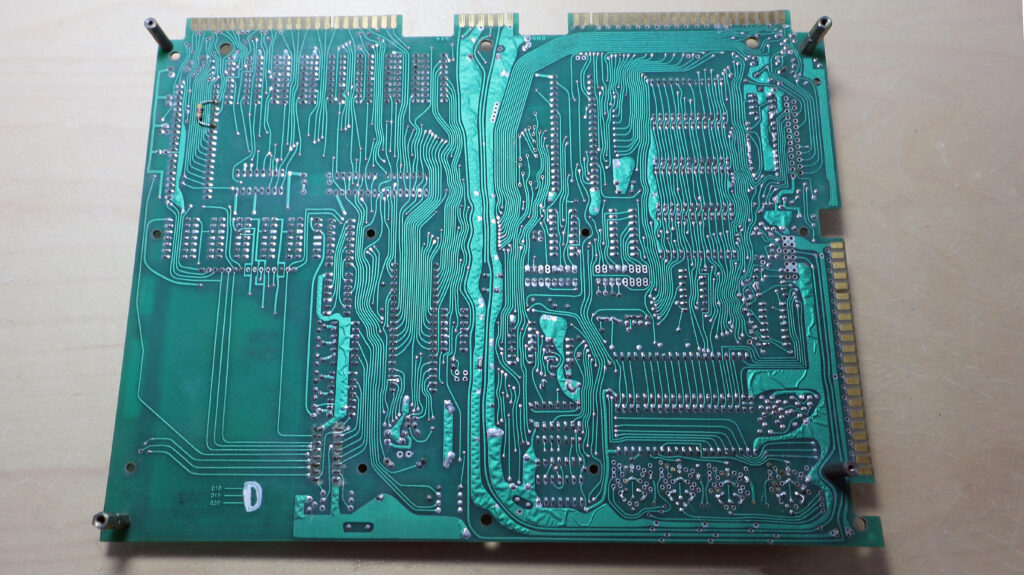
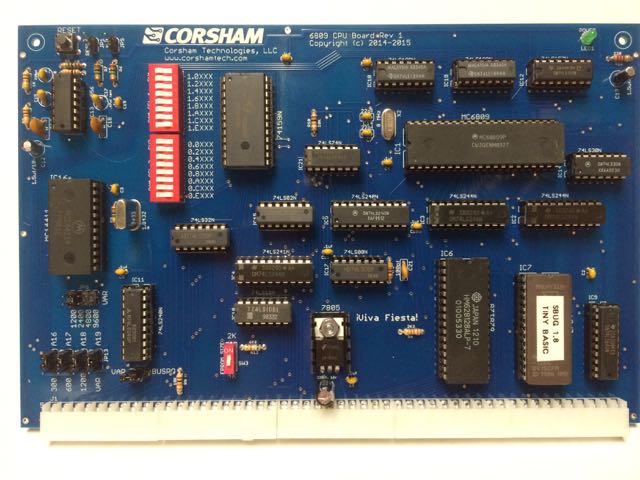
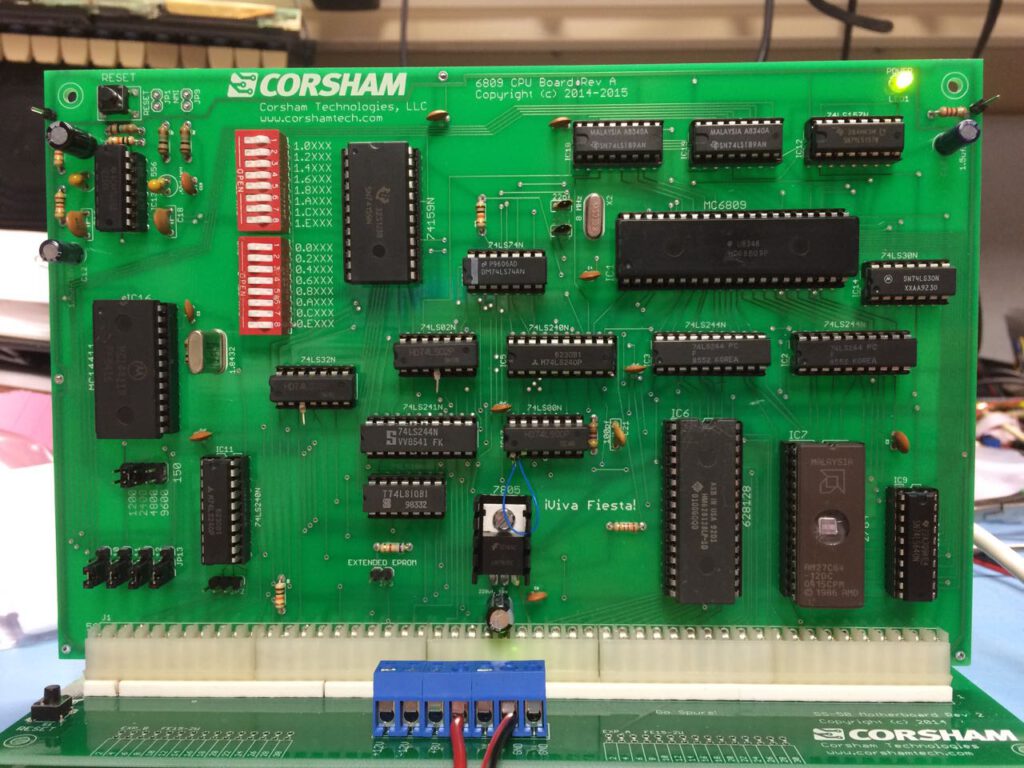
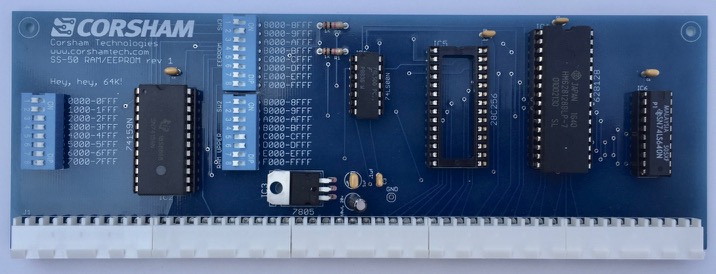
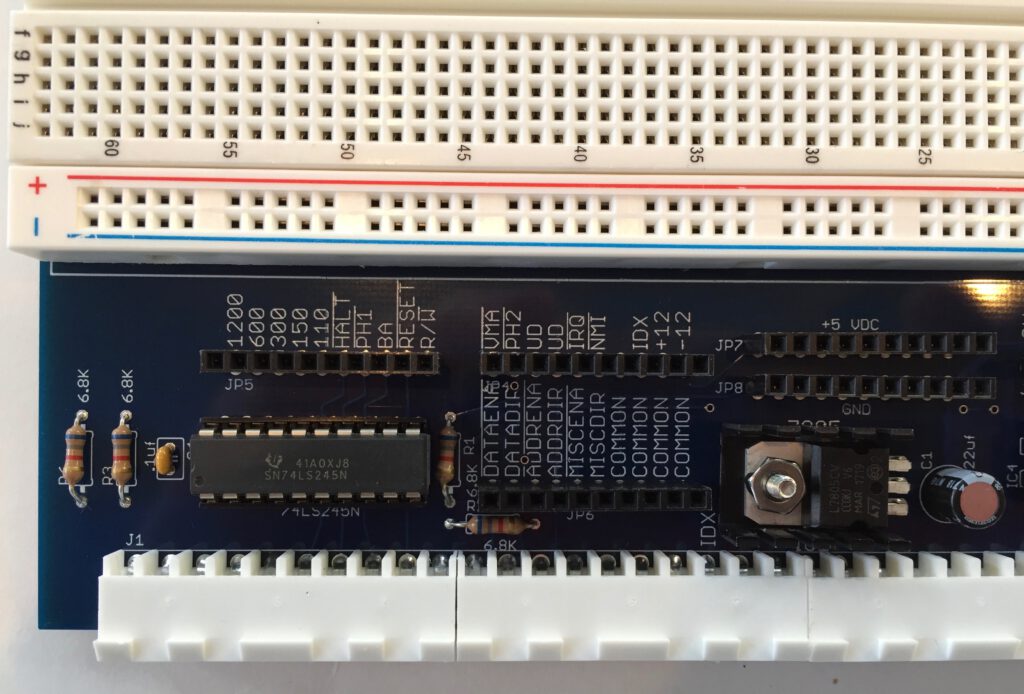
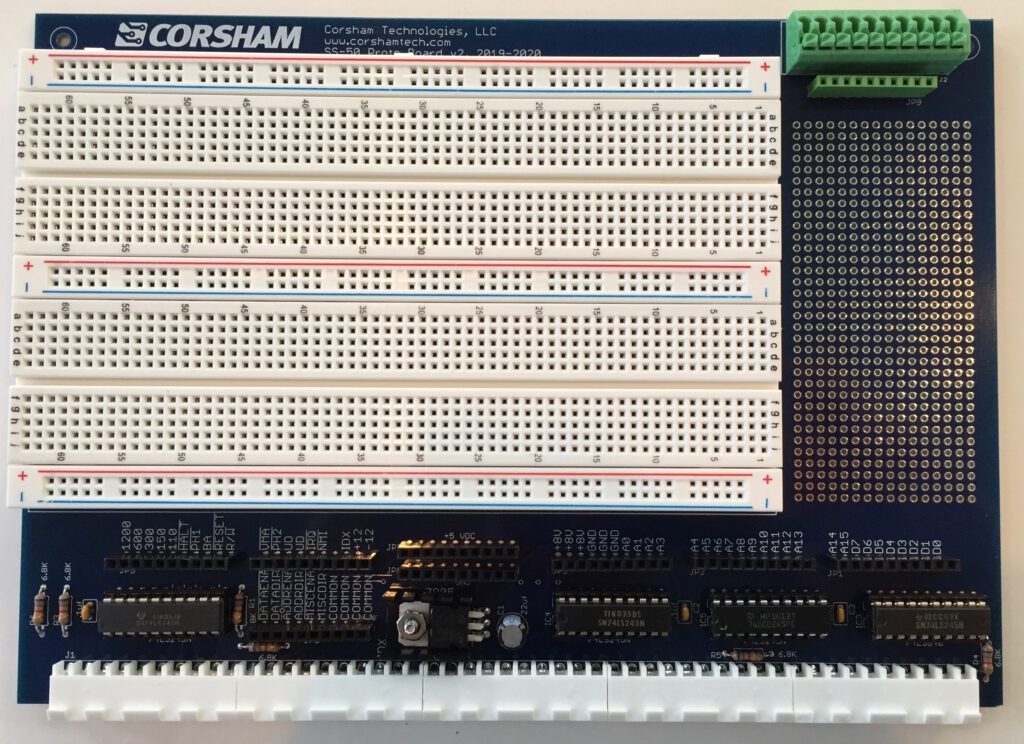
his is our new rev 3A 6800 CPU board, which is roughly equivalent to the SWTPC MP-A2 CPU board with a few additions. It is SS-50 compatible and can be plugged into existing systems or for building a new system. It can be mixed with vintage SS-50 and SS-30 boards.
Features
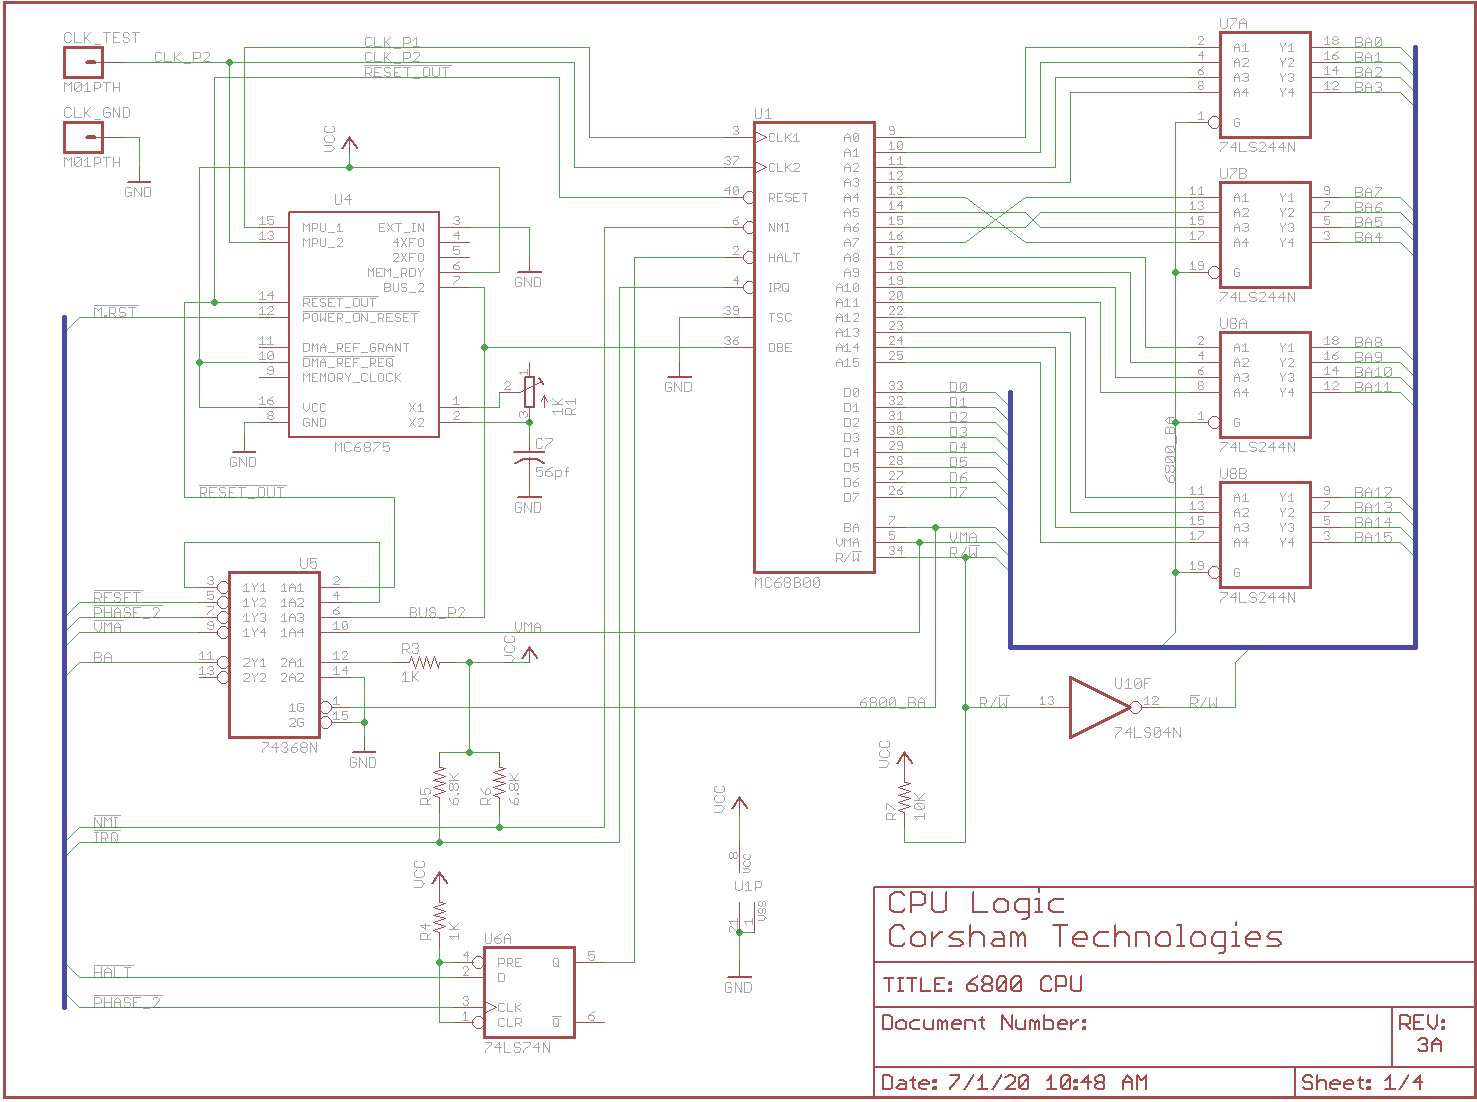
– 6800 CPU running at about 1 MHz (see next feature).
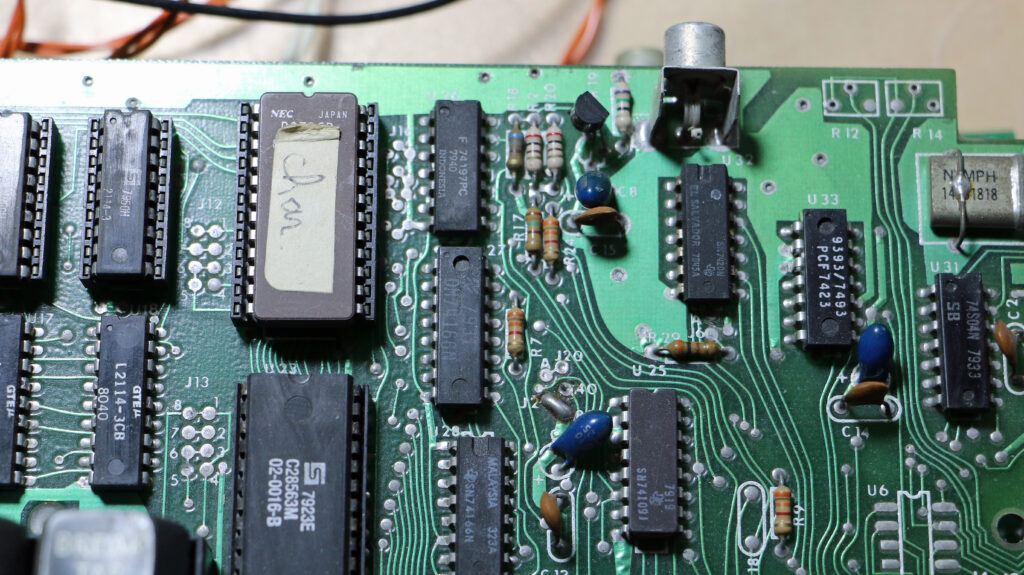
– CPU speed can be adjusted via a precision trim pot on the top left corner of the board.
– CPU frequency probe pins to make it easy to measure and adjust the CPU speed.
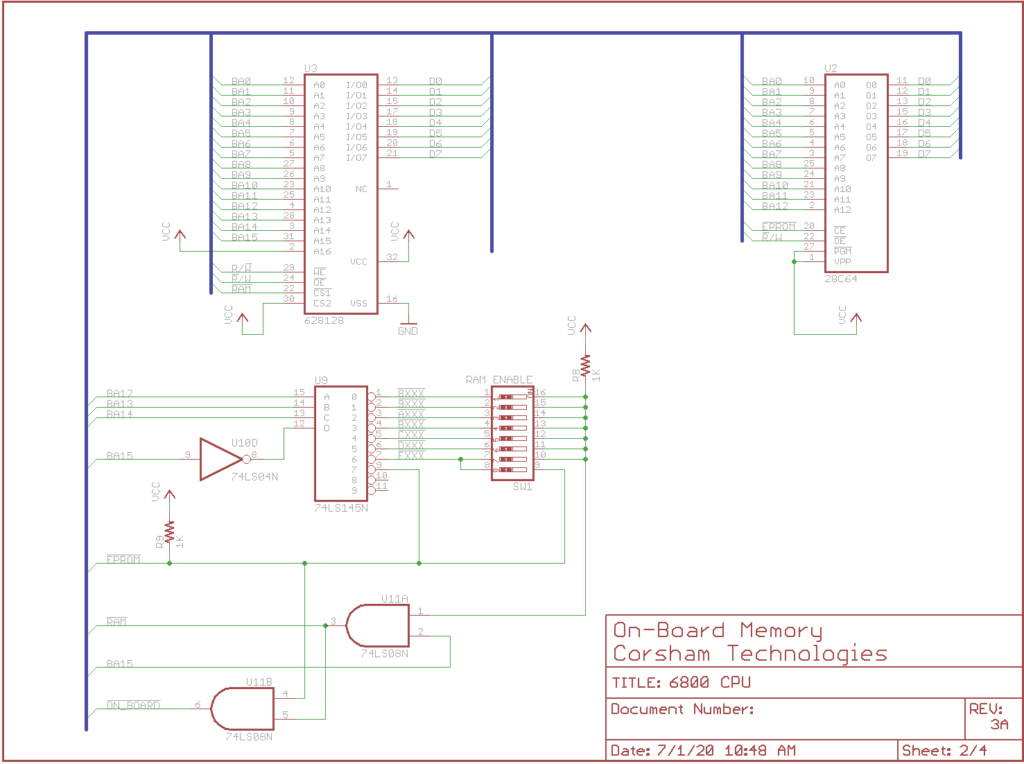
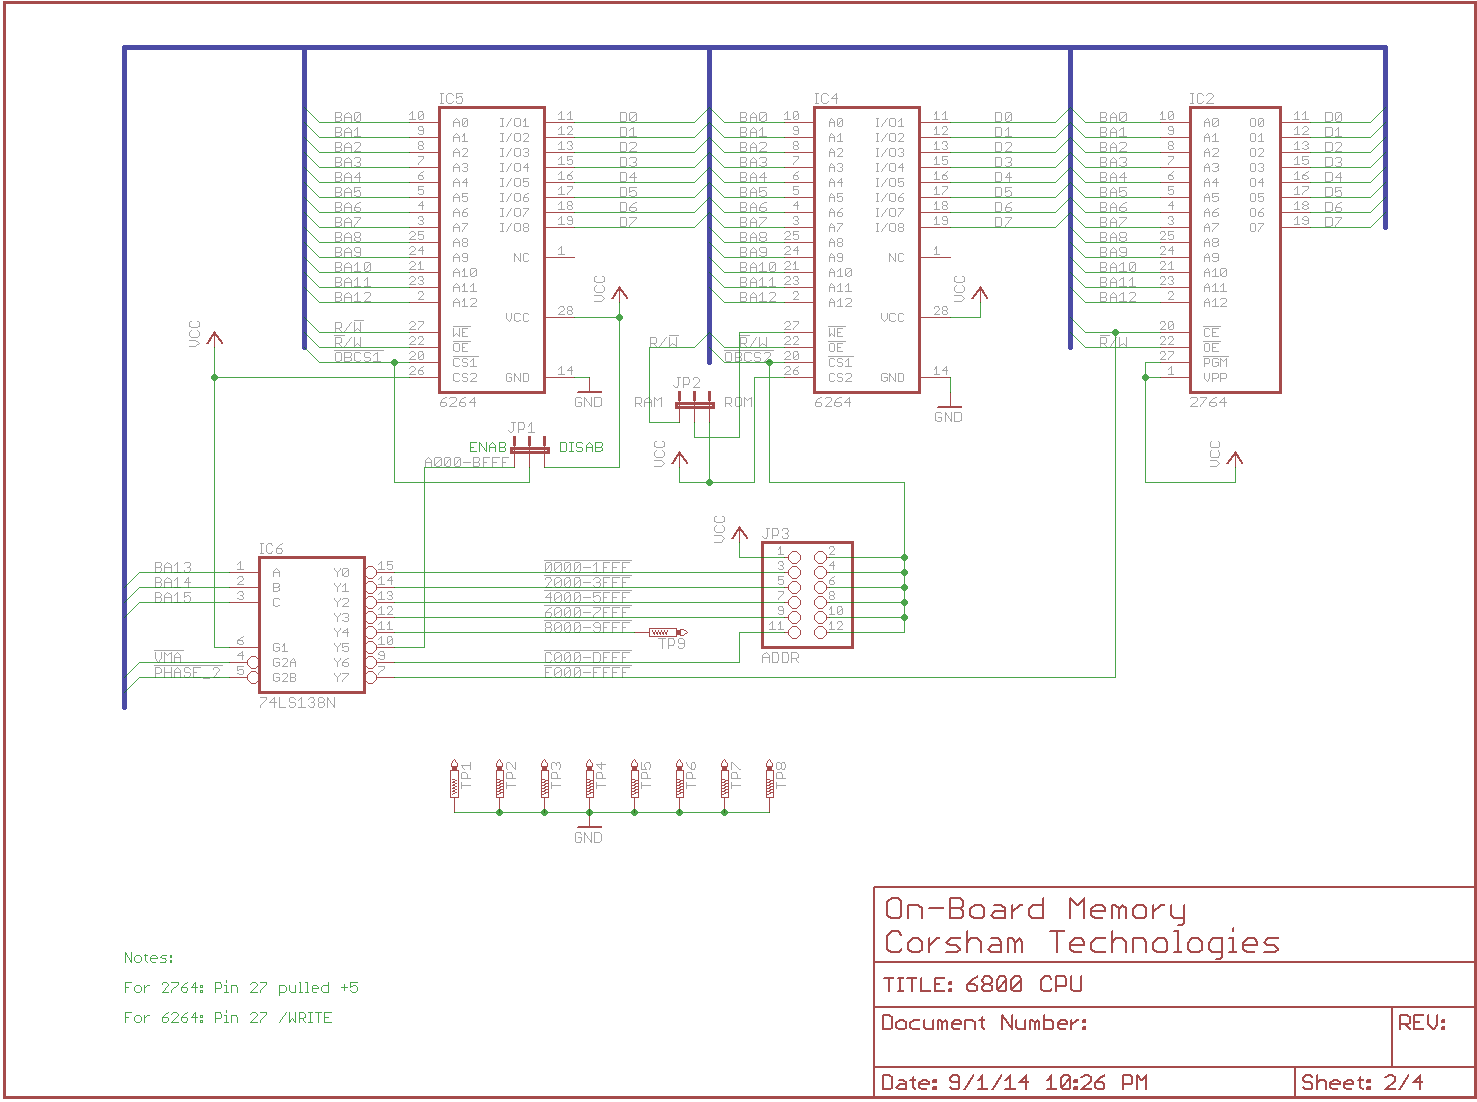
– 8K of EPROM from E000 to FFFF. We include our extended version of SWTPC (xSWTPC) which includes new commands and is easily extendable. The source code for the software is on our web page.
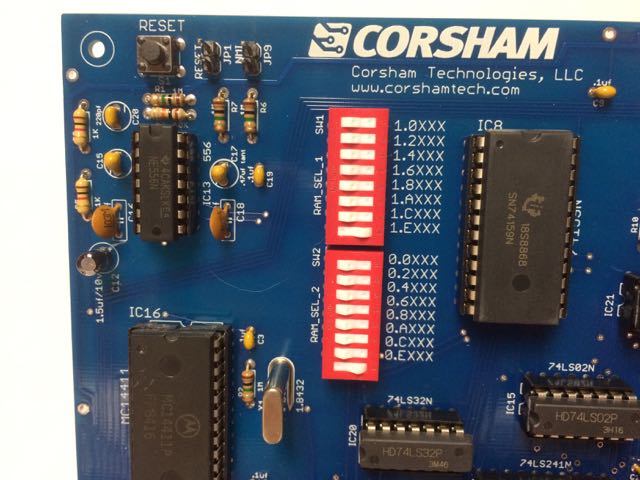
– The new board (rev 3A and later) now has 48K of RAM from 0000 to 7FFF and 9000 to DFFF can be disabled via a jumper. The SWTPC board has 128 bytes from A000 to A07F so this extra RAM opens a lot of opportunities!
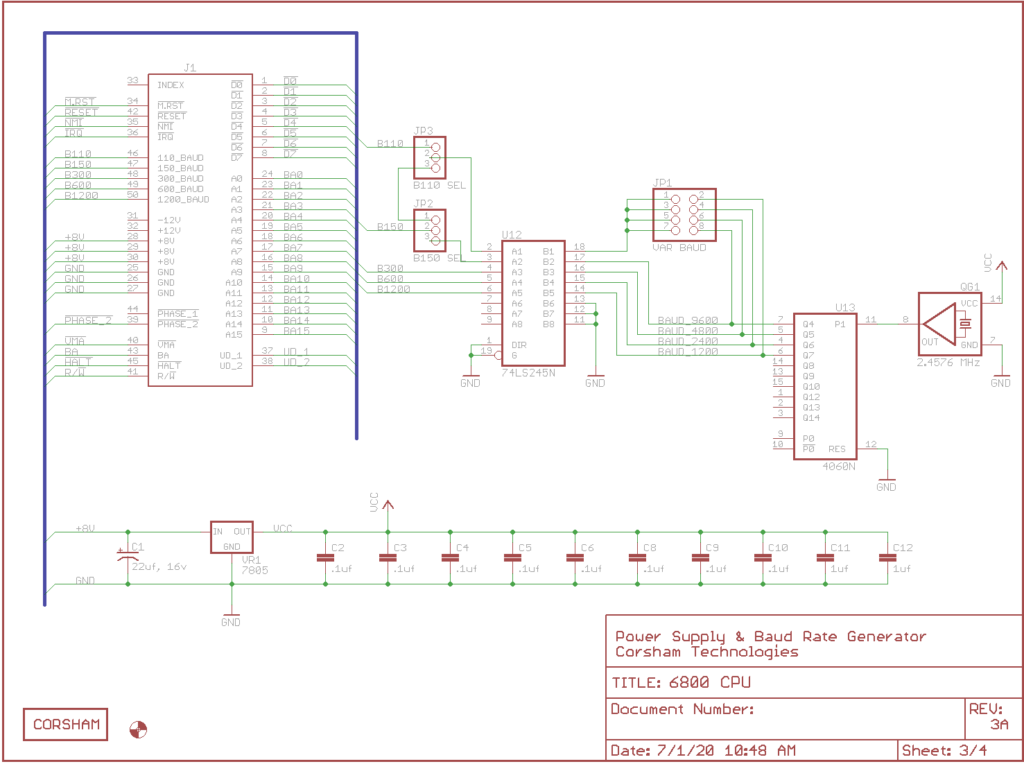
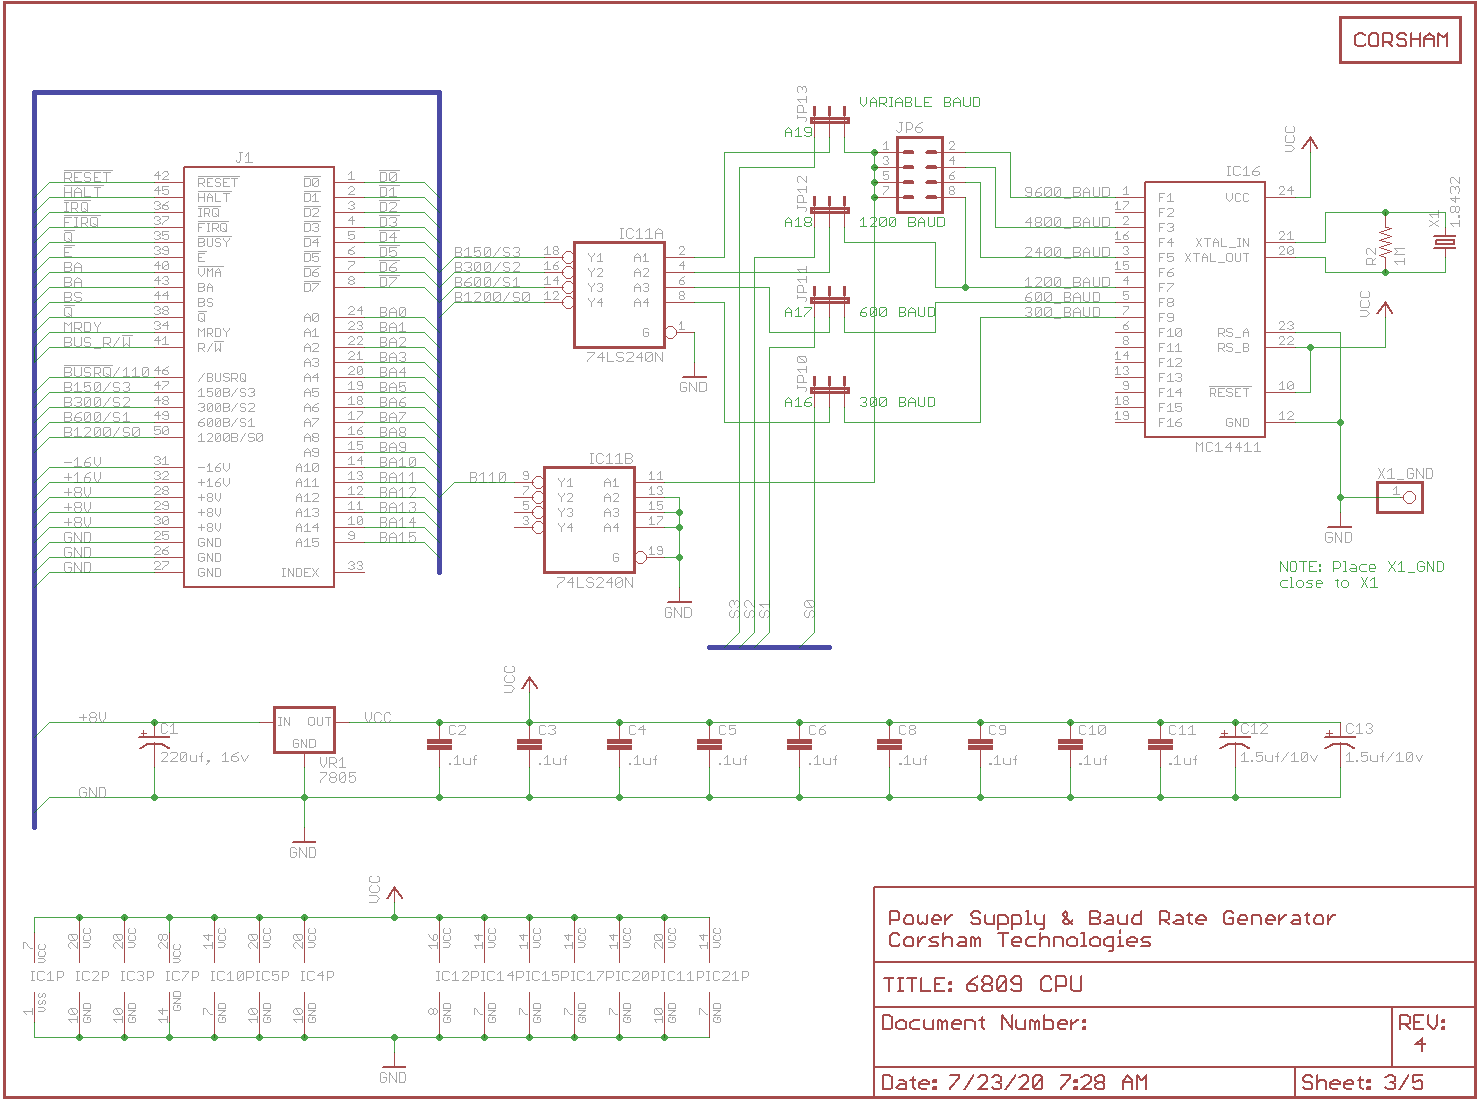
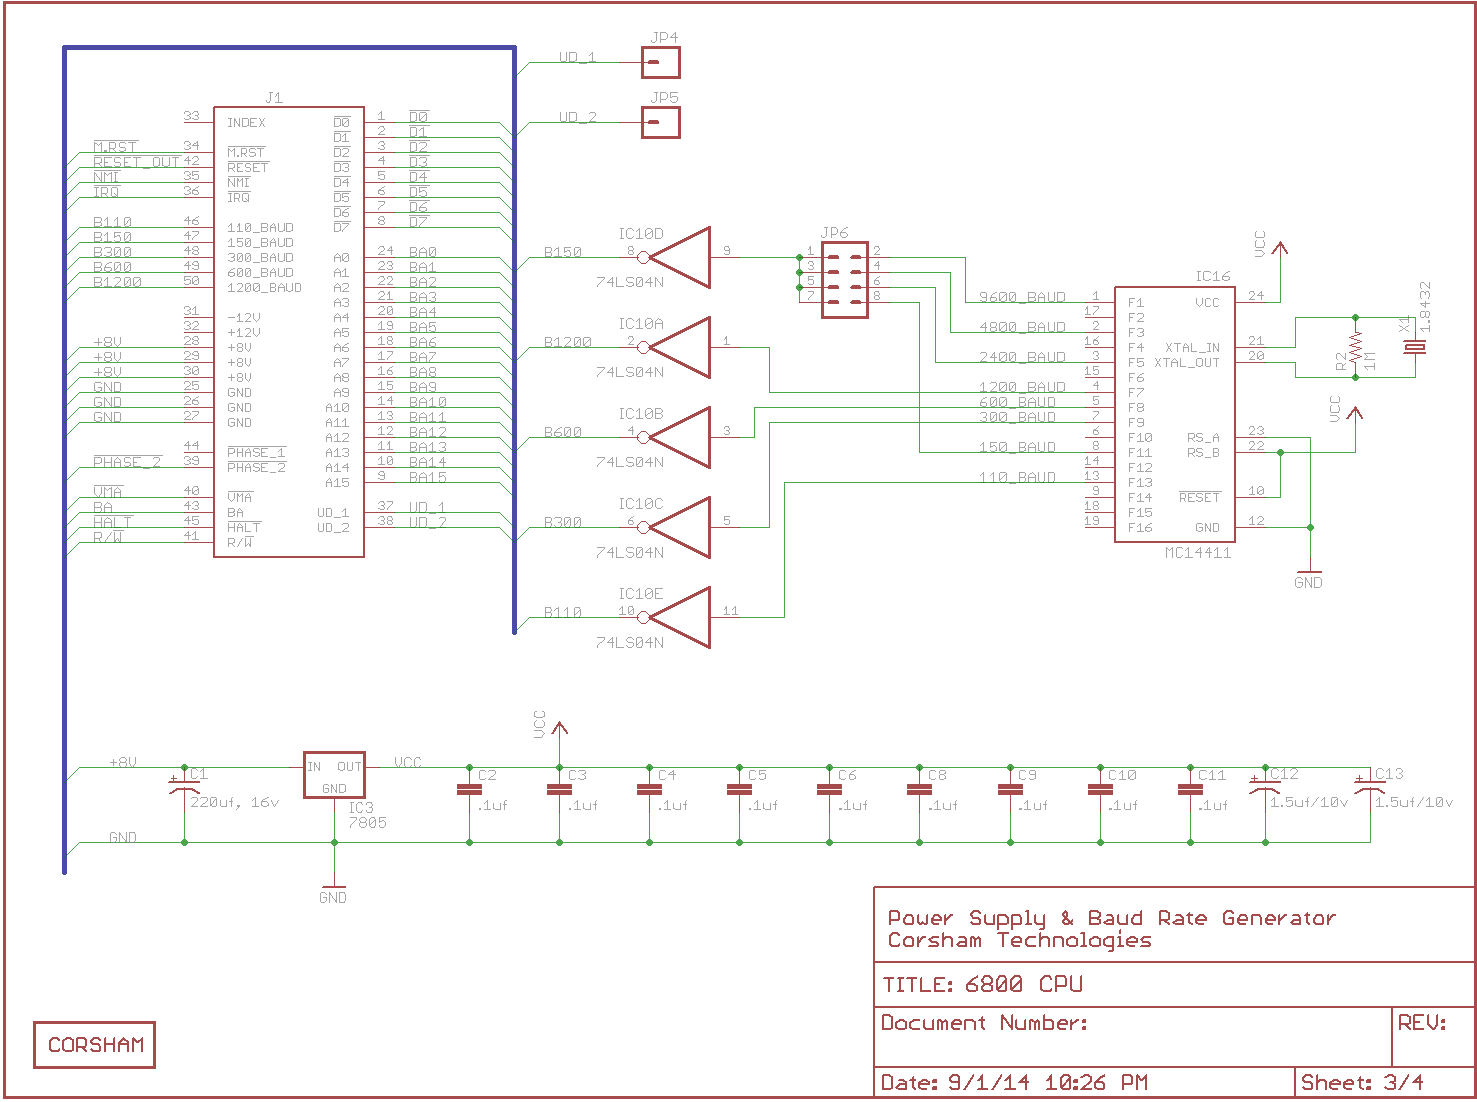
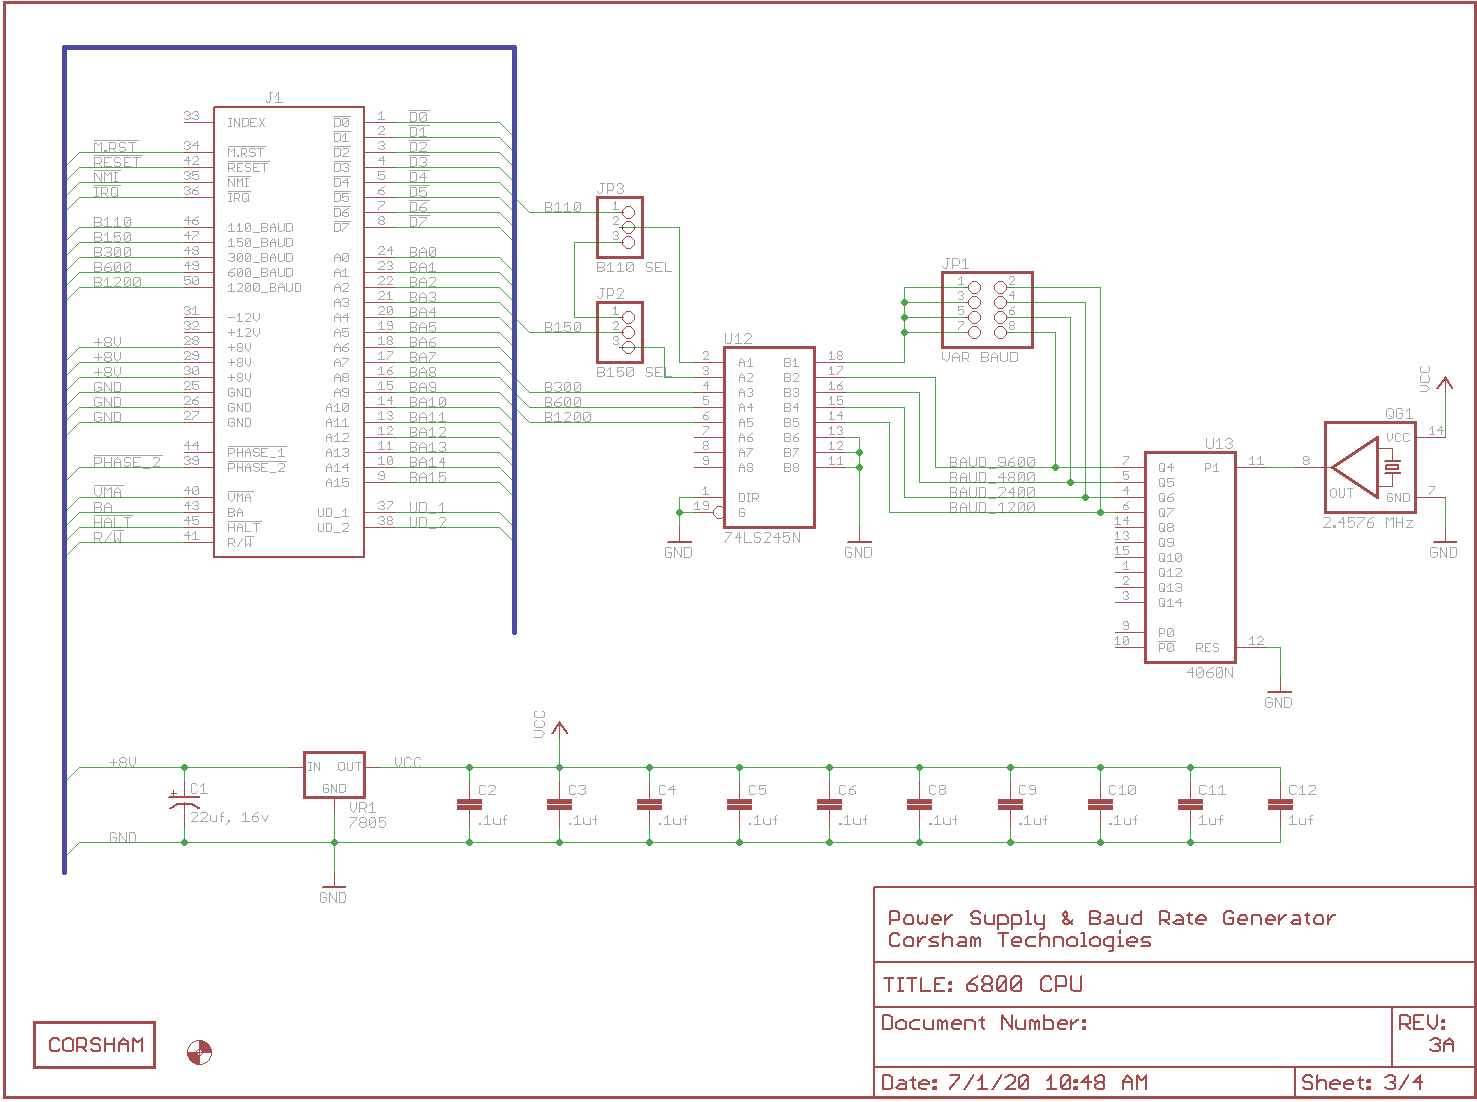
– Baud rate generator supplies 1200, 2400, 4800 or 9600 baud onto the 150 baud line. I generally use 4800 baud and wanted an easy way to select higher baud rates.
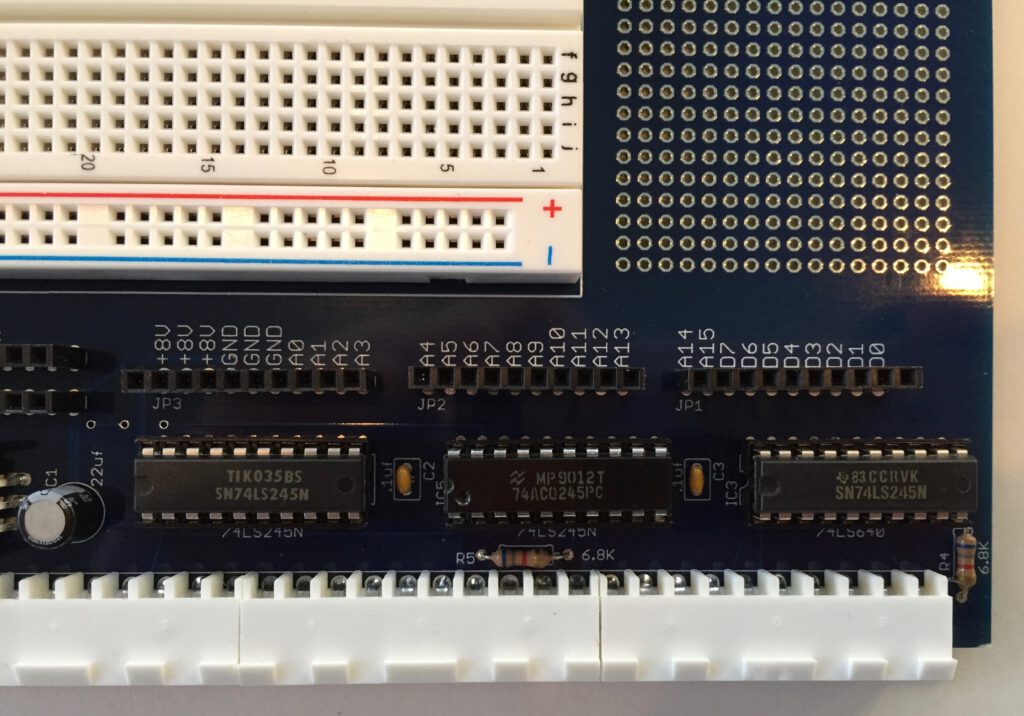
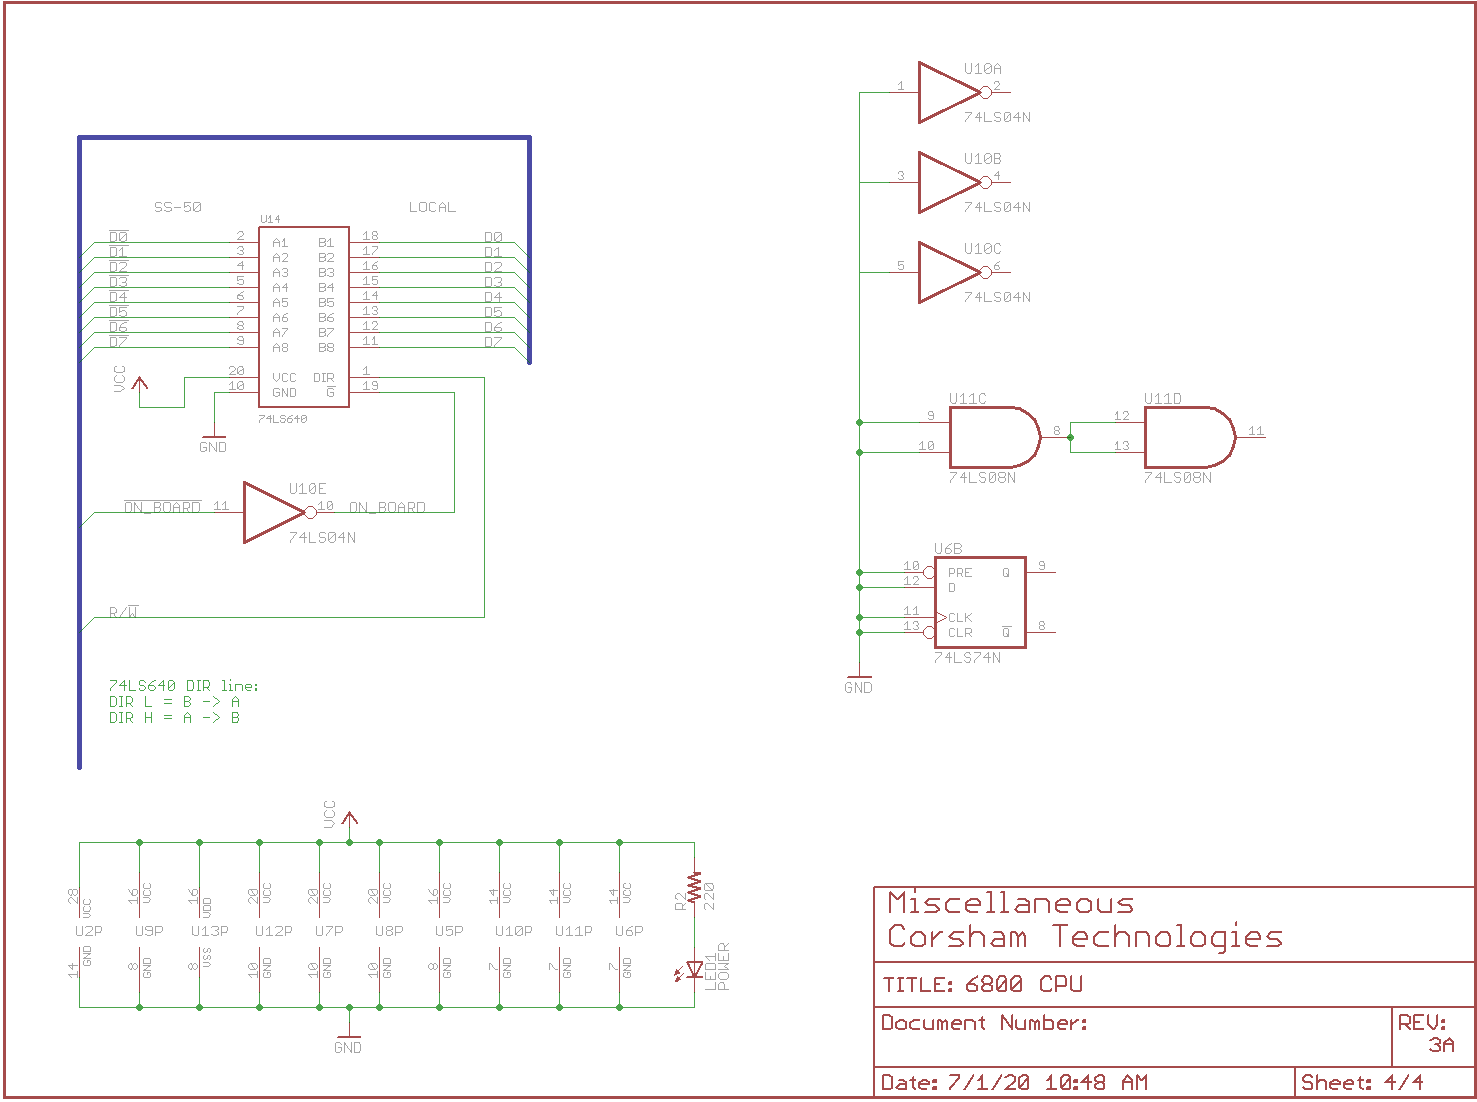
-ll address, data, and control lines are buffered.
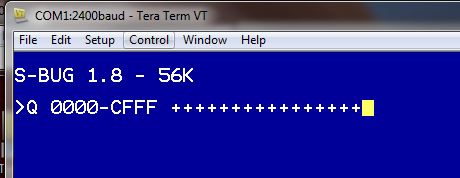
xSWTBUG
There were two main monitor programs used on SWTPC machines, starting with MKBUG from Motorola, but it only supported serial communications via bit-banging a parallel port. Later, SWTPC developed SWTBUG that could support the parallel port or a 6850 ACIA. It maintained most of the important entry points so programs written for the older monitor would continue to run.
We started with the SWTBUG source code on the net, modified it for a more modern assembler, added macros to ensure entry points did not change, then added options for extensions. The main extension is replacing the “C” (clear screen) command with “X” for extended commands. Exactly what is added in those extensions varies from one version to another, but as of xSWTBUG 1.1 these are the extra commands:
Help
Memory test
Othello game
Number guessing game
As of version 1.2, these changes were made:
Ability to do a disk directory of SD card (with our SD card system)
Display contents of file on SD card
Load S19 files from SD card
Boot a DOS from SD card (usually FLEX)
We’ll be adding more, and since the source code is available, anyone can change the code to add/remove tools.
Of course, all the documented SWTBUG entry points are preserved! There are no worries about older software not running under xSWTBUG..
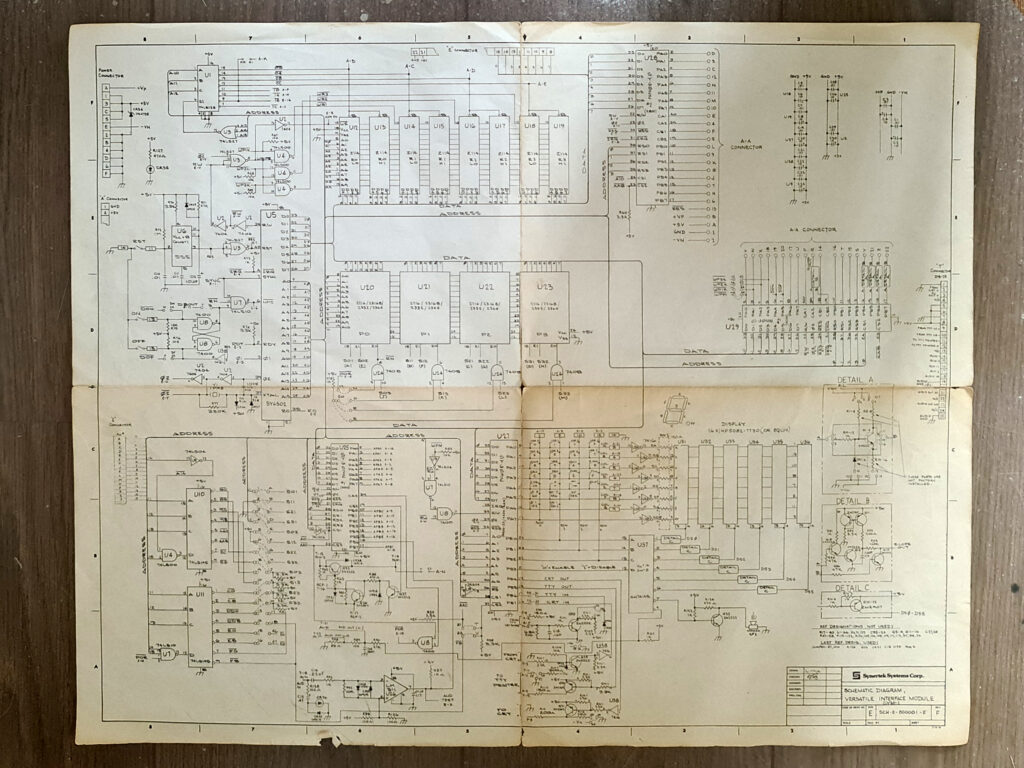
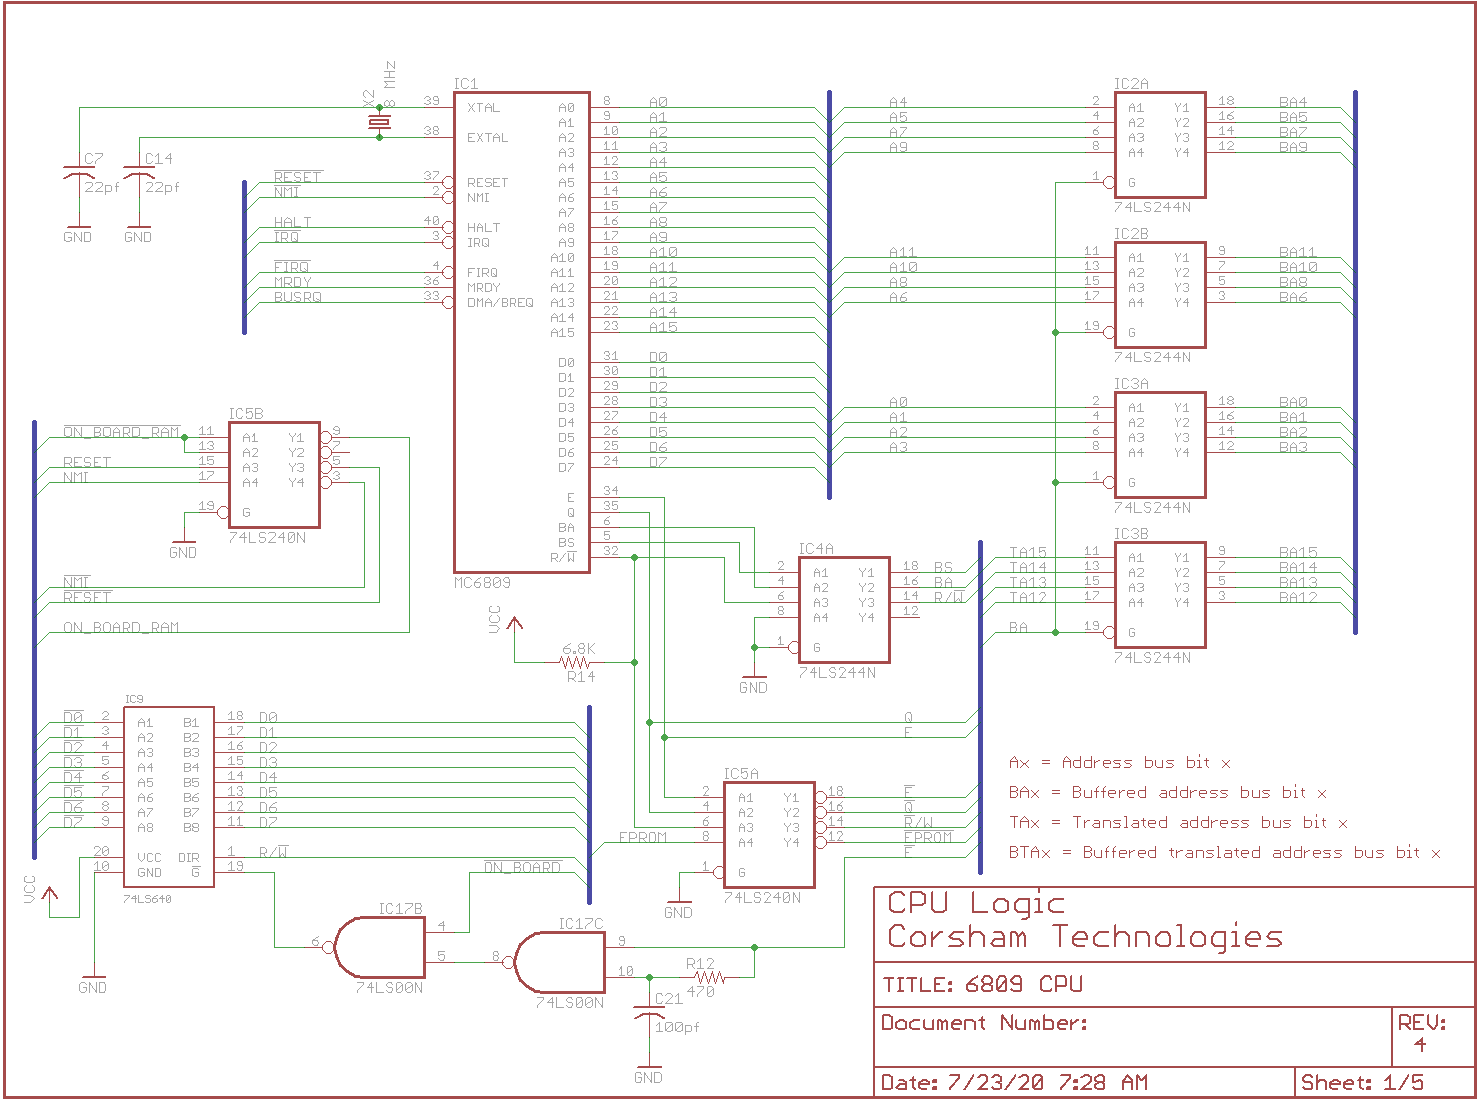
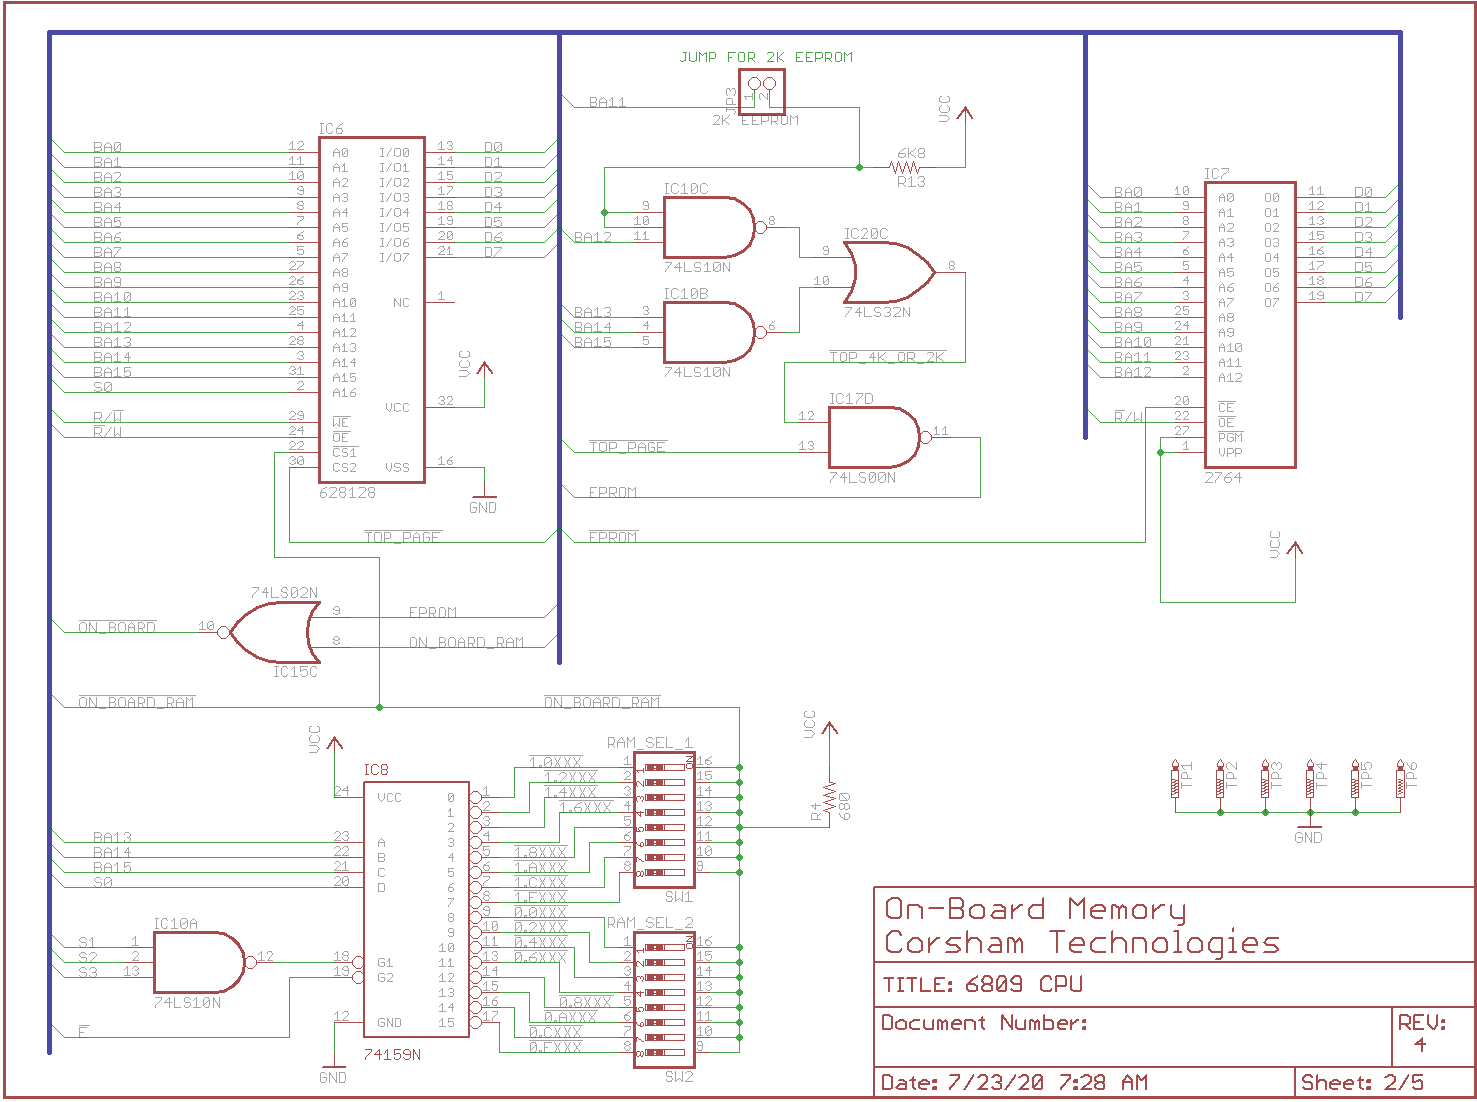
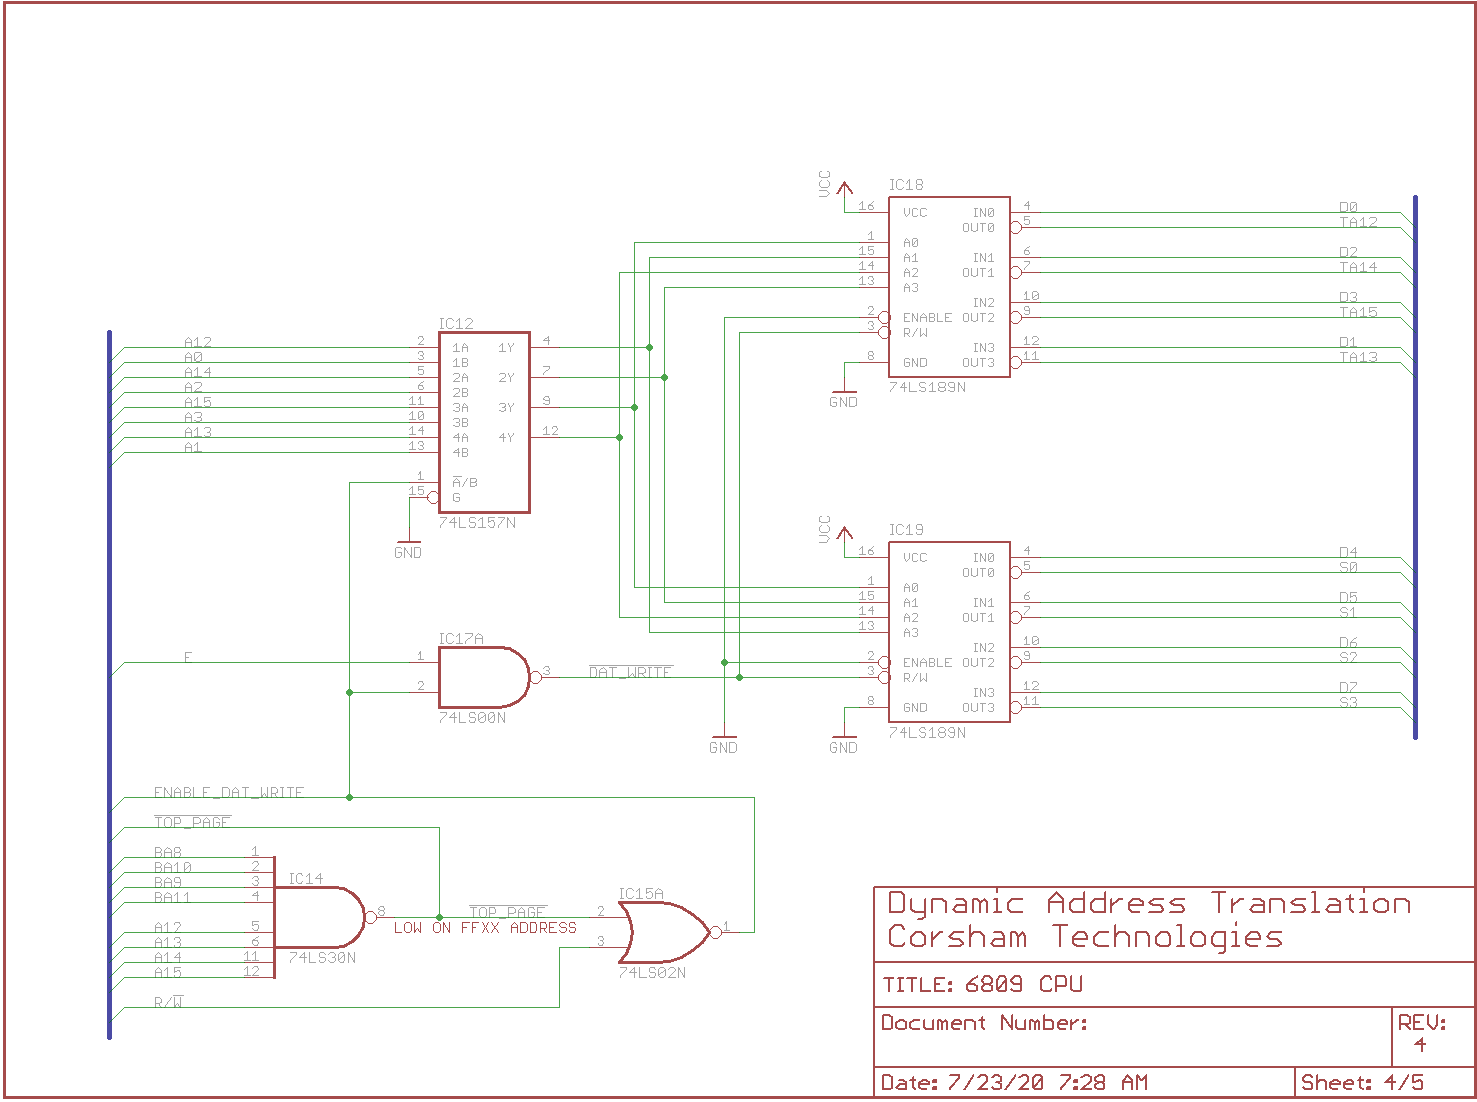
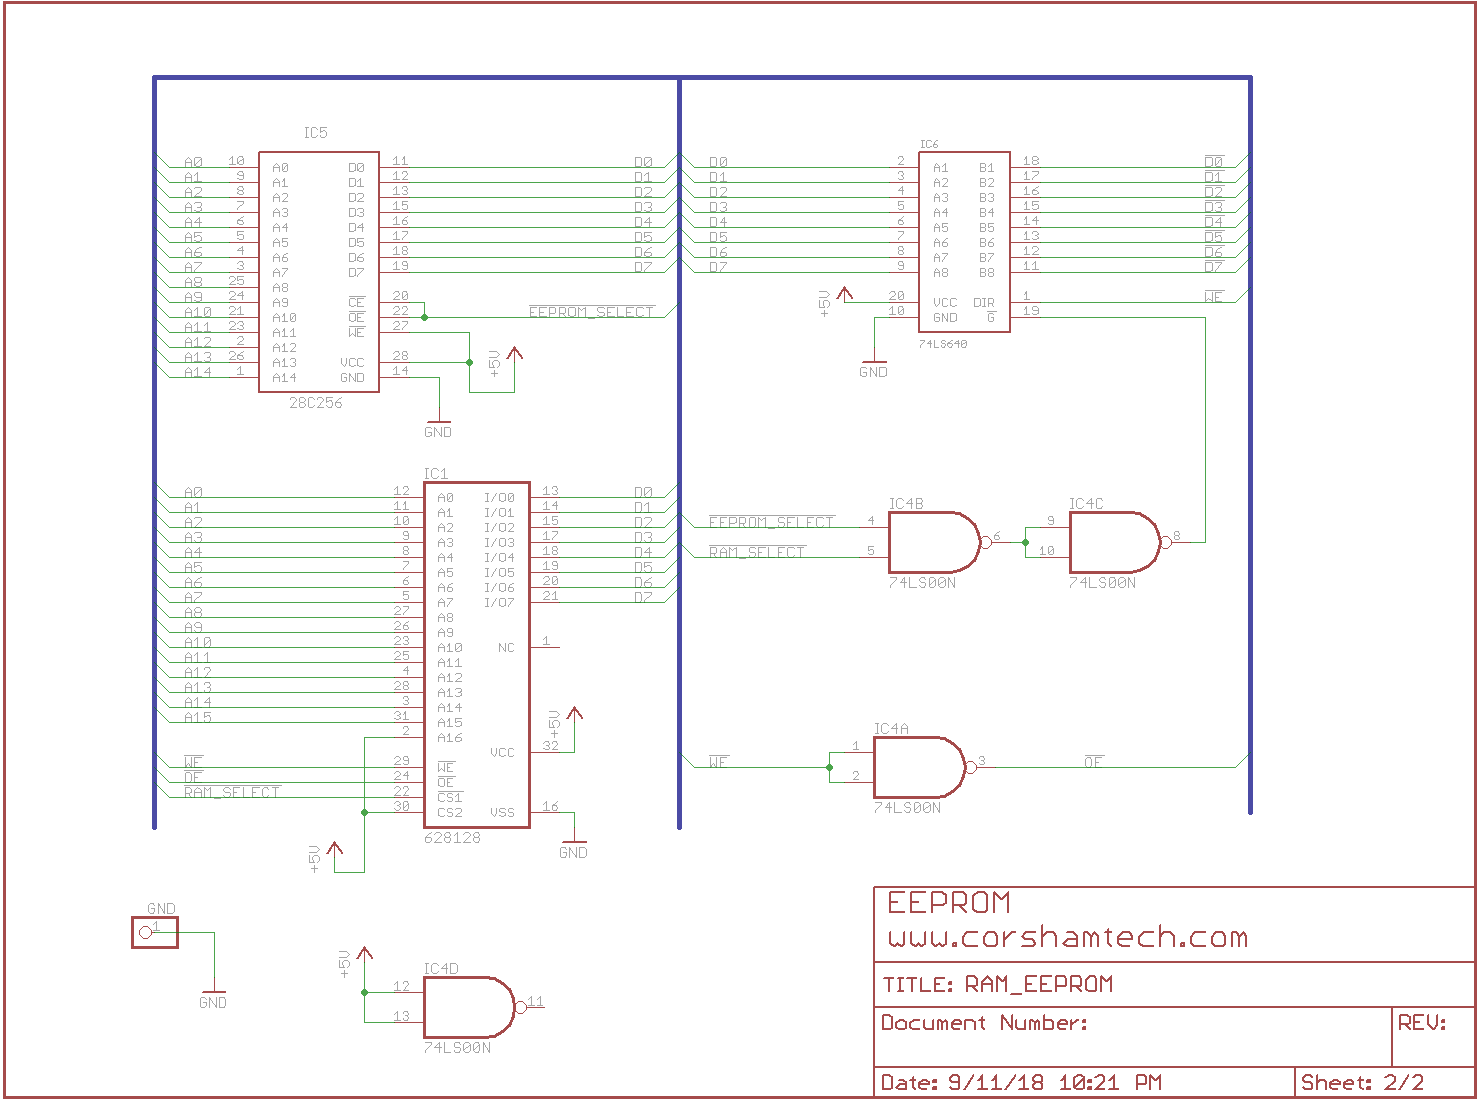
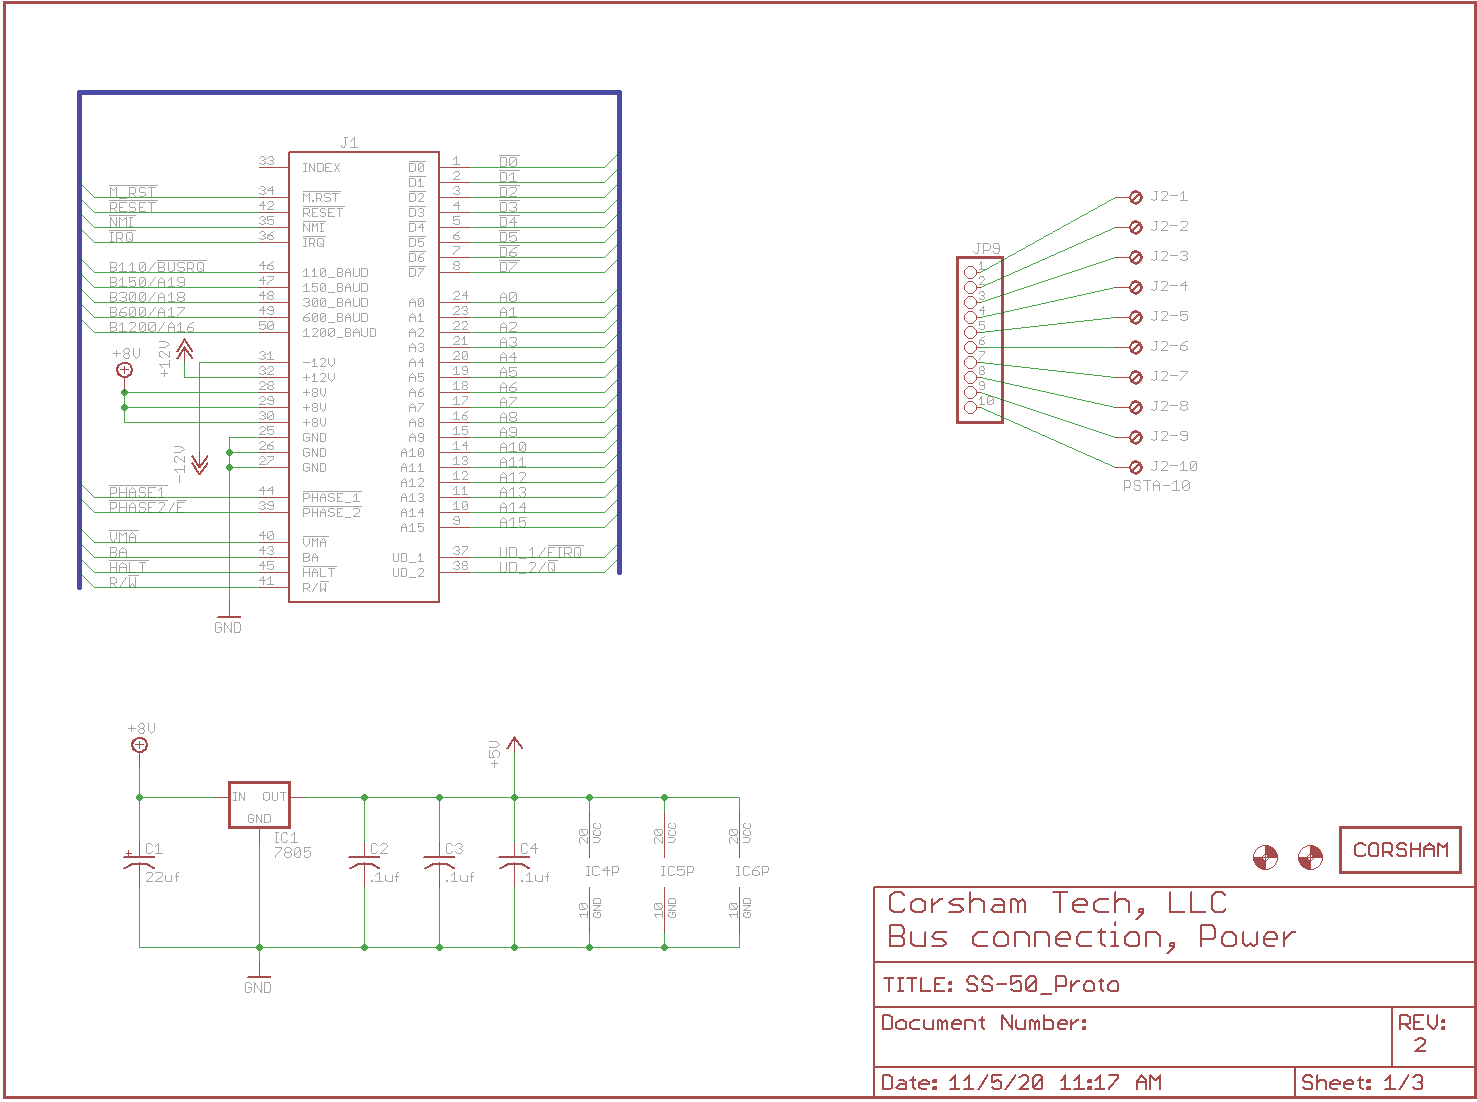
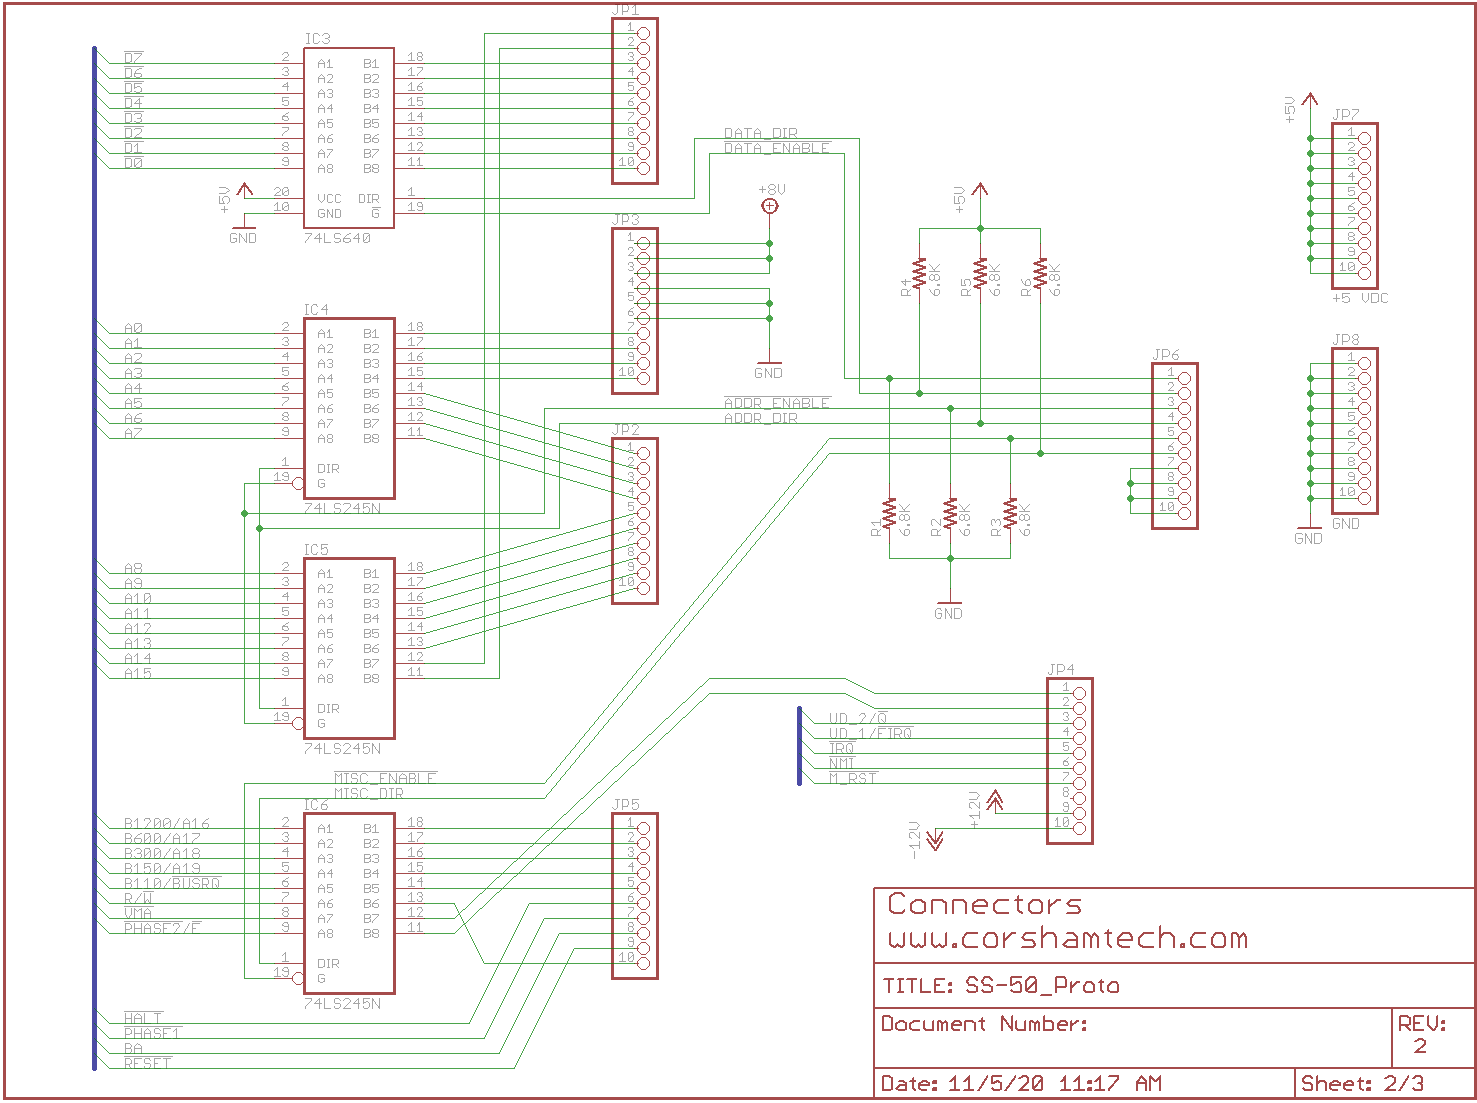
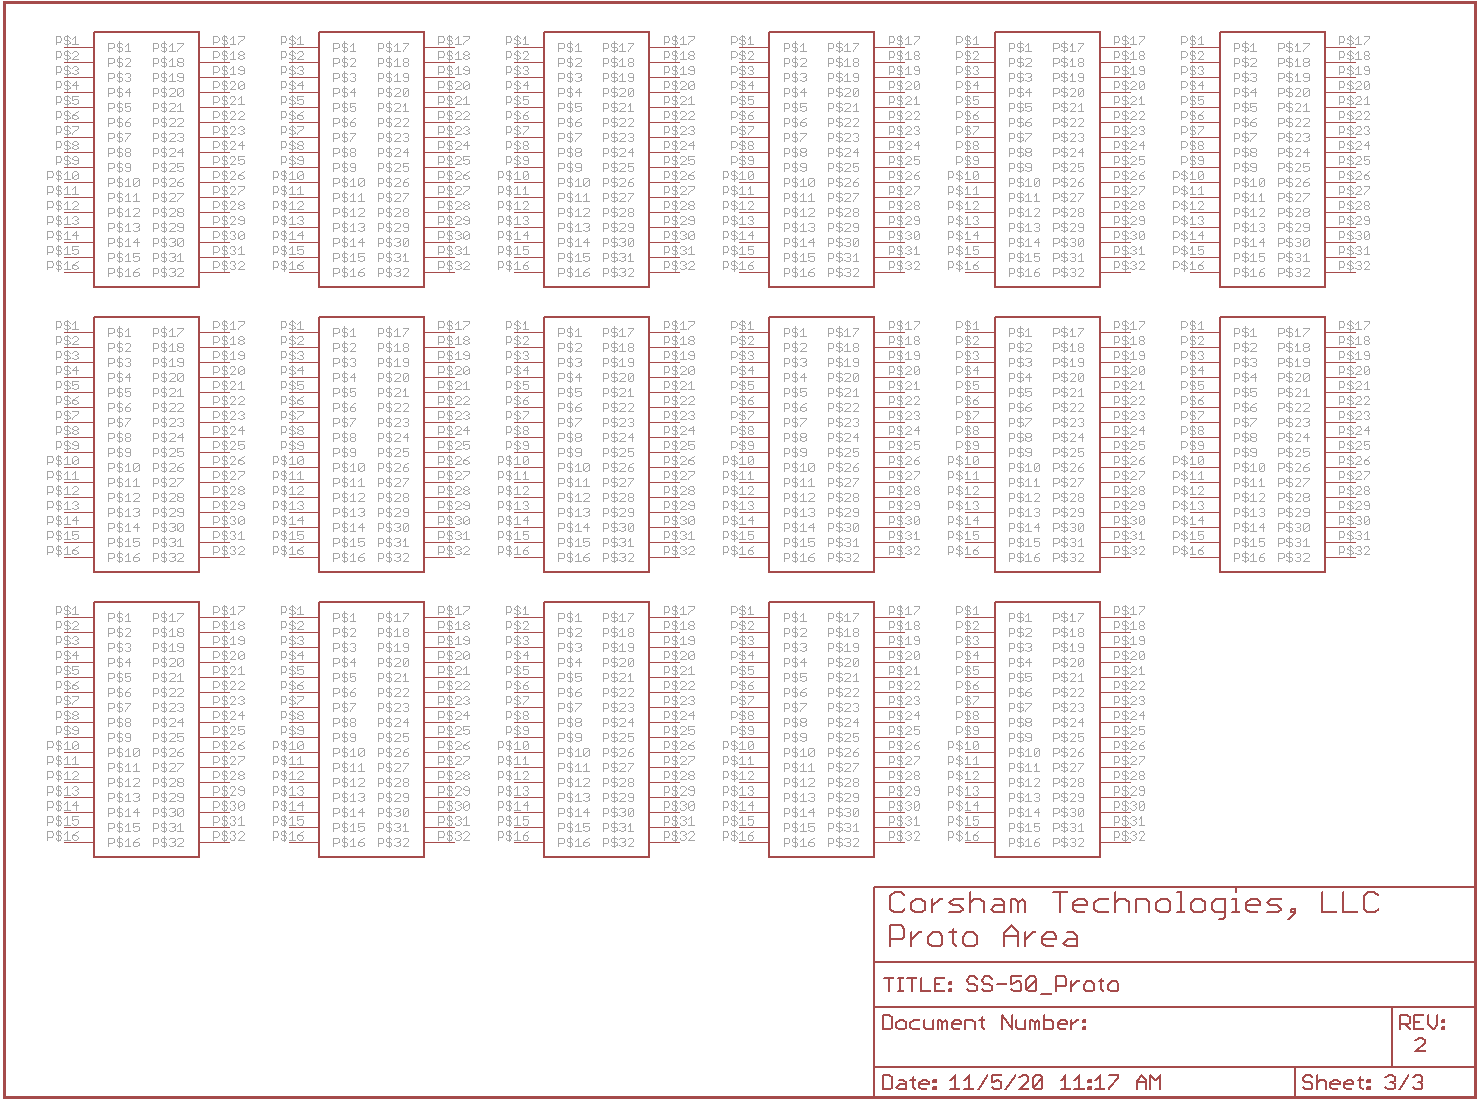
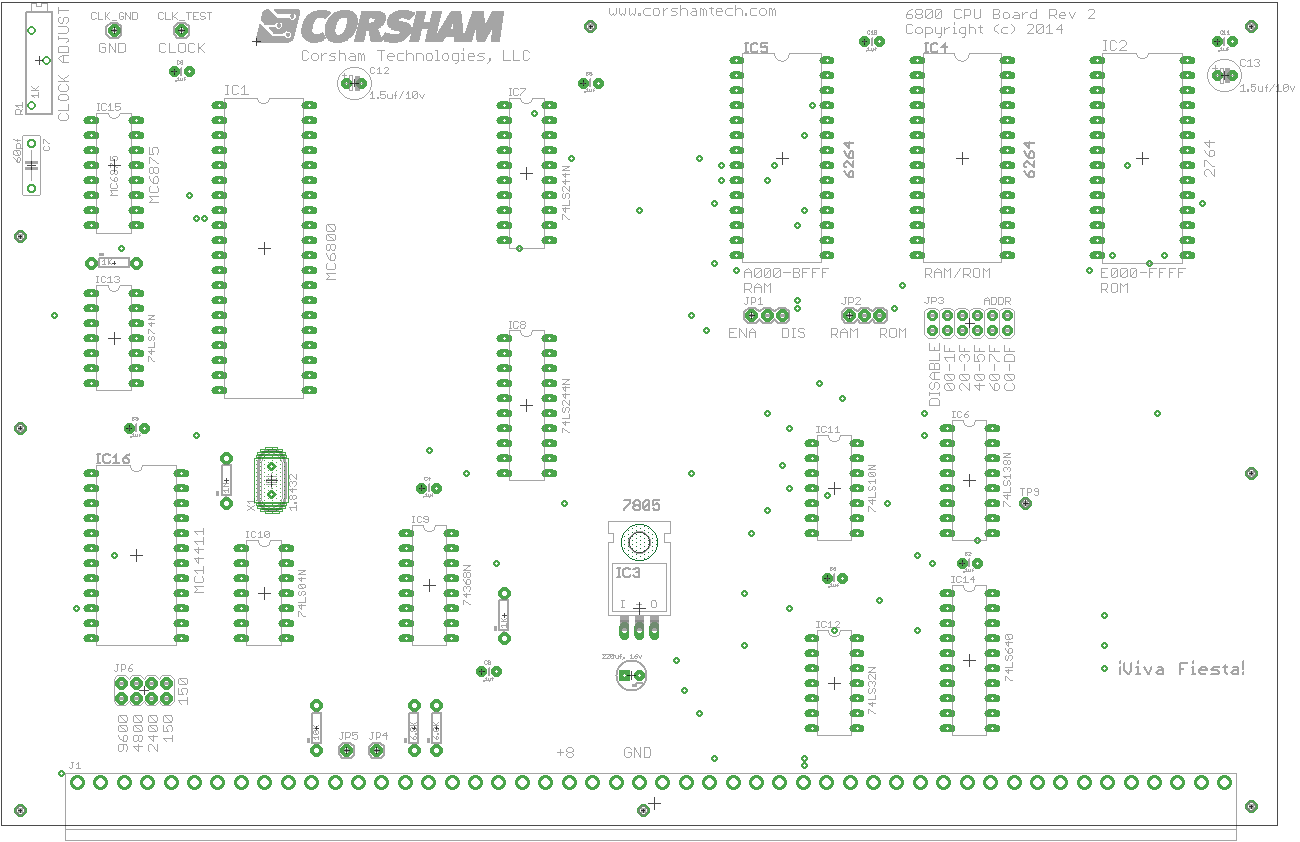
Rev 2 schematics


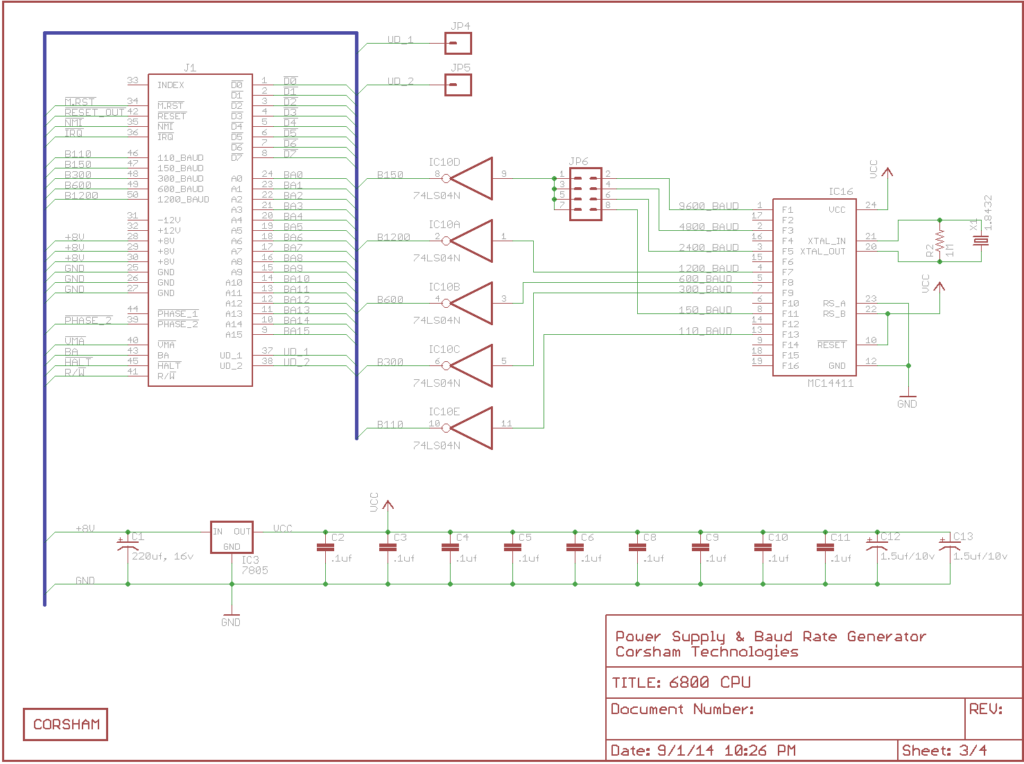
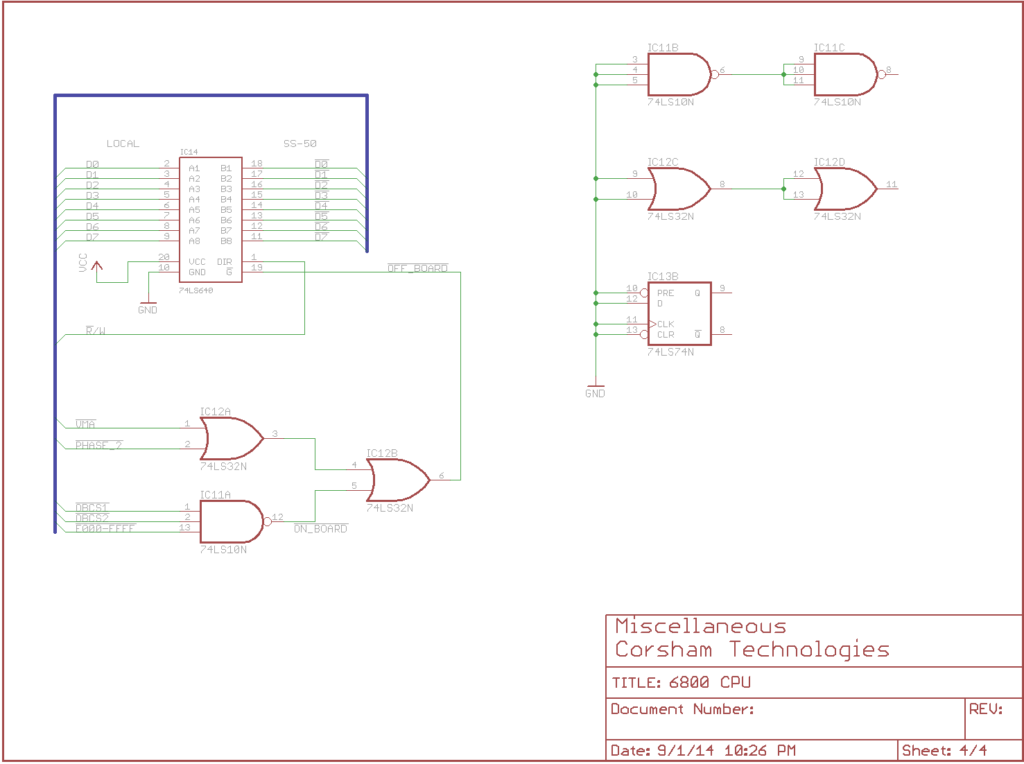

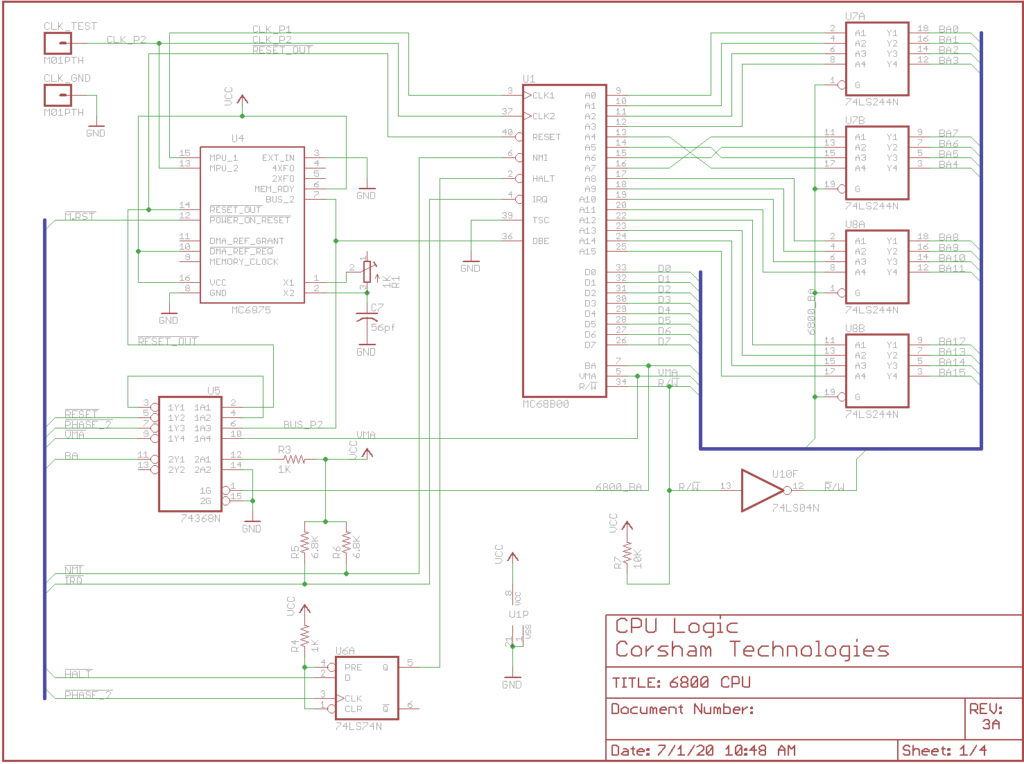
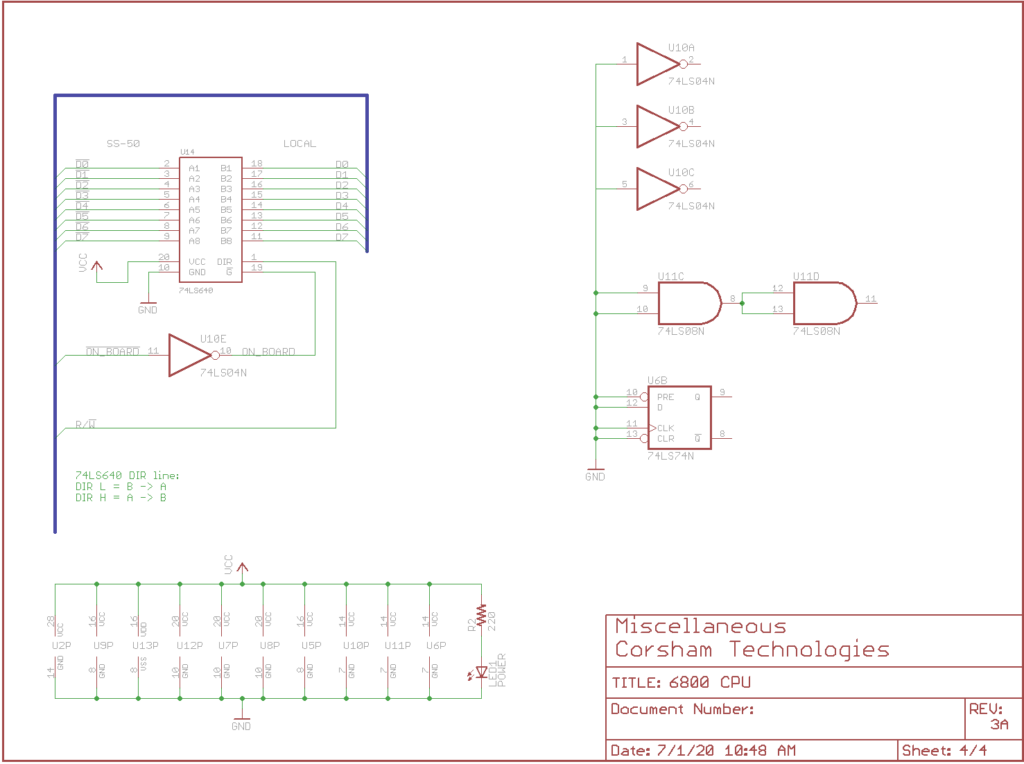
Rev 3A schematics