Noise fix for Replica Ten

and perhaps other Replica’s with the Propeller IC. Report by Didier.

Didier has 2 replica, the Red one Ten, the older one green, both With a propelle which had the same problem but it occurred rarely

in fact apparently all the Replica 1 with the Propeller IC ten are affected more or less by this problem.

Issue

Users have reported every few seconds a “/” appears on their screen followed by a linefeed. This renders any data entry impossible.
The Replica 1 seems to act like an antenna, moving hands above the Replica can trigger it.
The problem is reported by Reactive Micro as Screen Noise Issue.

Fix by Reactive Micro

Try adding a 100k resistor to the USB module as pictured below. And if there is still noise then add a .1uF cap (100nF) to Pin28 of the Propelelr to either Ground or +5v.

As little as 10k can be used for +3.3v pullup, but anything smaller risks damage to the FTDI module. 100k is much safer in all regards. This helps hold the data line high. It seems the RX line is held high by default. And both lines are held high when connected to a USB data port, which is why the noise issue is not seen when connected to a PC. You can connect the resistor most simply to the USB module. Or to the rear of the PCB to pin 39 (Tx) and pin 12 or 32 (+3.3v) of the Propeller.

Fix by Didier

The Reactive Micro fix dows only reduce the noise but does not stop it completely.
But adding two 2 resistors definitively fix the problem.
The real problem is the floating lines STROBE and DA of the Propeller.

To really understand this noise bug you need to check at the same time:
the circuit diagram, the Wozmon initialization, and the Propeller code

the other modification are for a change from a PIA to a PIAT for my 6502 monitor
PIAT (6524) = PIA 6250 + TIMER (as it is mounted with my patch the PIAT replace totally the PIA
without any software change)

2 lines CA and STROBE are input at the same time…
they are acting like an antenna and capturing noise
for example, if I pass my hand 5 cm above the propeller
I start to see:
/
/

as if the replica was resetting.

In fact, when the replica received a full buffer of junk it jumps to reset code…
The problem comes from the propeller code…
STROBE is programmed sometimes as input and sometimes as output to permit both the PS/2 and ASCII keyboard
it is possible to fix the propeller code to avoid the parasite but in that case, you lose the ASCII keyboard

To fix that on the back of the board add a resistor of 10K between the STROBE PIN and GND
The same problem occurs for the DA line but it only happens during the time the machine was powered up but not yet reset… the same way a 10K resistor between DA PIN and GND fix the problem

The fix for STROBE and DA is therefore two resistors added on the back of the PIA.

Pocketerm

The PockeTerm is a 4″ X 2.5″ single board terminal that uses a VGA monitor and a PS/2 keyboard for its input and output. Dual serial ports gives the user the option of transferring data to/from a PC while still connected to the host device. This terminal was designed to work with vintage computers but is compatible with most systems including Unix and Linux systems. A low cost color choice terminal that has VT-100 compatible commands for controlling cursor and screen functions. Want to program the propeller microcontroller or install an update to the firmware? No problem, just connect the PockeTerm to your PC, run the Propeller Tools software and you can program it from your PC, no expensive Prop Plug required.

The PockeTerm has a full featured screen with Function key status at the bottom of the screen. Click on the image for a full size photograph of the screenshot.

CTRL-F1 Selects Baud Rate
CTRL-F2 Changes text color of the main display section
CTRL-F3 Turns on/off the 2nd serial port that connects to a PC.
CTRL-F4 Force incoming data to 7 bit ASCII. Strips the 8th bit, required for some systems
CTRL=F5 Change cursor type. Choose from underscore, solid block, or none. Also, choose from blinking or not.
CTRL-F6 Add line-feed to carriage returns

Documents

Pocketerm Setup and Users Manual 2009
Pocketerm Setup and Users Manual V3 2009
Pocketerm Circuit diagram
Pocketerm Bill Of Materials
Pocketerm Firmware
Pocketerm CD

PS/2 keyboards

I have succesfully assembled the kit, the manual guided me just fine through the steps. Took me just over an hour.
The PockeTerm worked right away. Thanks to mfortuna’s tip, put jumpers in 1&2 and 5&6, and testing is independent of cables and computers to connect.

A standard keyboard with PS/2 worked. What did not work was my mini-USB keyboard (standard PC keyboard without numerical pad, and smaller size, like notebook keyboards) connected via an USB to PS/2 converter. The USB keyboard is ok, works with the PC’s and the Apple 1 kits via the USB-PS/2 dongle. I bought it because the smaller size looks better with the small computers and takes less desk space With the scope I found the PS/2 clock/data line (cant remember which one), to be open, as if nothing connected. So something is missing to make the USB device come alive. I googled around and found this: http://www.parallax.com/Portals/0/Downloads/docs/prod/edu/28060-PS2Adapter-v1.0.pdf
In it I saw a schematic how to connect a Parallax mini PS/2 keyboard, and it was different from the PockeTerm PS/2 interface. It has additional 10k pull-ups connected to the PS/2 clock and data. I soldered in the two 10k’s and the mini keyboard came alive!

Program the Propeller Notes by Vince Briel

  1. Go download propeller tools from parallax here: http://www.parallax.com/Portals/0/Downloads/sw/propeller/Setup-Propeller-Tool-v1.2.7-(R2).exe
  2. Install propeller tools
  3. Place the firmware directory from your PockeTerm CD onto your hard drive here:
    C:\program files\parallax inc\propeller tool v1.2.7 (r2)\
  4. Connect your PockeTerm to the RS232 port labled PC and turn on your PockeTerm.
  5. Under the propeller tools program click on the section File and find the firmware directory you just copied onto your hard drive and select the file
    PockeTermV.905.spin
  6. Press F11 on your PC keyboard and the propeller tools will compile and attempt to find a Propeller chip connected to a serial port on your PC. If your
    connection is good it will program the RAM first on your Propeller chip then program the EEPROM.

The PockeTerm makes a really good development board for learning how to program the Propeller chip. For more information on programming the Propeller,
please visit the Parallax forums here: http://forums.parallax.com/forums/default.aspx?f=25
The above steps will program the Propeller with the code that is now resident on the EEPROM onboard the PockeTerm. Change step 3 to the location of the program you wish to insert onto the PockeTerm.


Replica 1 software and hardware articles

A collection of articles and projects around the Replica 1.

Rebus

REBUS Replica 1 Hardware Extensions
ACIA, Flash, Apple II sound
Ken Wessen
Apple II sound circuit
Replica Quick reference by Jeff Trenter
Krusader Ken Wessen’s assember IDE
Archive with many variants, sources, versions
Krusader 1.2.1 source for use with an ACIA
Applesoft Lite archive
EWoz extended WOZ monitor with hex file upload
Jeff Tranter’s large collection of 6502 articles
Micro-KIM, Replica 1, and much more. A real treasure collection, original here!

EEPROM programmer circuit (as featured on the Multi I/O board)
EEPROM circuit
Here’s a 1 chip EEPROM programmer for somebody wishing to copy their EEPROM or create their own data. In keeping with the replica 1 theme, it is a down and dirty solution requiring few connections. All the connections listed on the EEPROM go to their listed connections. A 74LS00 is all that is required to program an EEPROM.

This attaches to address A000-BFFF and is direct addressing. Simply write to the address to store the data. You should give a slight delay after your write since it takes 200ns to write a byte into an EEPROM. I do a short loop in basic

FOR I=1 TO 2:NEXT I

That does the trick. I tested this circuit out and had 0 errors when writing.

Replica 1 Cassette Interface

In 2007 Vince Briel tried to get a replica of the Cassette board, as designed by Steve Wozniak, operational. Another example of the genius Steve Wozniak, minimal hardware, 256 byte program. Two revisions, he did not have much luck with this. Reports indicate this has to do with insufficient quality of the power supply lines.

Original Apple 1 Cassette Interface Manual
A real userguide as can be found at the site of San Bergmans
Mimeo Cassette Interface and Operations Guide

Software
Archive with disassembly and source files of the Apple 1 Cassette Interface.


post

Replica 1 Multi I/O Board

The Multi I/O Board, 2007, gives 2 8 bit bi-directional ports with 4 handshaking lines, a 6522 VIA,, a true RS232 serial port, a 6551 ACIA, with speeds up to 19,200 BAUD, and a 8K EEPROM programmer to store data or programs. There is a socket to add your own Speakjet voice chip that works in conjunction with the serial port to make your Replica 1 or Apple 1 speak!
Software included to let the WOZmon operate over serial.

Multi I/O board Setup and users Manual
multiboard_schematics.pdf


Replica 1 slot expanders

Three slot expander

Available first in 2006 for the SE and continued to the Plus. One side for the 40 pin connector, the other side a real Apple 1 slot.

Note that sometimes the 40 pin flatcable connection is not reliable and gives CFFA1 I/O errors. A thick extra ground wire between the Replica 1 and the slot expander solves this.


Slot Expander I board manual

One slot expander

A single slot expander, one Apple 1 slot, to be placed upon the 40 pin box connector.

Replica 1 TE

Replica 1 TE improvements (2008)

  • Apple 1 compatible 44 pin slot
  • Apple 1 compatible 44 pin edge connector
  • Bread board area for hobby experiments
  • Elimination of jumpers
  • Improved video display using Parallax Propeller (works with most TV’s and monitors)
  • No need for Apple 1 slot adapter because Apple 1 slot now onboard as well as original replica 1 connector
  • User firmware updates. User can download firmware updates and install. No need to send in for new chips.

The use of the Propeller instead of the ATMega IC’s makes the TE more compact, it handles video and PS/2 interfacing.

Replica 1 TE Setup and users Manual
Replica 1 TE schematic

Downloads:
Replica 1 TE CD


post

Junior by Philippe Roca

Philippe Roca sent me photos and Gerber PCB files from his Junior system.

From scratch, reading the original Elektor articles, he designed and built a complete Junior system.

Faithfull to the original and with even the ‘problem’ parts such as the 2708 EPROM on the main PCB and the 82S33 PROM on the interface card. For those devices he built programmers!

Still working on building and testing (January 2021), here photos and Gerbers of finished and working cards.

Junior


Interface card

Programmers

PCB’s

Gerbers download

Junior PCB gerber
Display print gerber
Power supply gerber


CFFA1

CFFA1 – CompactFlash Interface for Apple 1
R&D Automation

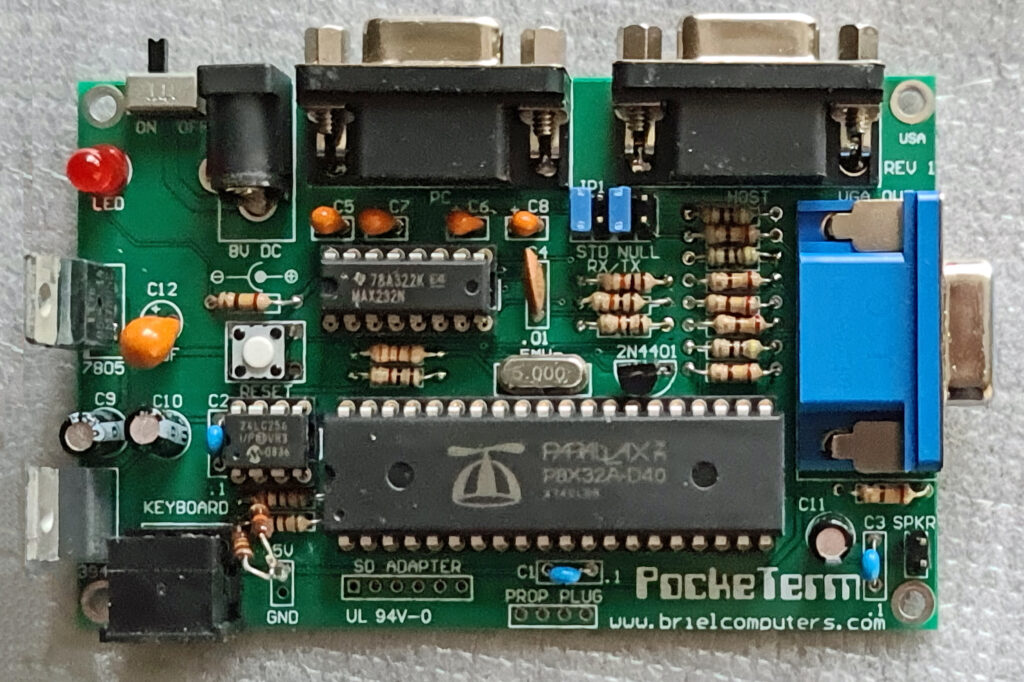
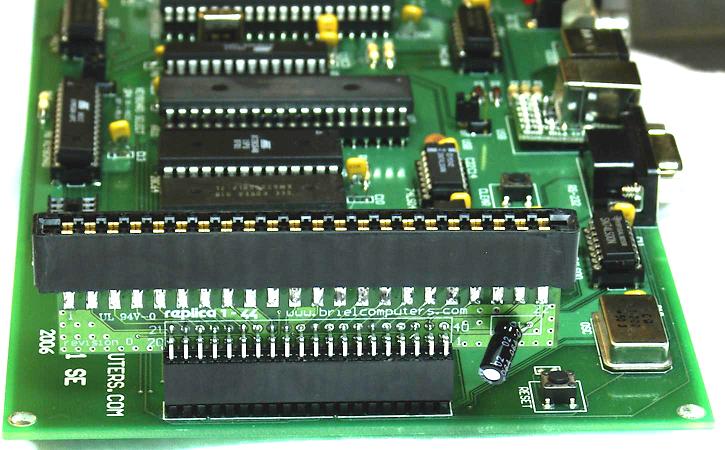
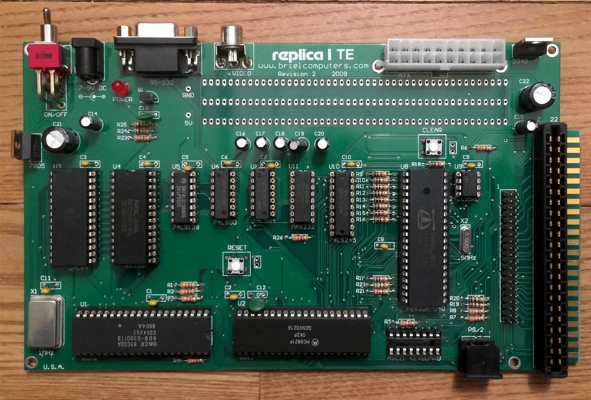
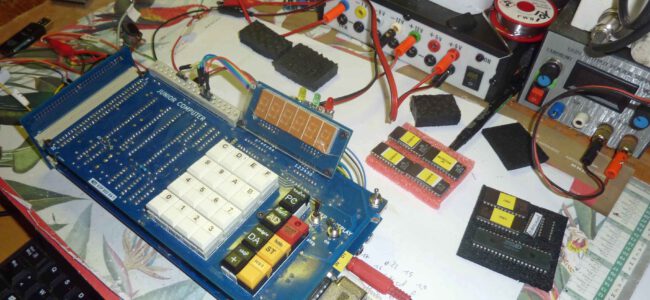
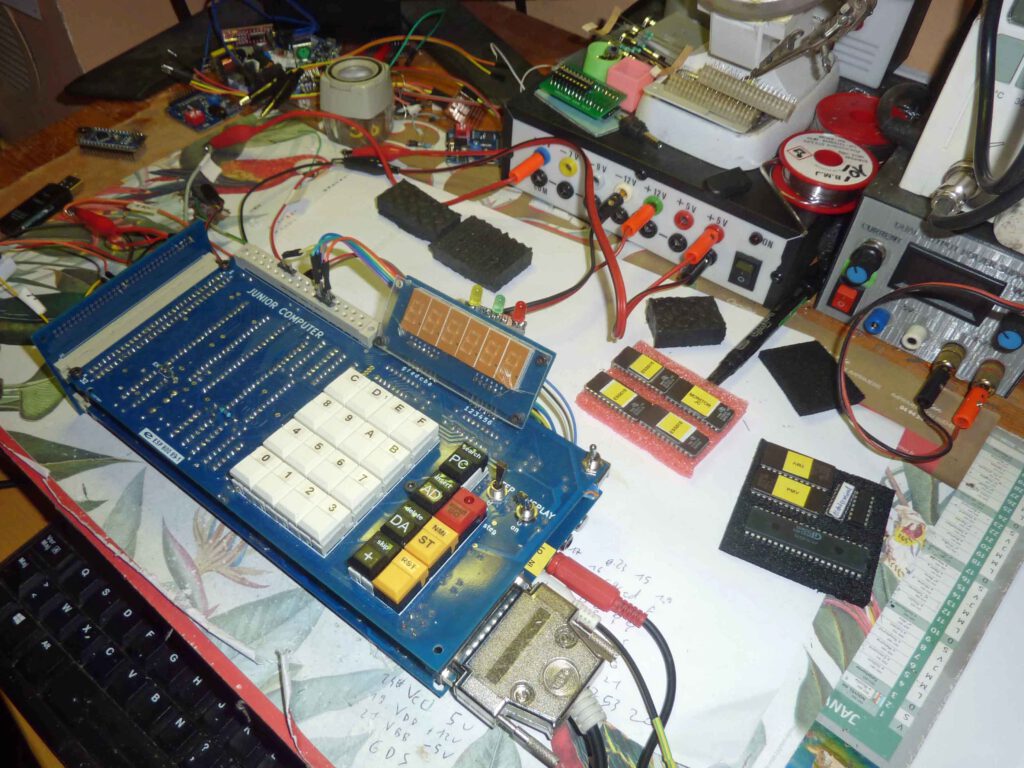
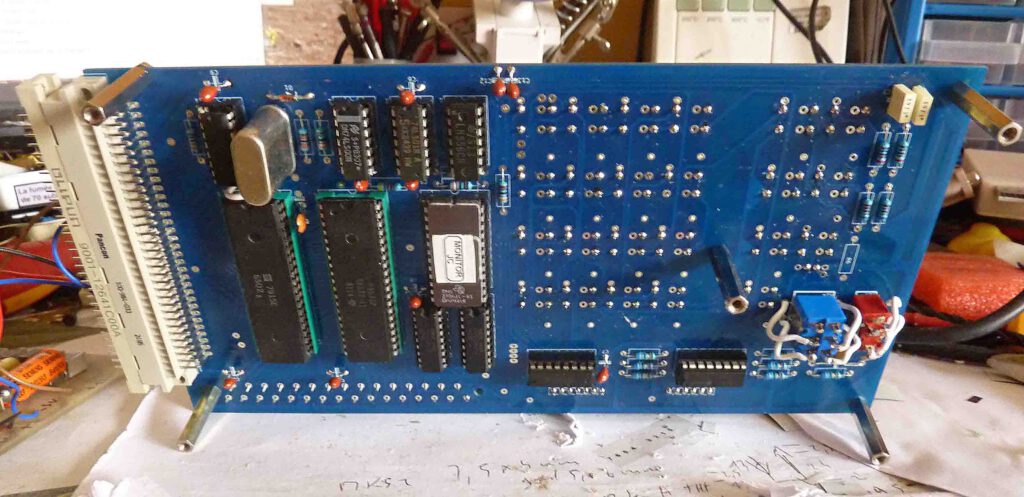
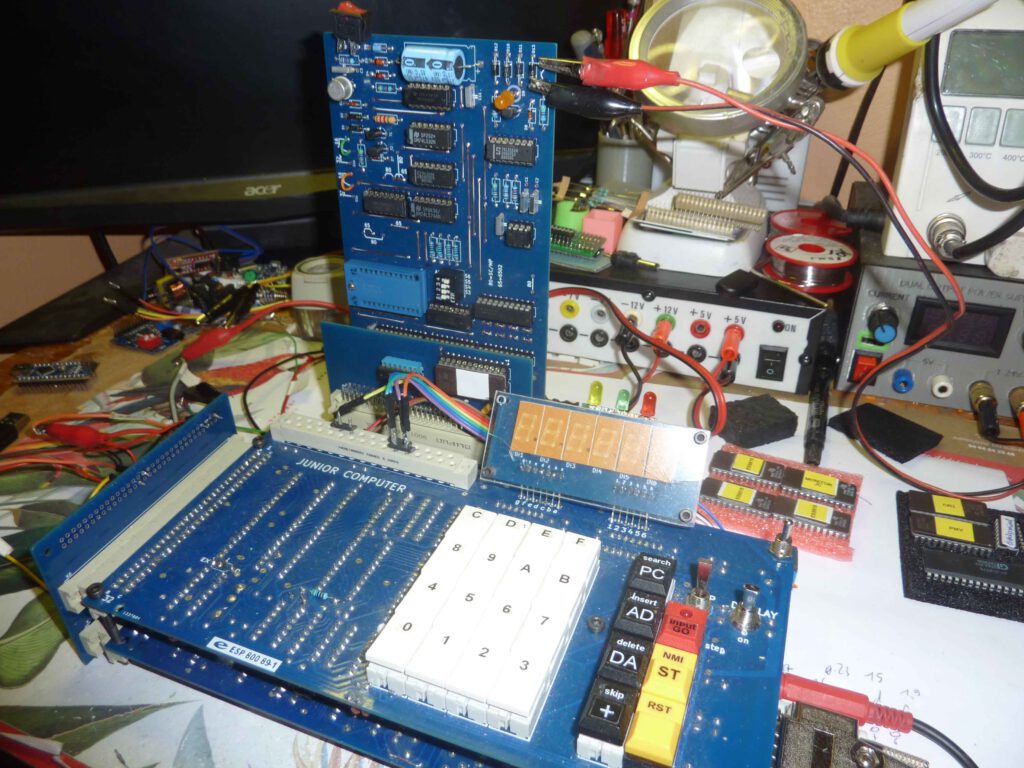
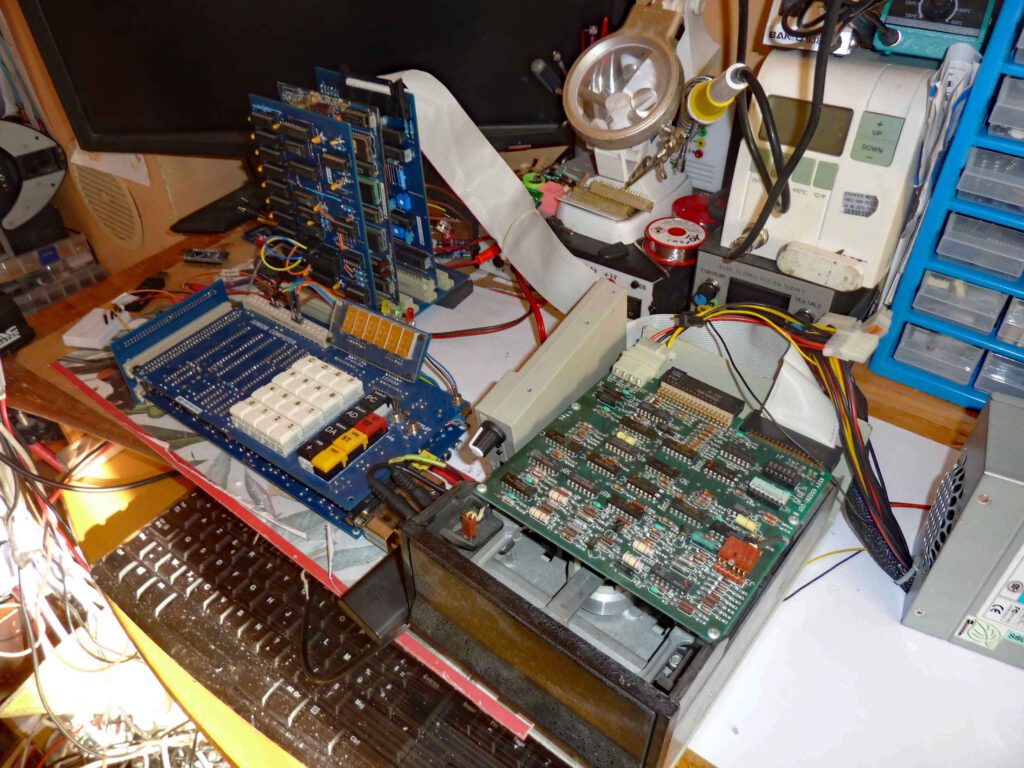
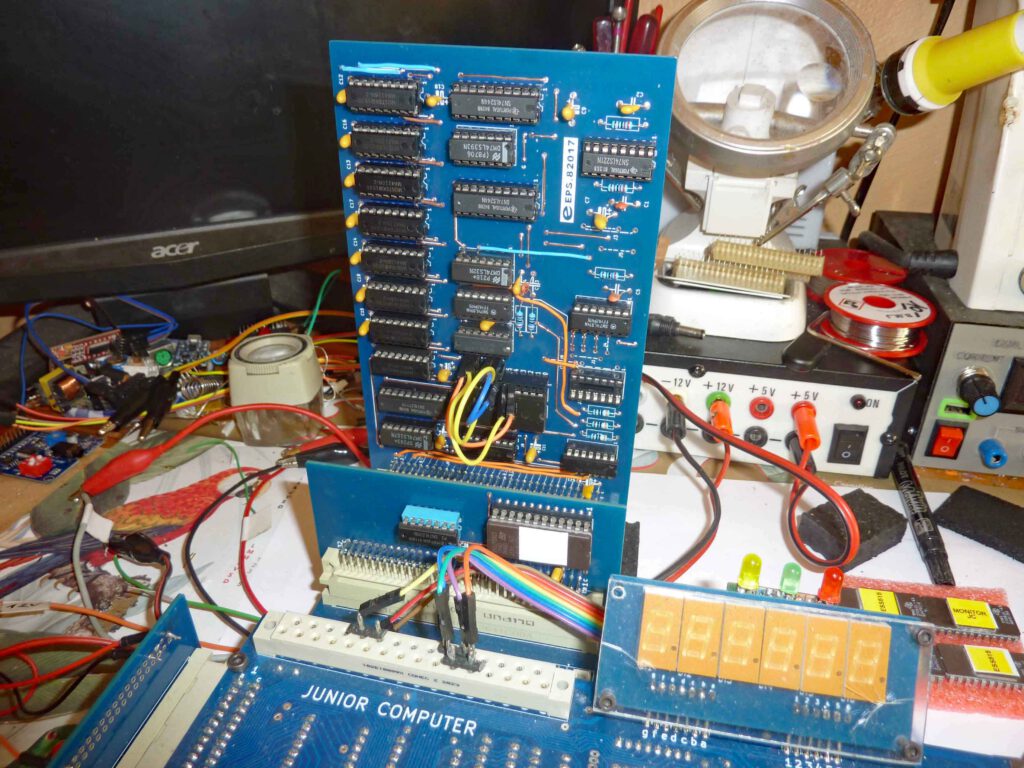
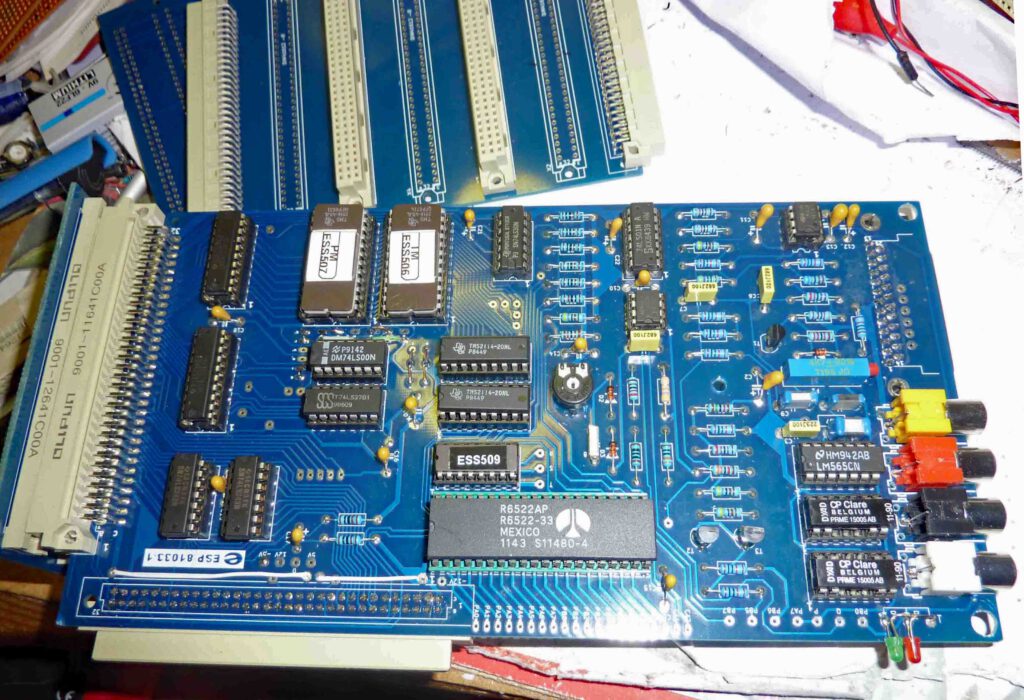
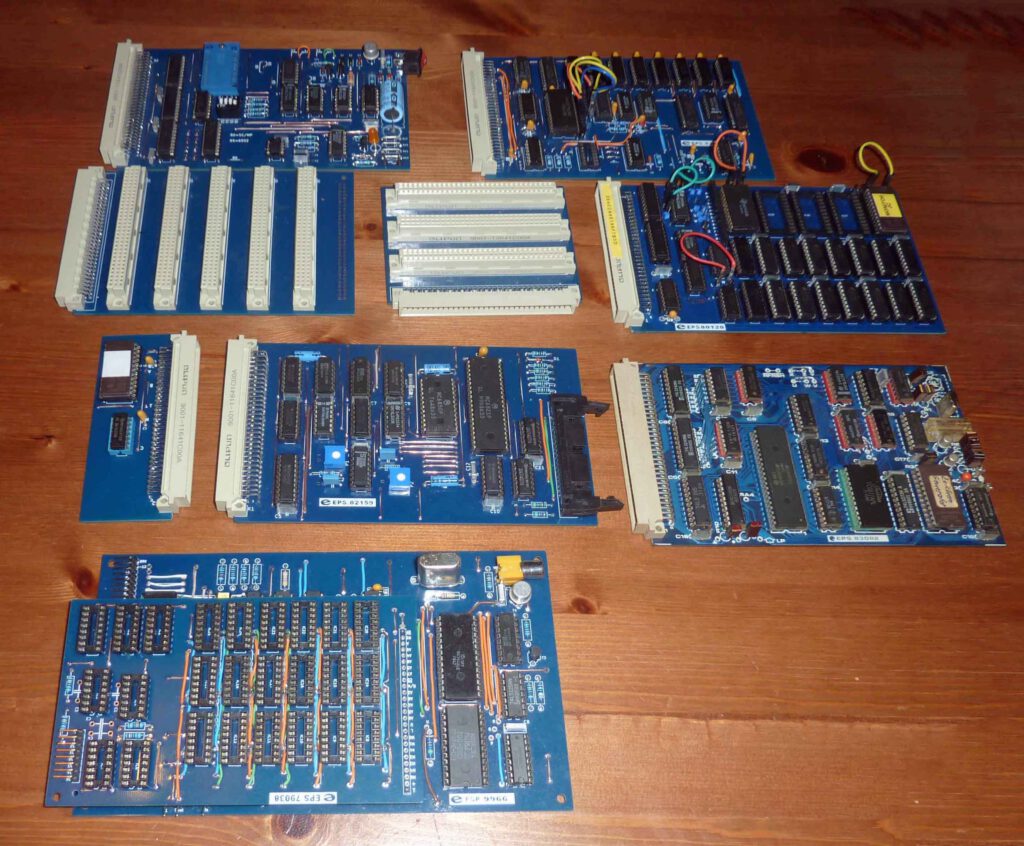
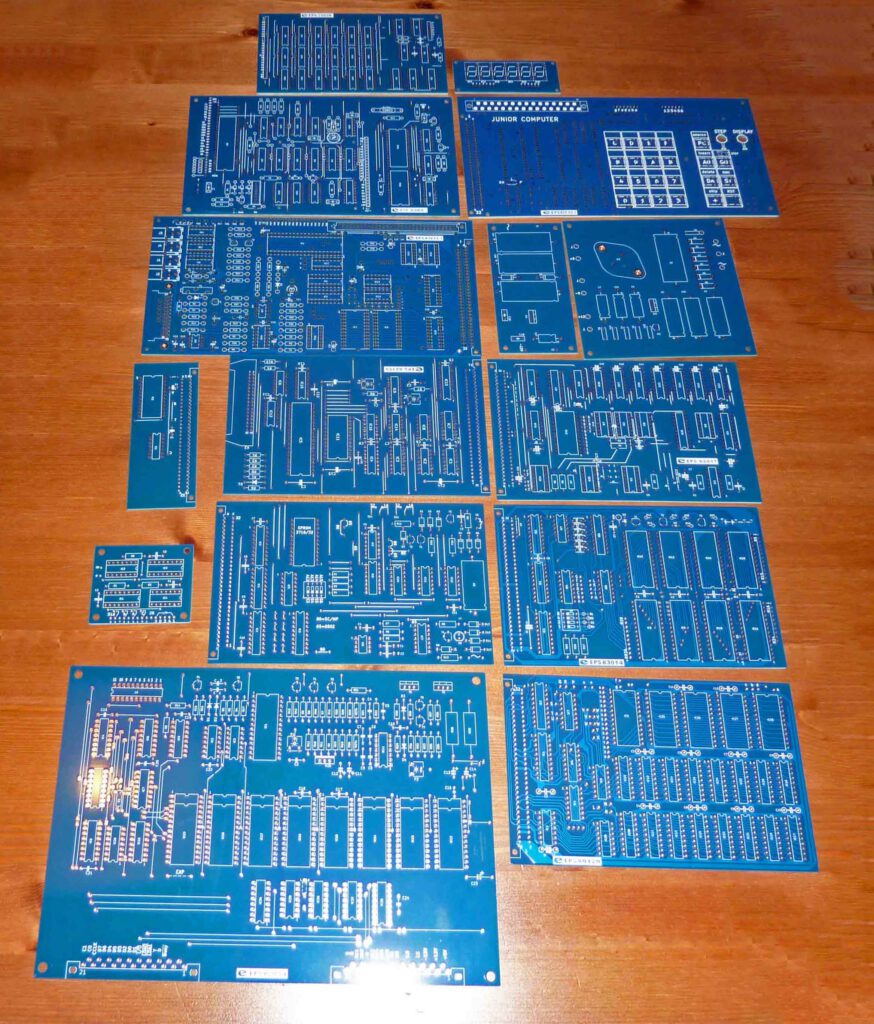
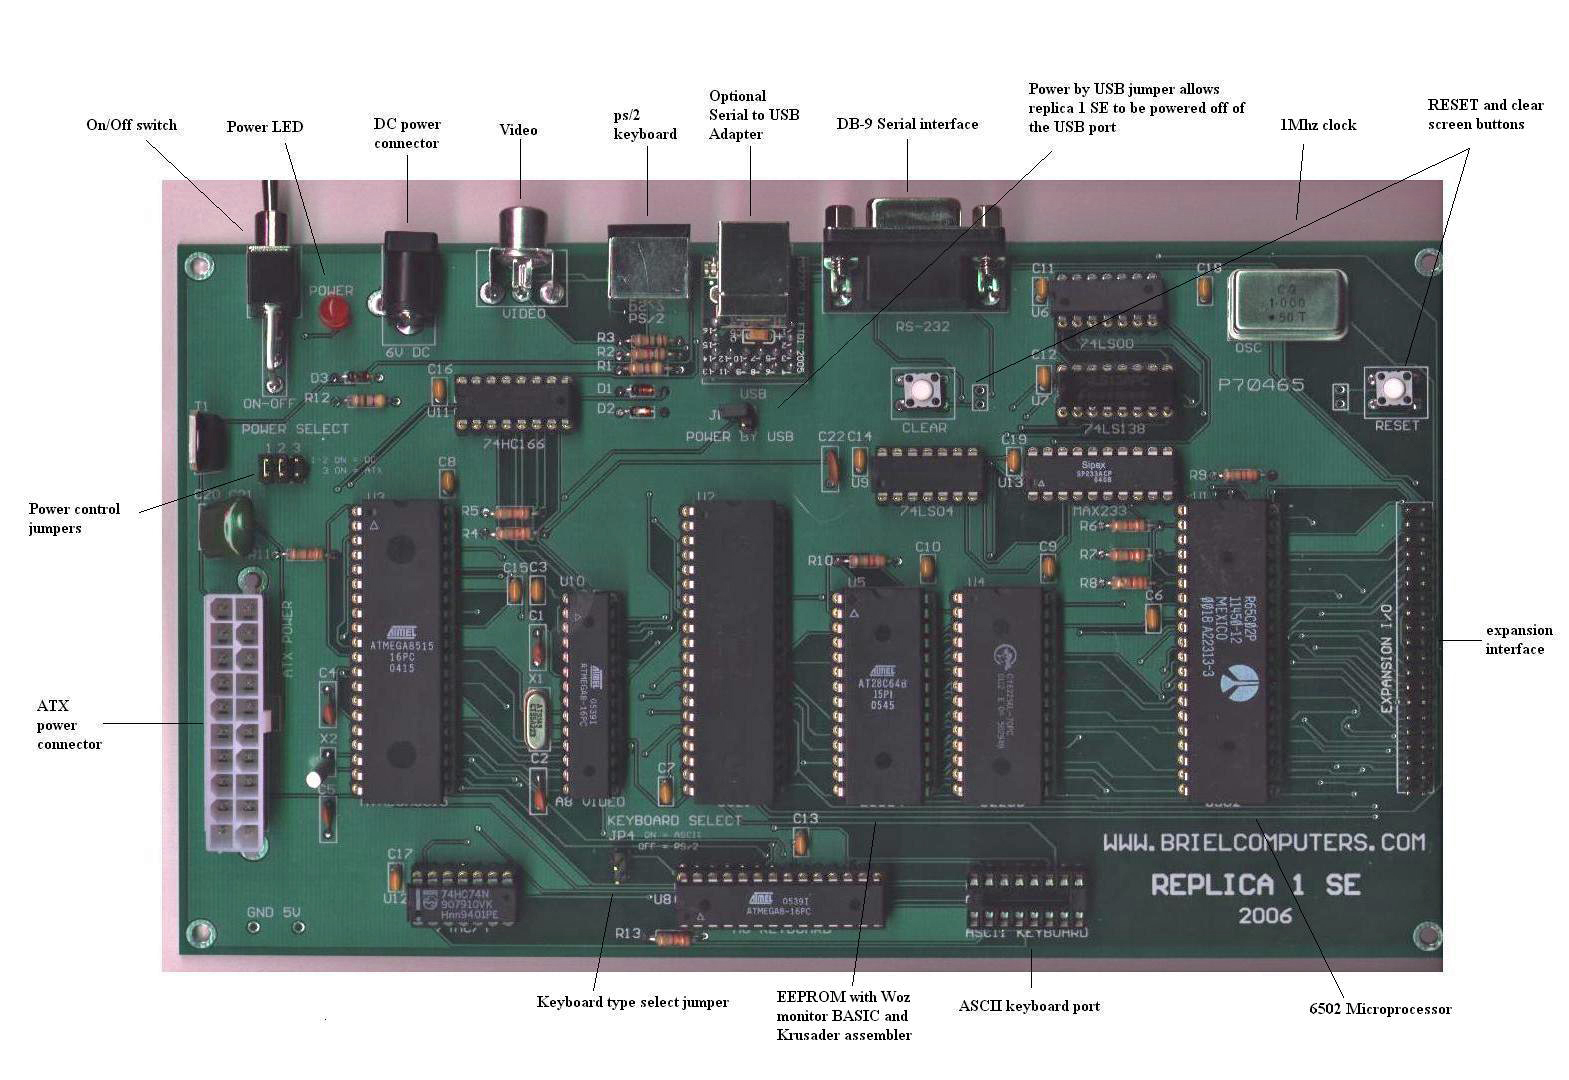
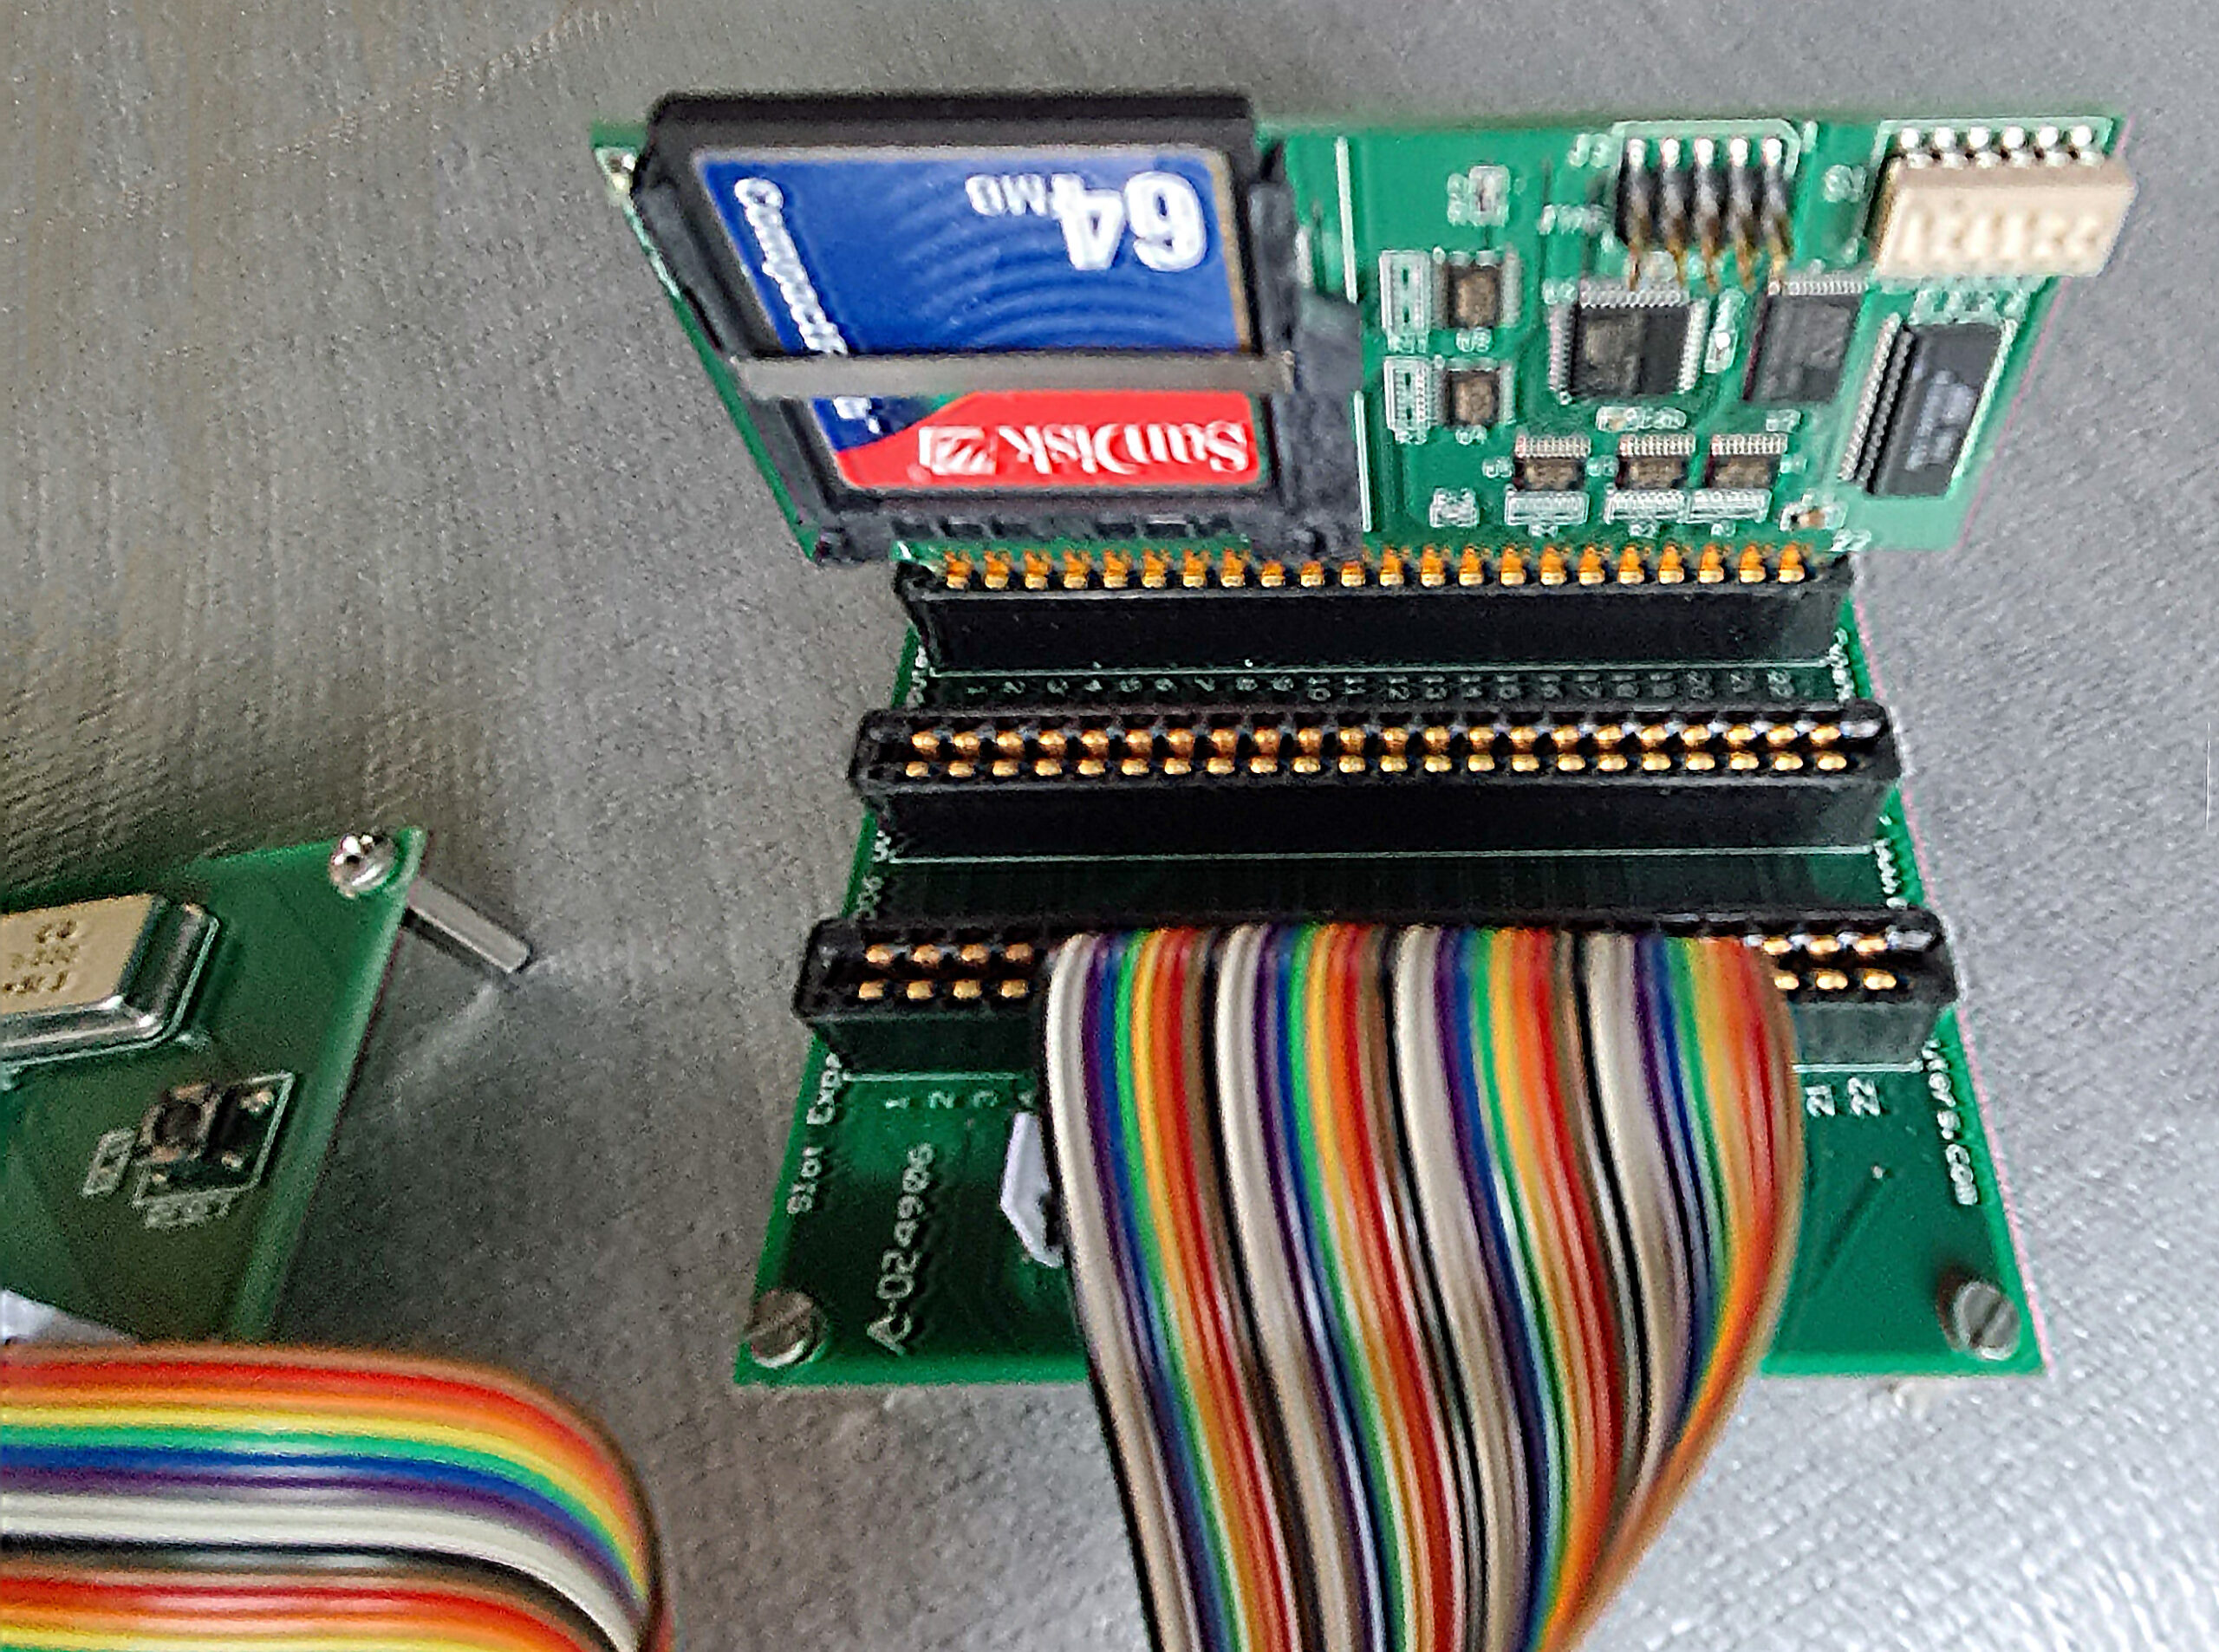
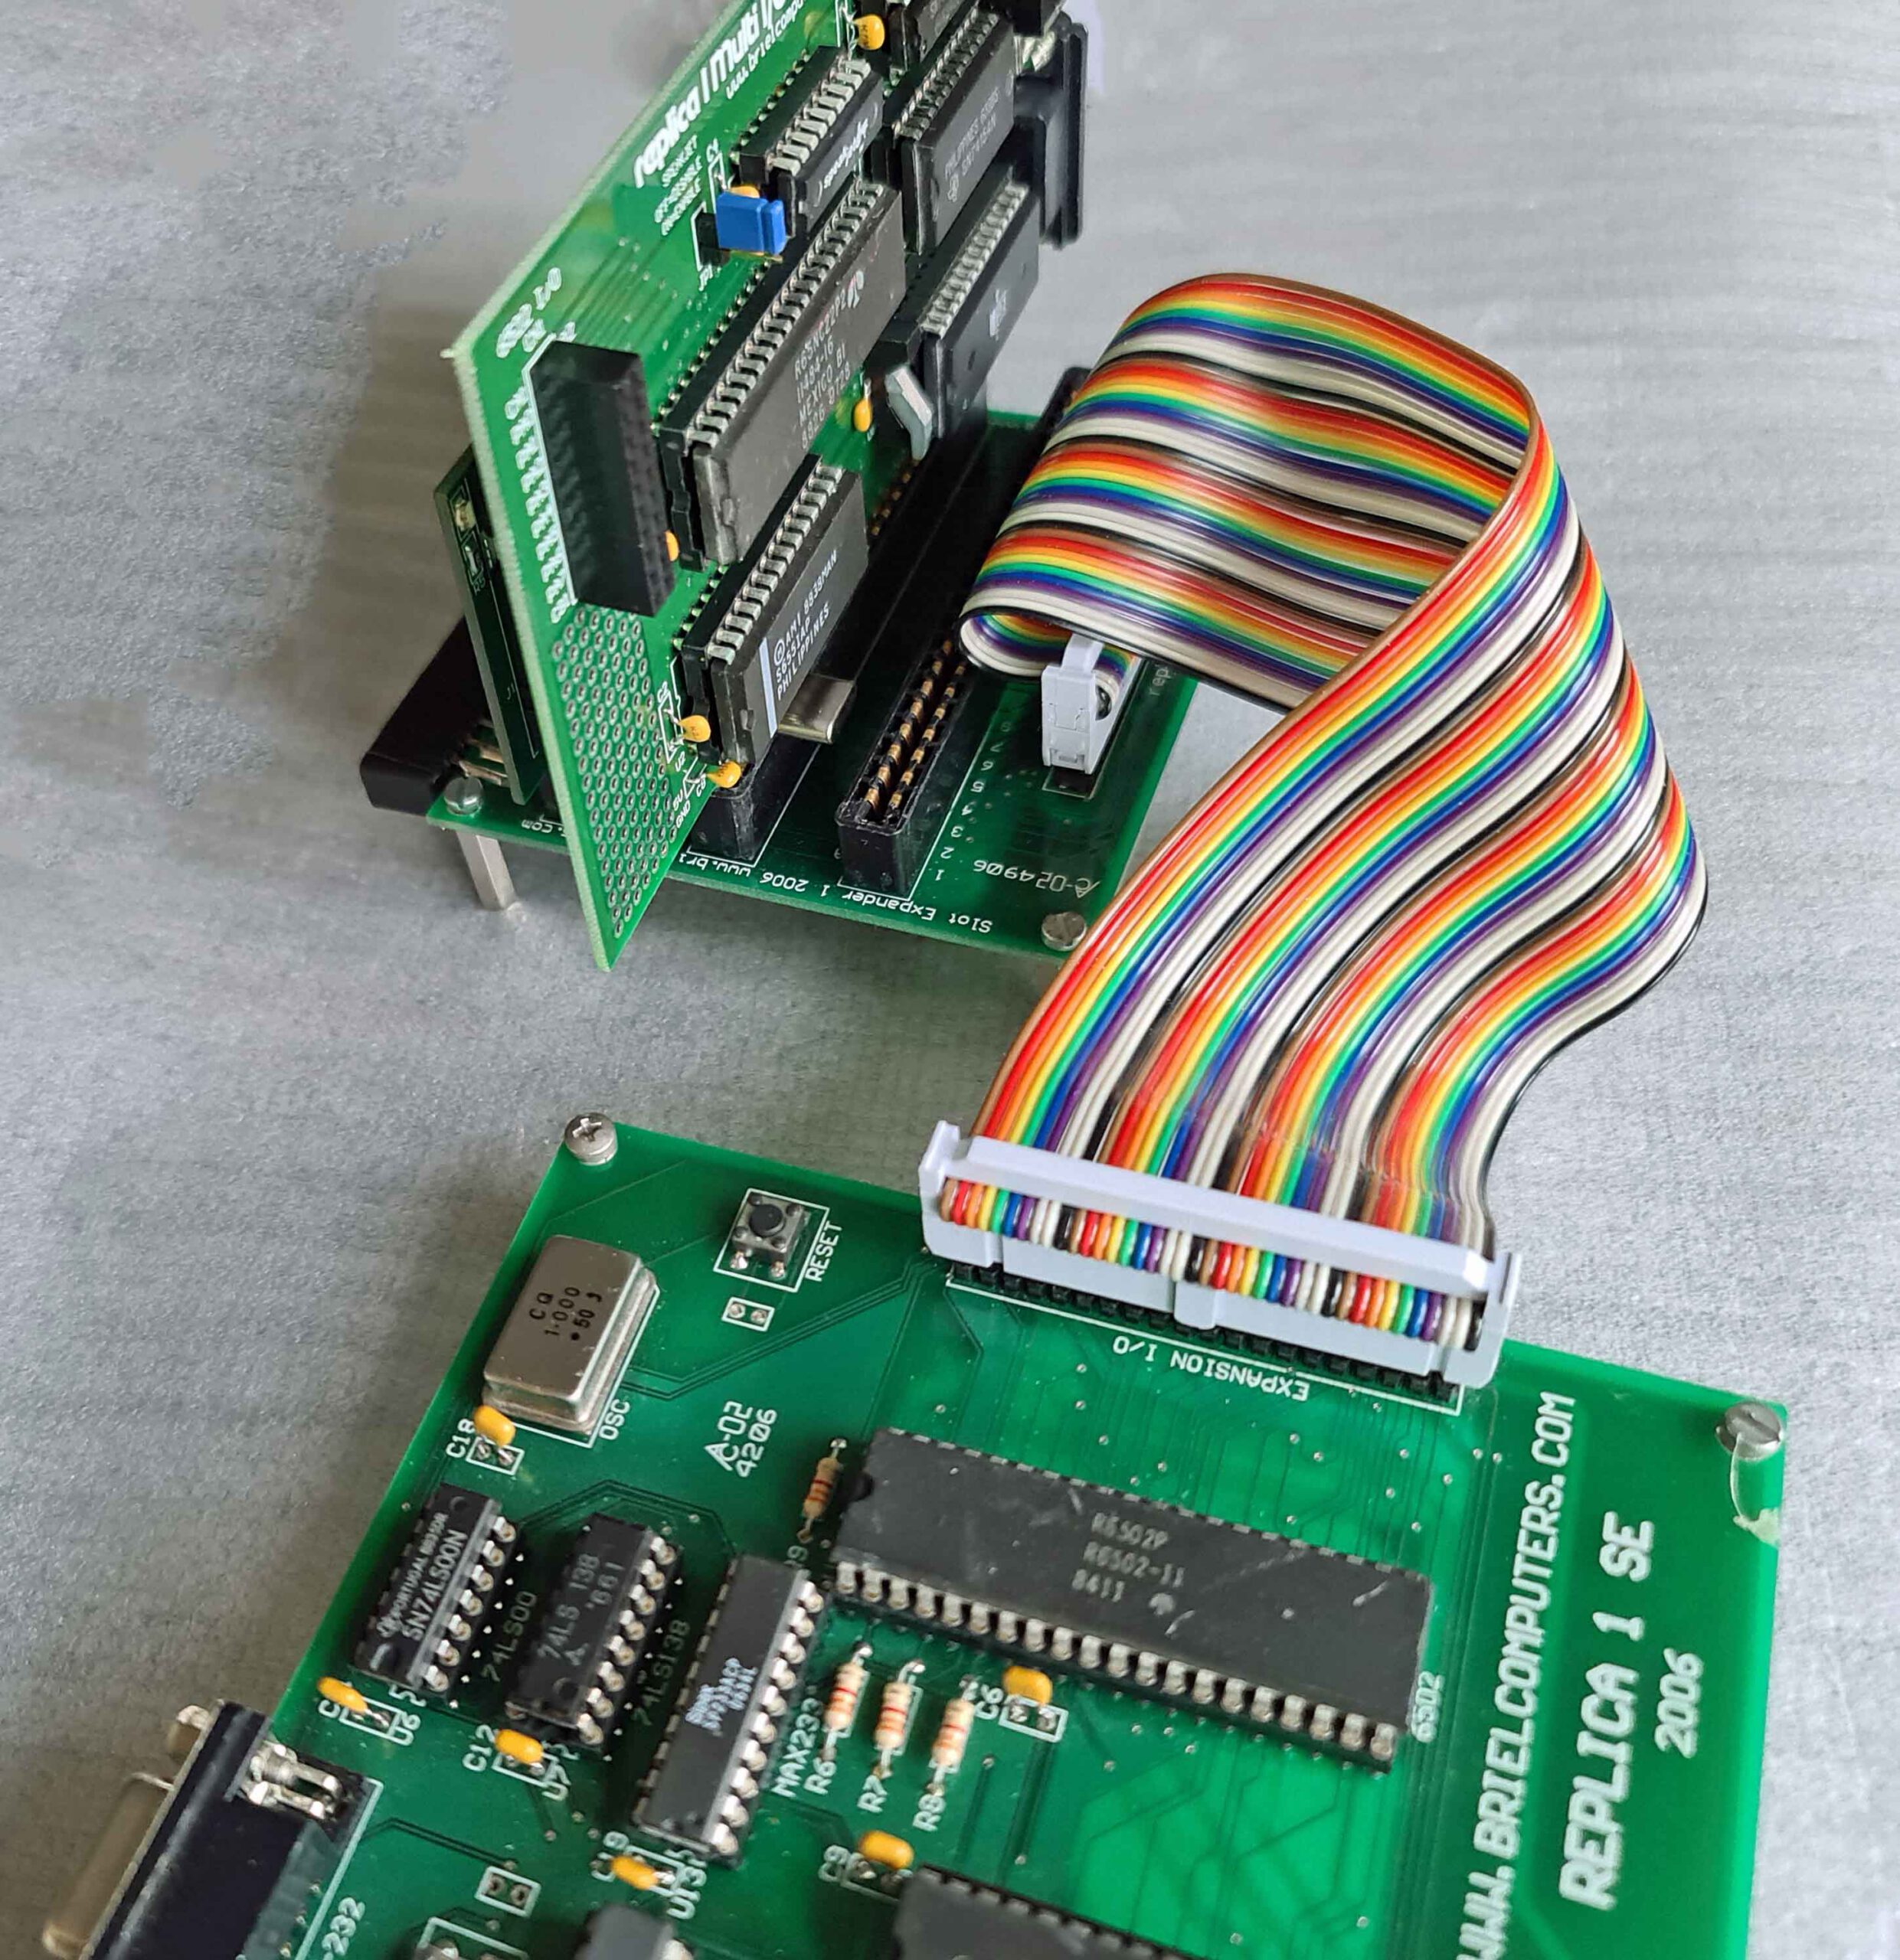
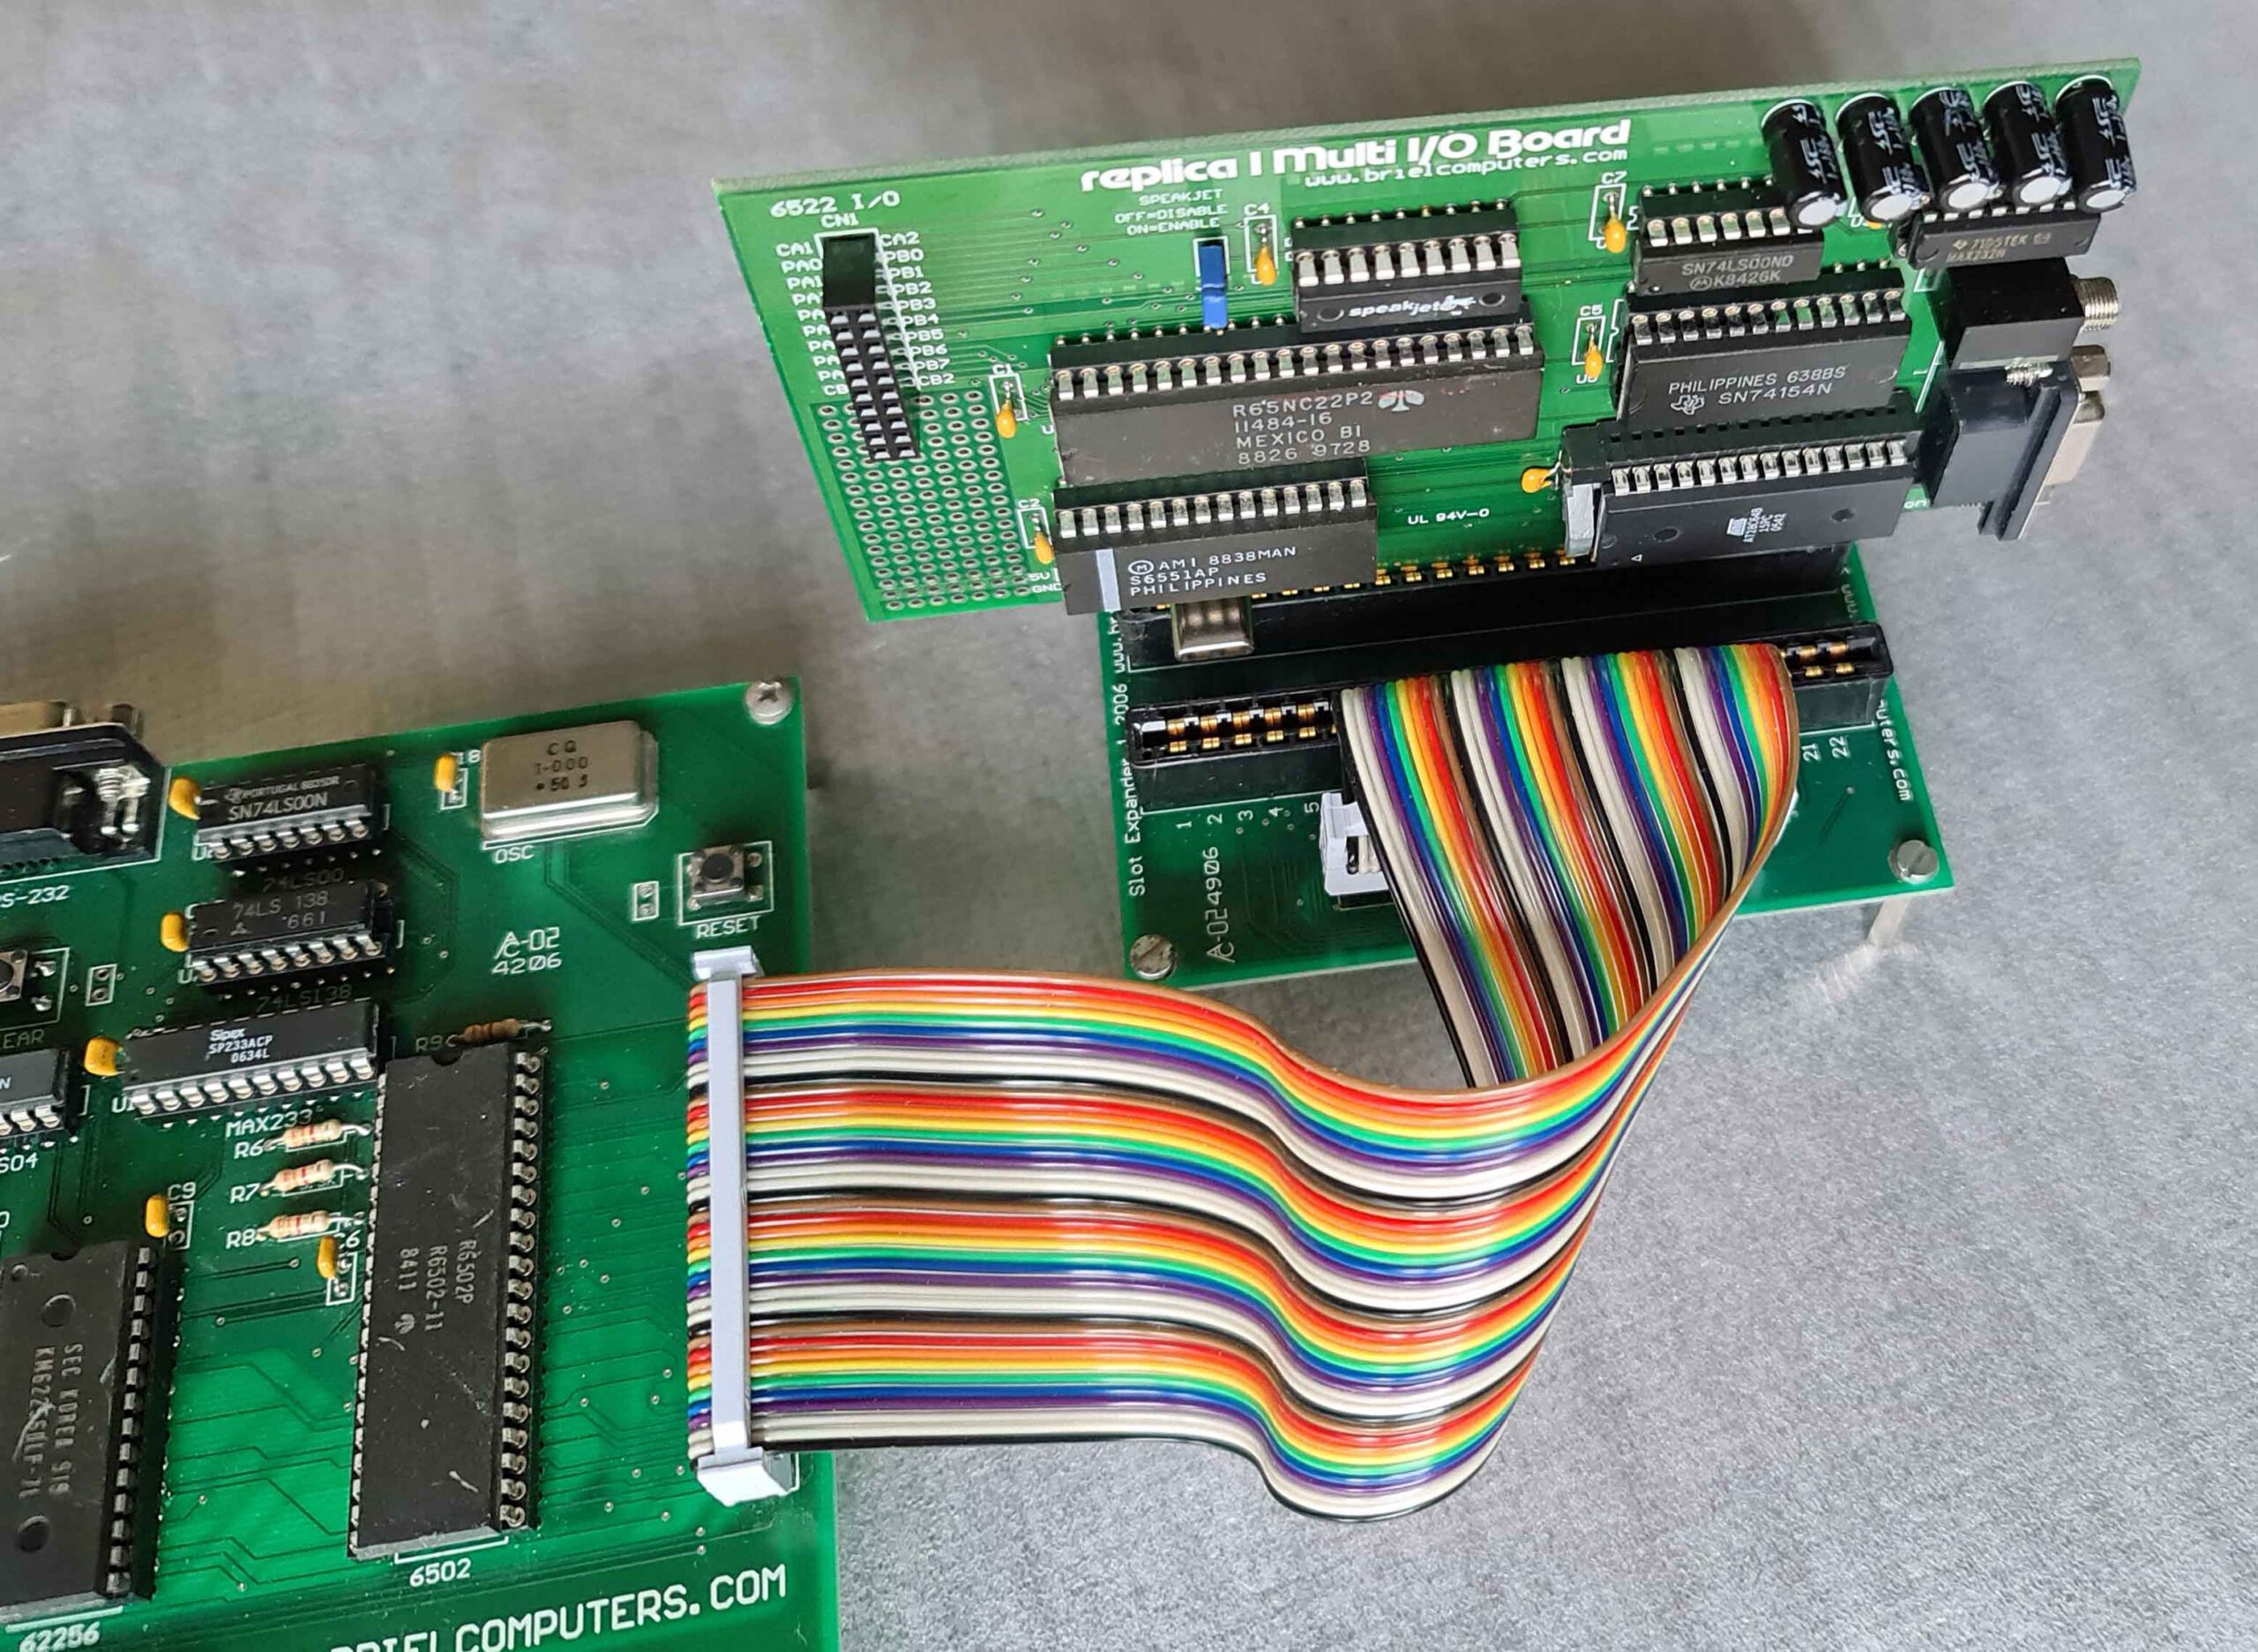
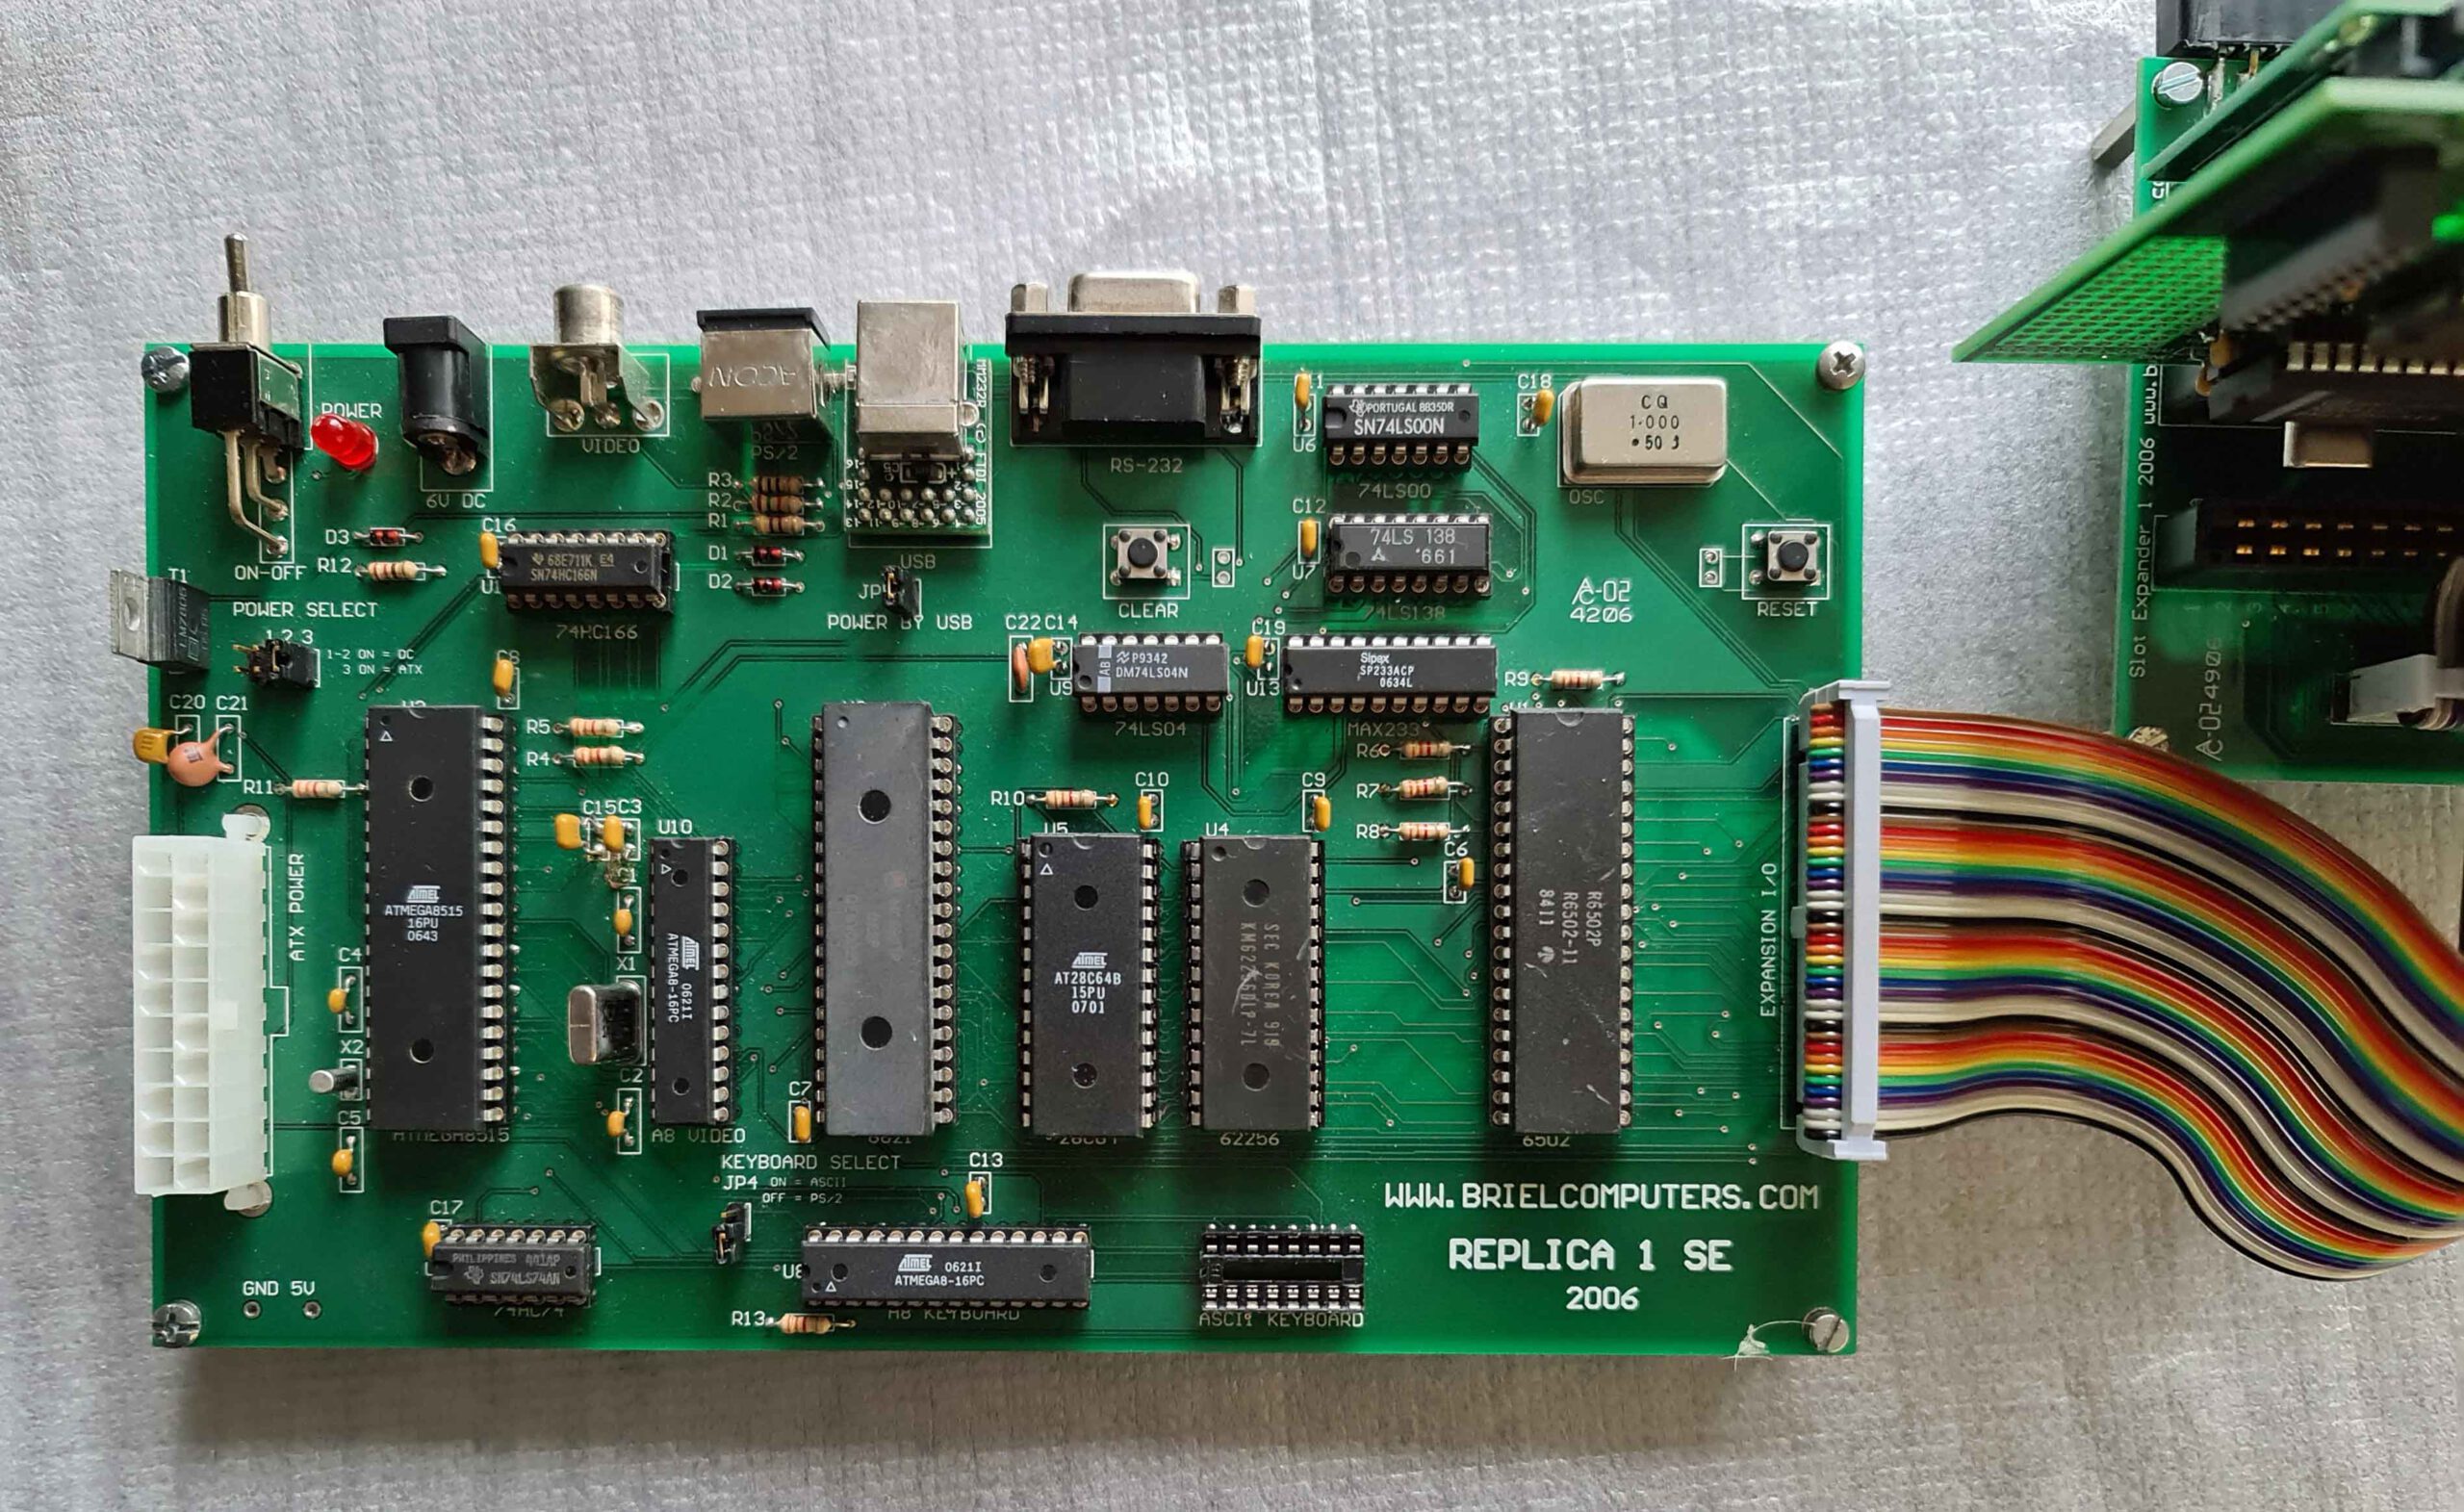
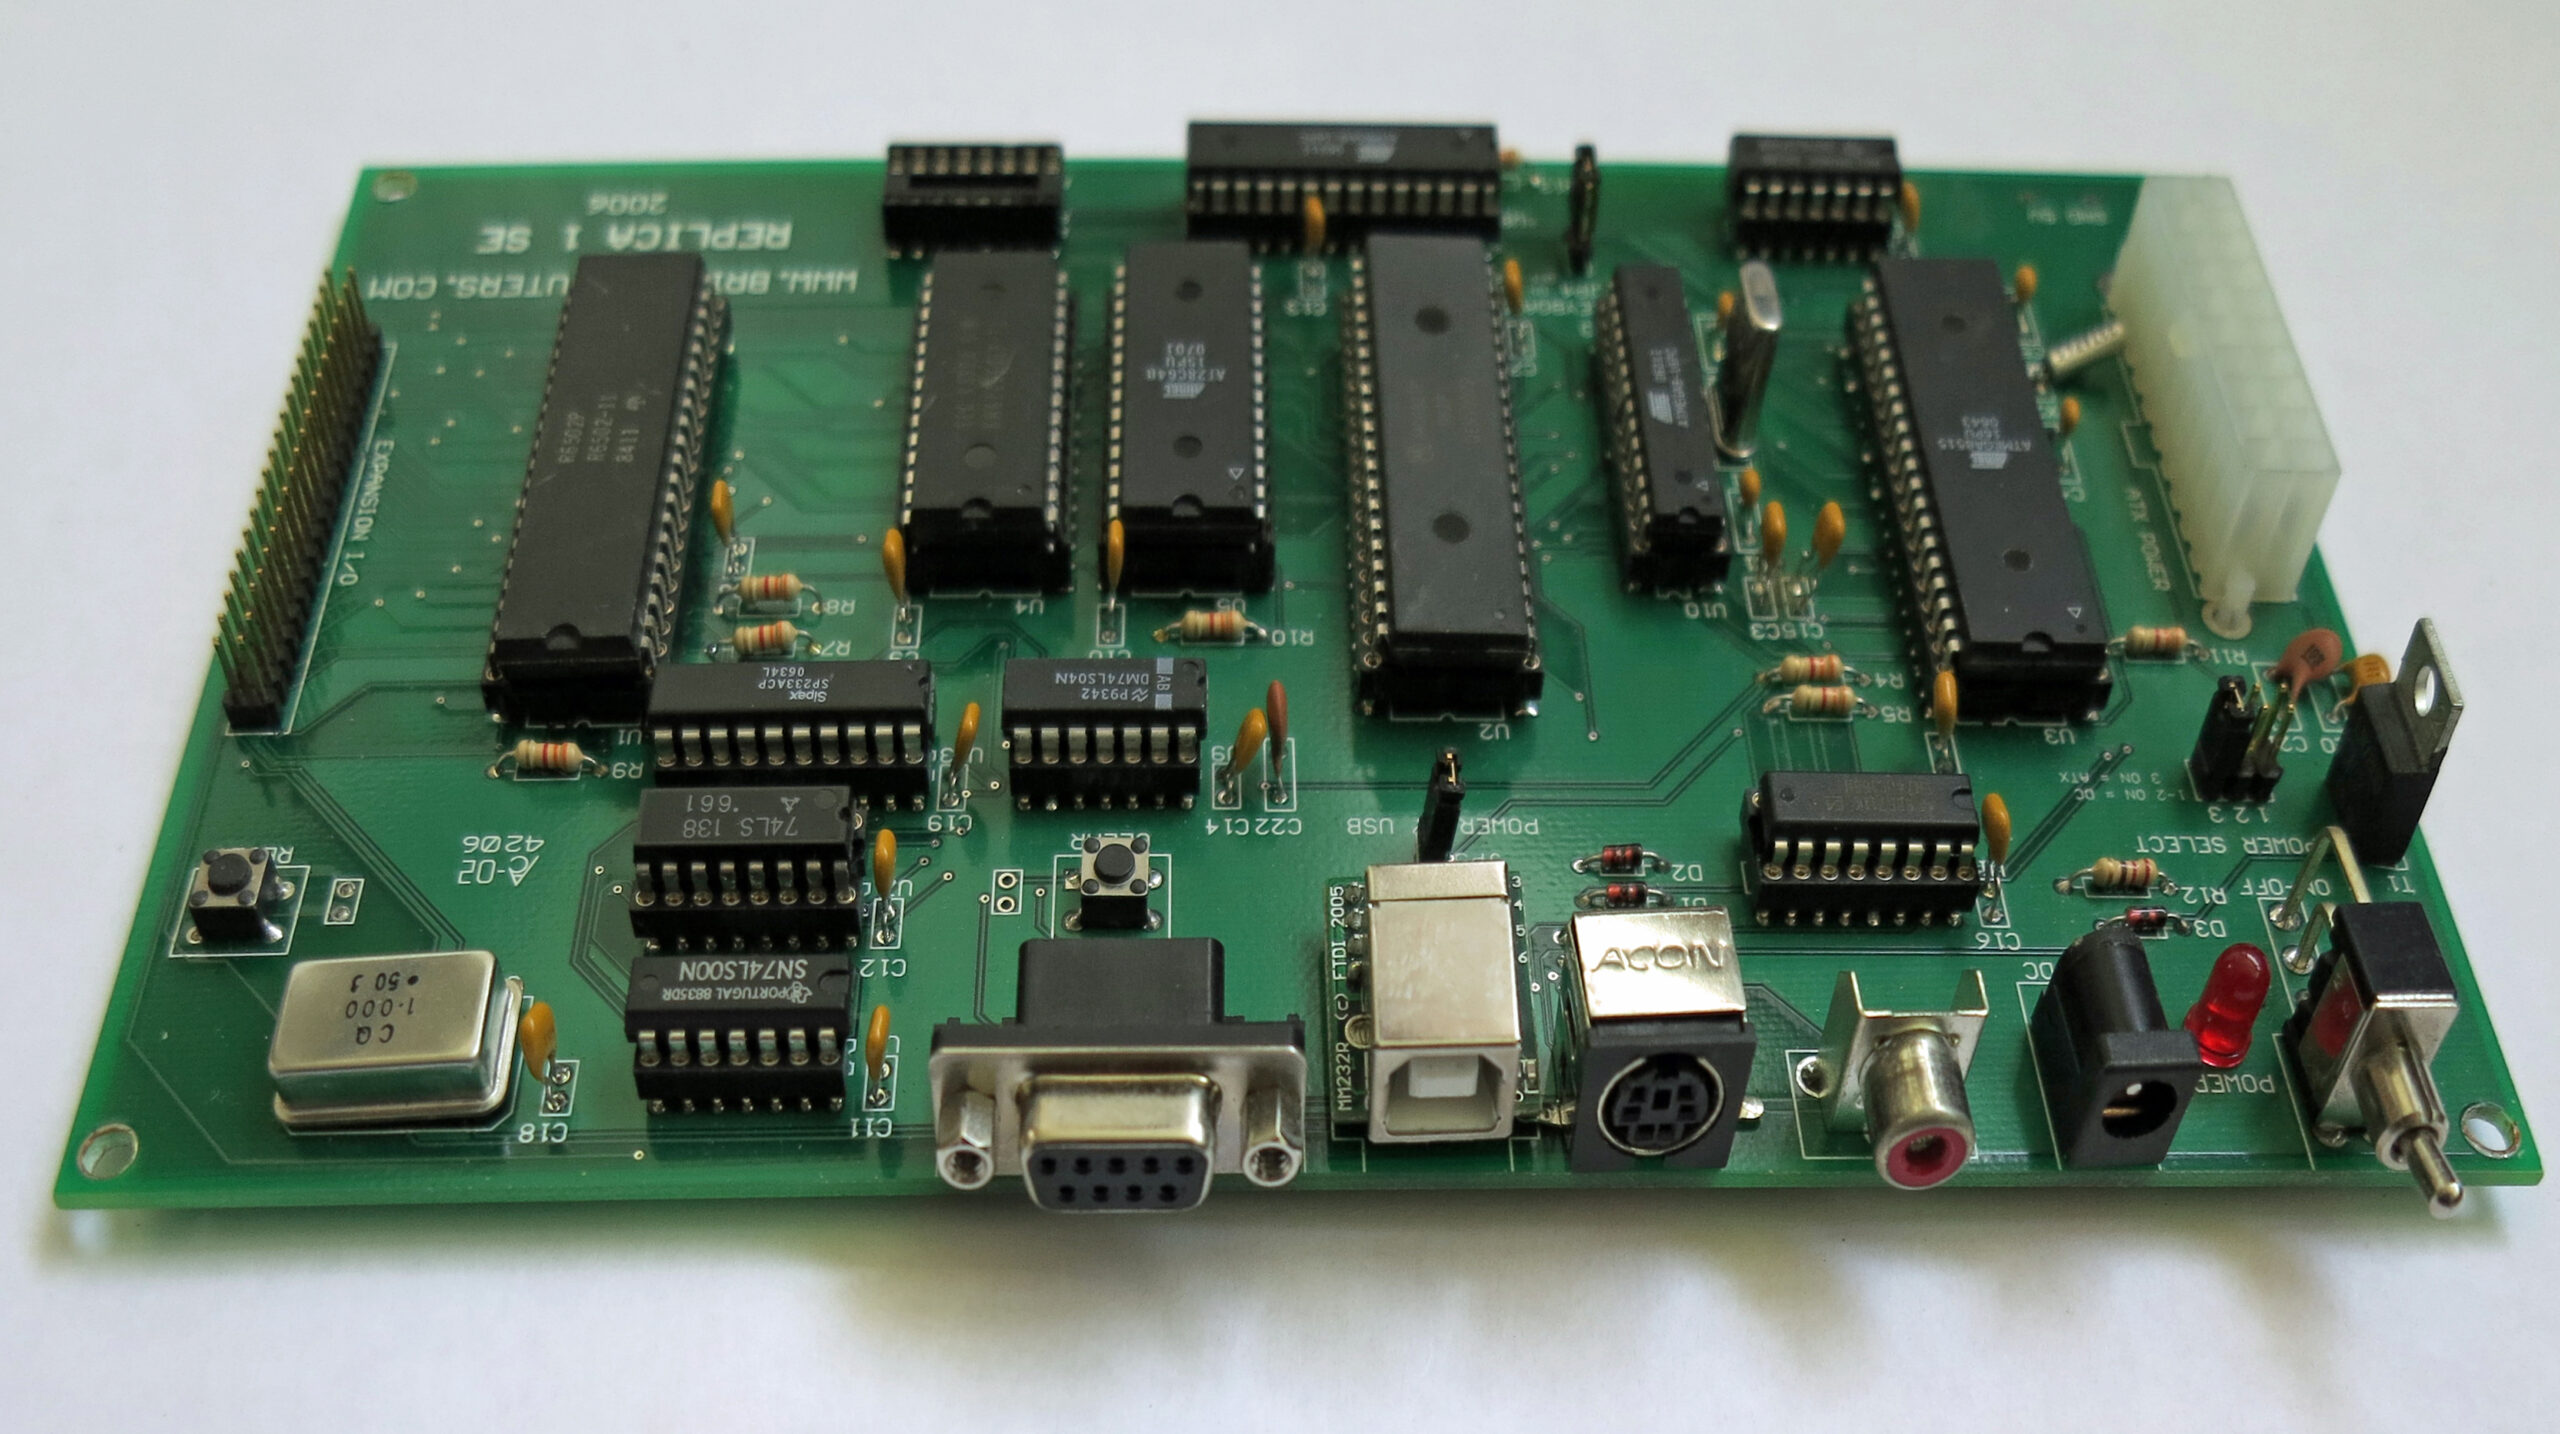
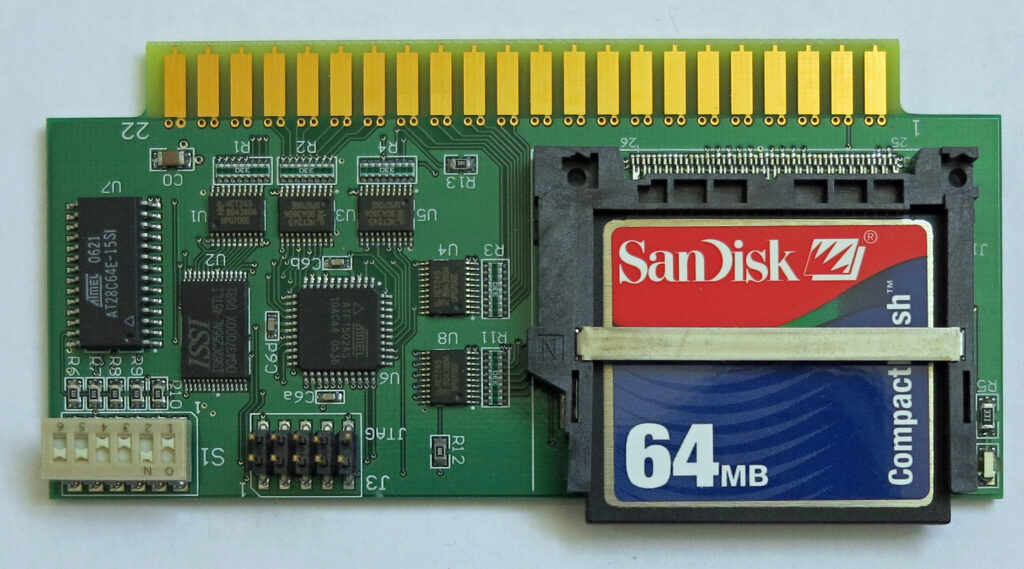
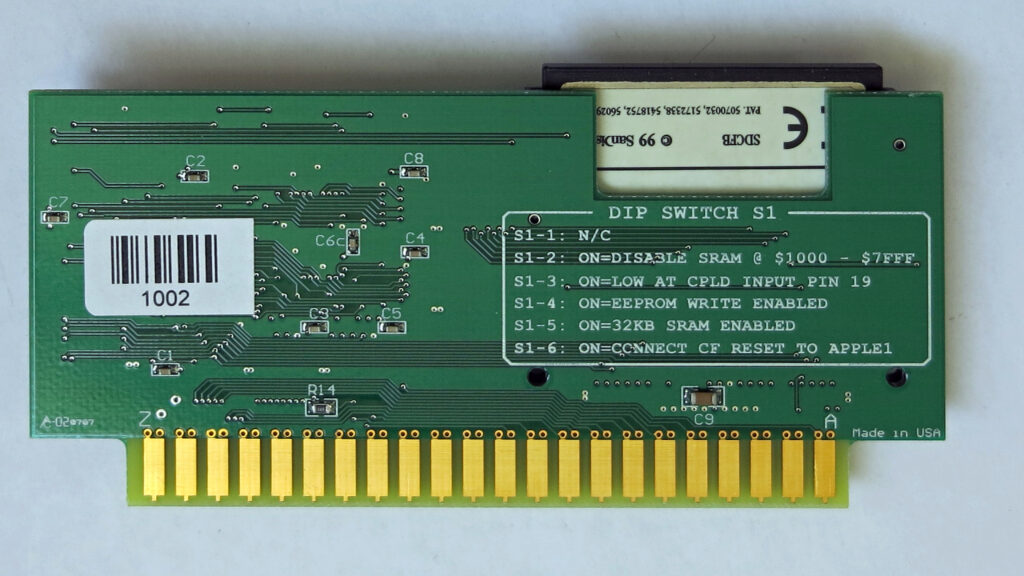
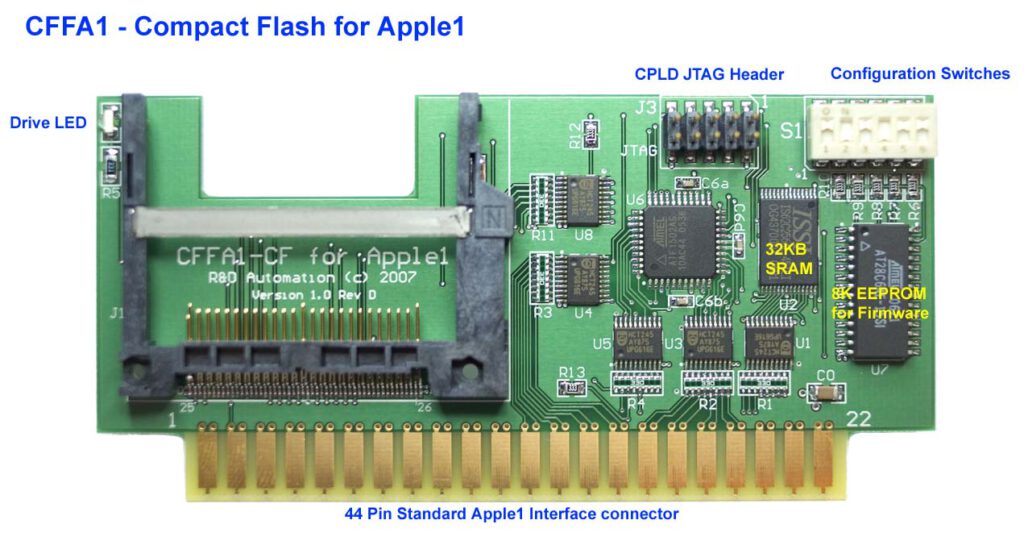
The CFFA1, designed and sold by Rich Dreher adds a mass storage device to the Apple 1, clones and the Replica’s. And also 32K SRAM storage is possible, which is meaningful for the Apple 1, the Replica’s have already RAM extended. The firmware is in a EEPROM which can be reprogrammed in place from the Apple 1. Check Rich Dreher’s site for availability.


CFFA1 Manual 1.0
CFFA1 Manual 1.1
CFFA1 QuickStart 1.0.pdf

Downloads:
CFFA1 cdrom V1.0: manuals, diskimages, firmware, utilities
CFFA1 cdrom v1.1
V1.0 Support such as Flash the EEPROM and the API source V1.0
ULTIMATE APPLE1 CFFA 3.2 disk image
ULTIMATE APPLE1 CFFA 3.3 disk image

Some disk images with Apple 1 software are in the CDROM archives.
The Ultimate disk images contain all known Apple 1 programs, Basic programs, Applesoft for Apple 1, Forth, Microchess, EHBASIC, Krusader and much more.
Reading and writing of disk images is possible with the excellent Ciderpress program.

The CFA A1 is accessed via a menu driven program or via an API.

9000R
9000: 4C

 CFFA1 MENU (1.0)
 ----------
 C - CATALOG      P - PREFIX
 L - LOAD         N - NEW DIRECTORY
 S - SAVE (BASIC) W - WRITE FILE
 R - RENAME       D - DELETE
^F - FORMAT       T - TERSE
 B - READ BLOCK   M - MEMORY DISPLAY
 Q - QUIT

CFFA1>

CFFA1 API (see the CDROM v1.1 for the V1.1 API)

]
;------------------------------------------------------------------------------
; CFFA1_API.s  Version 1.0 - 05/22/2007
;
; Equates for calling the CFFA1 API -- Firmware version 1.0 ($01)
;------------------------------------------------------------------------------

CFFA1_ID1           = $AFFC   ; contains $CF when CFFA1 card is present
CFFA1_ID2           = $AFFD   ; contains $FA when CFFA1 card is present

FirmwareVersion     = $01

;------------------------------------------------------------------------------
; Entry points to the CFFA1 firmware:
;
; MenuExitToMonitor
;   JMP here to display the CFFA1 menu.
;   Quit puts the user into the monitor.
;
; MenuExitToBASIC
;   JMP here to display the CFFA1 menu.
;   Quit puts the user into BASIC.
;
; Menu
;   JSR here to display the CFFA1 menu.
;   Quit returns control to your code.
;
; CFBlockDriver
;   JSR here to read or write a block, after setting up pdCommandCode
;   and other inputs (see below).
;   Result:  CLC, A = 0
;            SEC, A = error code
;
; CFFA1_API
;   JSR here to call one of many functions provided by the firmware.
;   See "Function selectors for CFFA1_API" below.
;
;------------------------------------------------------------------------------
MenuExitToMonitor   = $9000
MenuExitToBASIC     = $9003
Menu                = $9006
CFBlockDriver       = $9009
CFFA1_API           = $900C


;------------------------------------------------------------------------------
; Inputs for CFBlockDriver - ProDOS block interface locations
;------------------------------------------------------------------------------
pdCommandCode       = $42     ; see below
pdUnitNumber        = $43     ; always set this to 0 for firmware 1.0
pdIOBufferLow       = $44
pdIOBufferHigh      = $45
pdBlockNumberLow    = $46
pdBlockNumberHigh   = $47

;
; Values for pdCommandCode
;
PRODOS_STATUS       = $00
PRODOS_READ         = $01
PRODOS_WRITE        = $02
PRODOS_FORMAT       = $03


;------------------------------------------------------------------------------
; Function selectors for CFFA1_API.
;
; Load one of these values into X:
;
;    ldx #CFFA1_xxxxx
;    jsr API
;
; Result:  CLC, A = 0
;          SEC, A = error code
;
; Certain functions have additional outputs, as described below.
;
;------------------------------------------------------------------------------
;
; CFFA1_Version:
;   Output: X = current firmware version
;           Y = oldest compatible firmware version
;
; CFFA1_Menu:
;   Result: Runs the CFFA1 menu and returns when the user chooses Quit.
;
; CFFA1_DisplayError:
;   Input:  A = an error code
;   Result: Prints out a carriage return, the 2-digit hex error code,
;           and a description of that error, if available.
;
; CFFA1_OpenDir:
;   Input:  None (operates on the current prefix directory)
;   Result: Prepares for one or more calls to ReadDir.
;
; CFFA1_ReadDir:
;   Setup:  You have to call OpenDir before calling ReadDir.
;   Result: If no error, EntryPtr points to the next occupied directory entry.
;
; CFFA1_FindDirEntry:
;   Input:   Filename = name to search for
;   Result:  If no error, EntryPtr points at the found item's directory entry.
;
; CFFA1_WriteFile:
;   Input:  Filename = name for new file (will be replaced if it already exists)
;           Destination = starting address
;           FileSize = number of bytes to write
;           Filetype = type for new file
;           Auxtype = auxiliary type for new file
;
; CFFA1_ReadFile:
;   Input:  Filename = file to read into memory
;           Destination = starting address ($0000 to use the file's Auxtype value)
;
; CFFA1_SaveBASICFile:
;   Input:  Filename
;
; CFFA1_LoadBASICFile:
;   Input:  Filename
;
; CFFA1_Rename:
;   Input:  OldFilename = original name
;           Filename = new name
;
; CFFA1_Delete:
;   Input:  Filename = file or empty directory to delete
;
; CFFA1_NewDirectoryAtRoot:
;   Input:  Filename = name for new directory
;
; CFFA1_FormatDrive:
;   Input:  Filename = name for new volume
;           A = drive number (always set to 0 for firmware 1.0)
;           Y = $77 (just to help avoid accidental formatting)
;   Result: Disk volume is erased and given the specified name.
;
;------------------------------------------------------------------------------
CFFA1_Version            = $00
CFFA1_Menu               = $02
CFFA1_DisplayError       = $04

CFFA1_OpenDir            = $10
CFFA1_ReadDir            = $12
CFFA1_FindDirEntry       = $14

CFFA1_WriteFile          = $20
CFFA1_ReadFile           = $22
CFFA1_SaveBASICFile      = $24
CFFA1_LoadBASICFile      = $26
CFFA1_Rename             = $28
CFFA1_Delete             = $2A
CFFA1_NewDirectoryAtRoot = $2C
CFFA1_FormatDrive        = $2E


;------------------------------------------------------------------------------
; Zero-page inputs and results for API functions
;
; Filename and OldFilename point to strings that begin with a length byte (from
; 1 to 15), and each character must have its high bit off.  For example:
;
;    Filename   = $80     $280: 05  48  45  4C  4C  4F
;    Filename+1 = $02              'H'  'E' 'L' 'L' 'O'
;------------------------------------------------------------------------------
Destination         = $00                   ; 2 bytes
Filename            = Destination+2         ; 2 bytes
OldFilename         = Filename+2            ; 2 bytes
Filetype            = OldFilename+2         ; 1 byte
Auxtype             = Filetype+1            ; 2 bytes
FileSize            = Auxtype+2             ; 2 bytes
EntryPtr            = FileSize+2            ; 2 bytes


;------------------------------------------------------------------------------
;
; ProDOS low-level return codes
;
;------------------------------------------------------------------------------
PRODOS_NO_ERROR      = $00    ; No error
PRODOS_BADCMD        = $01    ; Bad Command (not implemented)
PRODOS_IO_ERROR      = $27    ; I/O error
PRODOS_NO_DEVICE     = $28    ; No Device Connected
PRODOS_WRITE_PROTECT = $2B    ; Write Protected
PRODOS_BADBLOCK      = $2D    ; Invalid block number requested
PRODOS_OFFLINE       = $2F    ; Device off-line
;
; High-level return codes
;
eBadPathSyntax       = $40
eDirNotFound         = $44
eFileNotFound        = $46
eDuplicateFile       = $47
eVolumeFull          = $48
eDirectoryFull       = $49
eFileFormat          = $4A
eBadStrgType         = $4B
eFileLocked          = $4E
eNotProDOS           = $52
eBadBufferAddr       = $56
eBakedBitmap         = $5A
eUnknownBASICFormat  = $FE
eUnimplemented       = $FF


;------------------------------------------------------------------------------
; ProDOS directory entry structure offsets
;------------------------------------------------------------------------------
oFiletype           = $10
oKeyBlock           = $11
oBlockCount         = $13
oFileSize           = $15
oCreateDateTime     = $18
oVersion            = $1C
oMinVersion         = $1D
oAccess             = $1E
oAuxtype            = $1F
oModDateTime        = $21
oHeaderPointer      = $25

oDirLinkPrevious    = $00
oDirLinkNext        = $02
oVolStorageType     = $04
oVolVersion         = $20
oVolAccess          = $22
oVolEntryLength     = $23
oVolEntriesPerBlock = $24
oVolFileCount       = $25
oVolBitmapNumber    = $27
oVolTotalBlocks     = $29

;
; ProDOS Storage types
;
kSeedling           = $10
kSapling            = $20
kTree               = $30
kExtended           = $50
kDirectory          = $D0
kSubdirHeader       = $E0
kVolume             = $F0
kStorageTypeMask    = $F0

;
; Filetypes
;
kFiletypeText       = $04
kFiletypeBinary     = $06
kFiletypeDirectory  = $0F
kFiletypeBASIC1     = $F1
kFiletypeBAS        = $FC
kFiletypeSYS        = $FF

;------------------------------------------------------------------------------
; end of CFFA1_API.s
;------------------------------------------------------------------------------

Replica 1 SE

The only Replica 1 I have is the 2006 Replica 1 SE.

This version is the Second Edition, a polished version of the original Replica 1.
Again with the ATX power connector, but also with alternative ways of power supply.
Note that using an Apple II keyabord requires power supply via the ATX method, due to +/- 12V required.
One Apple 1 slot in a 40 pin connector format.
In the 8K ROM the Apple 1 Integer Basic, the WOZ monitor and the Krusader assembler IDE is placed. Documentation and other files are supplied on CD again.

At this time the two slot expanders to real apple 1 slots were available, the slot expander has to be connected via a 40 pin flatcable.
The first card available (but withdrawn due to reliability problems) was the replica Apple 1 cassette board.
The second is the Multi I/O board.
The CFFA1 also appeared at this time, giving mass storage facilities.

Replica 1 SE Setup and Users Manual 2006
Replica 1 SE Setup and Users Manual 2007
Replica 1 SE Schematic
Replica 1 SE CD


Video on PAL monitorsThe Replica 1 SE might have trouble with some video monitors, especially in 50 Hz/Europe countries. Look with a scope at the composite video signal, it is much too low amplitude, a wonder the monitors did sync after all.
The video monitor has a 75 ohm load. In parallel with the 100 ohm R3 this was giving a too low amplitude to let the monitor sync fast enough.As a dirty hack clip the R3 resistor off and the video becomes stable on many monitors. But not on all!