
A TIM (6530-004) Jolt Superjolt Demon simulator.
Version 0.10 beta (PIA is not emulated yet)
The TIM Simulator documentationNEW December 2025
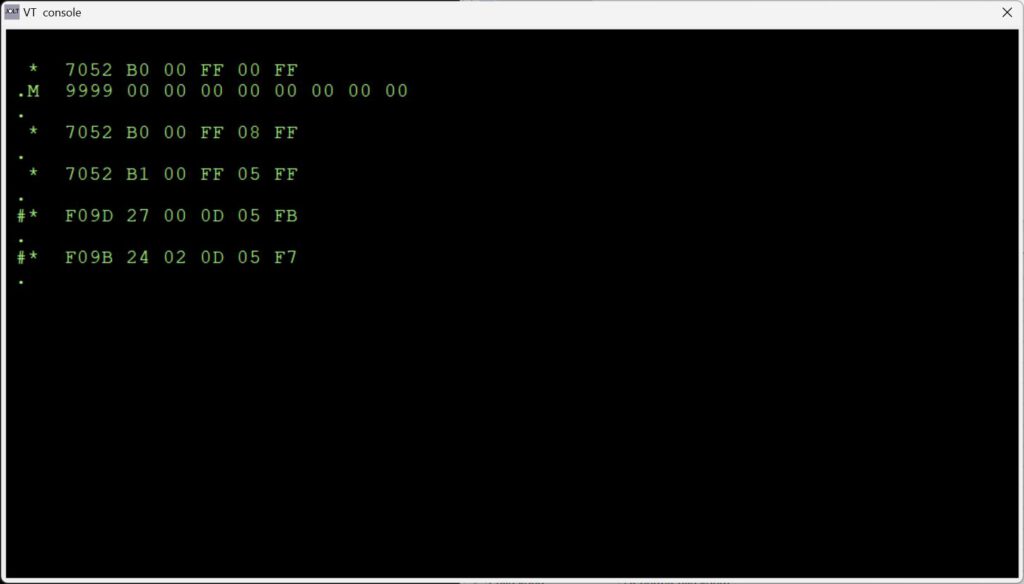
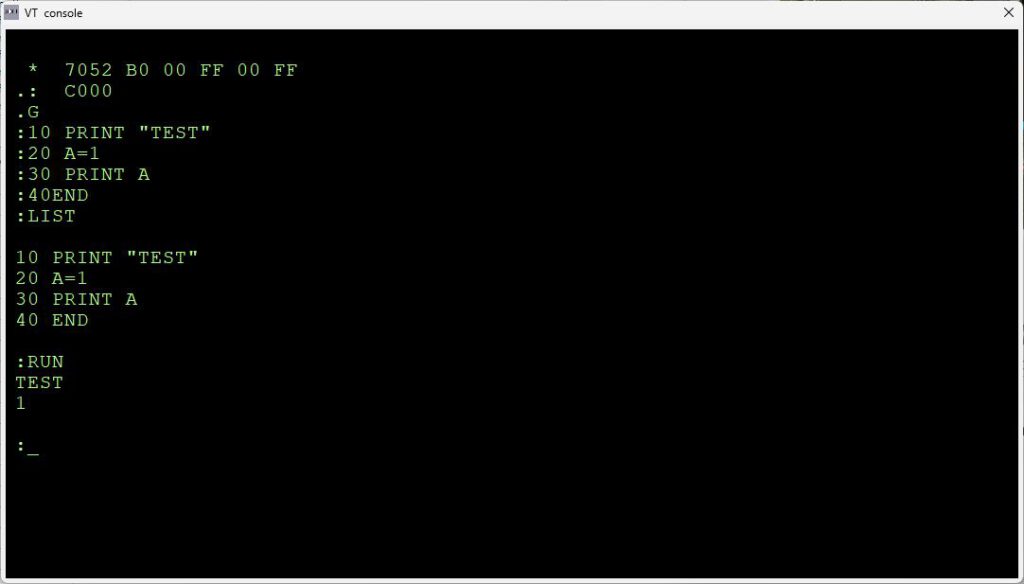
The TIM Simulator comes with a ‘console’, a glass teletype 24×80 screen. It has a subset of ANSI/VT100 support.
Of course there are much better terminal emulators, like Teraterm, Putty, Coolterm, Minicom etcetera.
And a real VT100 type device is really fun! Or a real Teletype …
Now the Simulator can use either an external serial device,e.g a PC with Teraterm or Minicom, or a terminal emulator locally on the same PC.
Update May 2026
The Simulator Console has been enhanced with Copy and Paste via the mouse, and a scroll buffer of 1000 lines. Thanks Eduardo Casino!
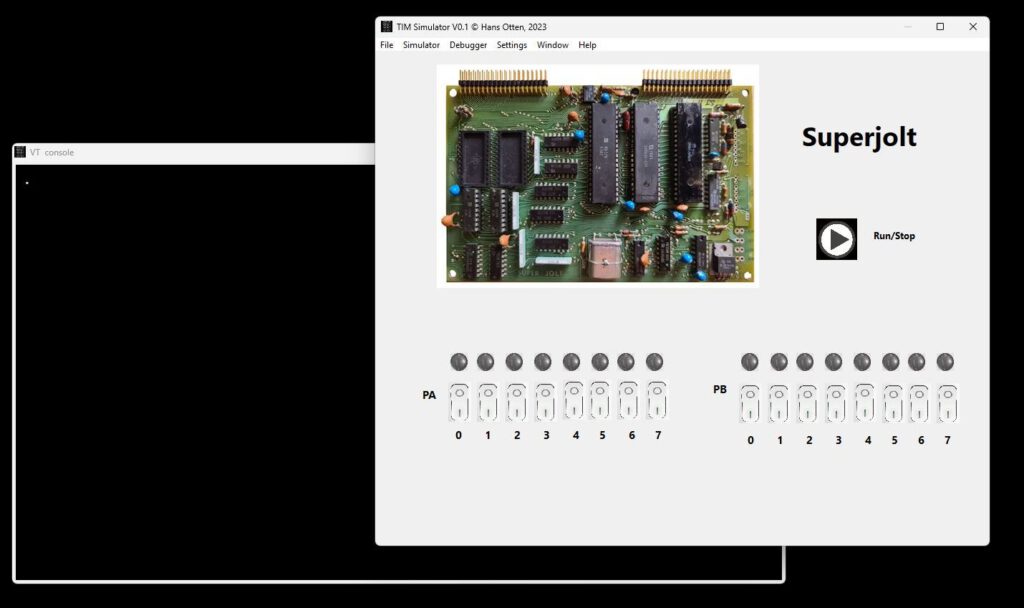
TIM Superjolt Simulator
Hans Otten, 2019- 2023, Version 0.10.1
Applicable license: MIT license
Downloads
Bundled with Conversion 8 bit hex formats utility, to convert to/from various binary files like MOS Papertape, Intel Hex, Motorola S-record and more.